Showing posts with label art crayons. Show all posts

Thursday, 8 March 2018

Bulky Blooms - Mixed Media Canvas by Leonie Neal-Dawson


Hello and welcome, Leonie here with you.

I'm sharing something a little different with you today, well different from my usual 12x12 page anyway.
My subject today is flowers, specifically, bulky ones. I used to use them often on my scrapbook pages
but for a long time now I've only been using either die-cut or very small flowers. 

 I know there are lots of people who love to use bulky blooms, and do it so well, on their scrapbook pages but for me it's about fitting more pages in my albums. Which category do you fall into?

 There are so many beautiful craft blooms available.
Hands up who has a beautiful collection of Prima Blooms in there stash?! 
But if I'm not using them on my pages much anymore the question is what to do with them?
My answer is a canvas, something I can gift to a friend or use as a piece of home decor.
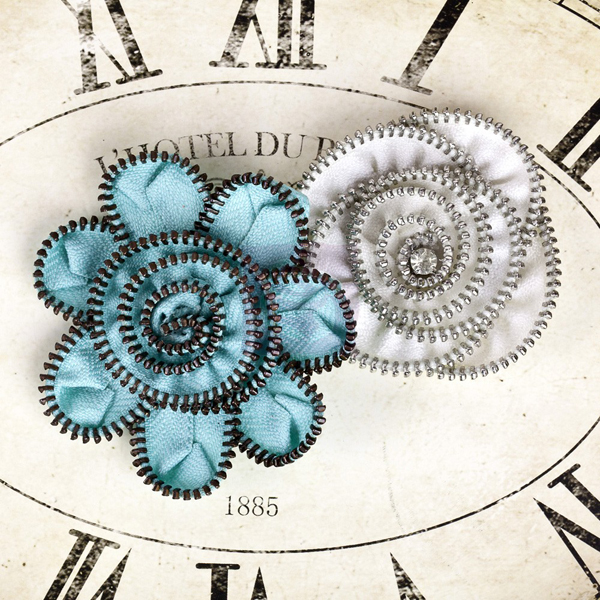
Image result for prima zipper flower

Kylie recently sent me these gorgeous Prima Marketing Zipper flowers from the Sunrise Sunset range. I knew straight away they were bound for a canvas of some sort. I have had this hessian canvas sitting unloved for a while and thought they would make a good match. So I put them together and am very happy with the result.


I applied Liquitex Super Heavy Gesso with a palette knife randomly to the hessian.  
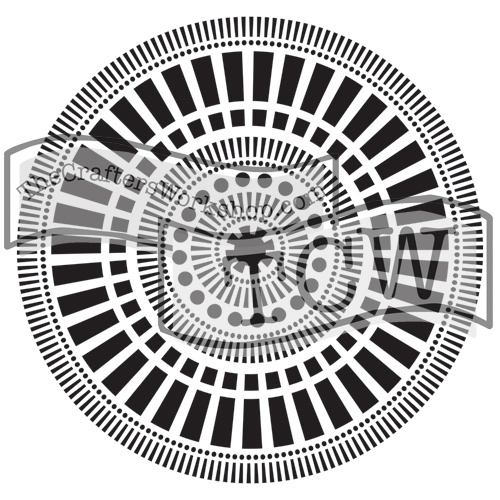
Once Dry I added some detail to the background with the Mayan Calendar Stencil and The Crafters Workshop Light & Fluffy Modelling Paste. I seriously love using Crafters Workshop modelling
paste, it dries quickly to a nice bright white and is absolutely true to its 'light and fluffy' name. 
 I highly recommend it.


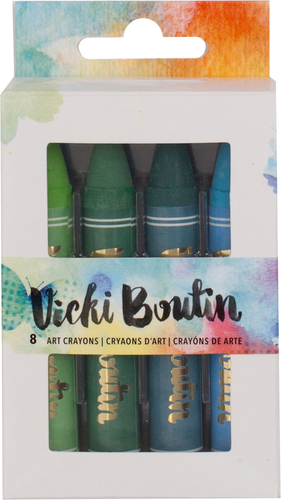
Next up I needed some colour to match that lovely turquoise bloom. I used Vicki Boutin Art Crayons.  My first time using these and they were quite easy to use - I scribbled over the dried Gesso and modelling paste and then used a wet paintbrush to blend and spread the colours around the canvas. To finish off the background I added a few small splashes of Black Ink from Liquitex.


I accompanied the Prima bloom with a set of Chipboard Wings from Dusty Attic.
The Chipboard has a light coat of Gesso applied with a sponge and then Distress Oxide inks Cracked Pistachio, Peacock Feathers and Black Soot.

I used the blending tool foam sponges from ranger to apply the inks.


I then headed to Google for a suitable quote about flying.
I used a lovely Heidi Swapp acetate word in my quote attaching it to the canvas with Glossy Accents.


So, have I convinced you to get using those bulky blooms? Or do you use them already? 
Let us know in the comments or leave a link to your 'bulky blooms' creations I'd love to see how others use them.
Cheers, thanks for stopping by today,

Leonie Neal-Dawson.


SaveSaveSaveSaveSaveSaveSaveSaveSaveSaveSaveSaveSaveSaveSaveSaveSaveSave

Tuesday, 27 June 2017

HELLO...cards inspired by the June moodboard, by Tania

Hi again. Hope you are having a great start to your working or non working week! I had the day off yesterday and my parents are visiting from down South. We got out in the beautiful afternoon weather, it was lovely. (Sorry to those of you freezing down South!!!)

Today I have a couple of cards to share with you, they are based on the colours from this month's moodboard:


On my first card, I stamped the brushtrokes stamp with Distress Oxide inks, so loving these!!! The soft chalky colours. I flicked a little water on them and then highlighted some of the oxidised spots with some Liquitex glass bead gel, that I added through a stencil. I also flicked some spots of Dylusions ink on there! The cute butterflies are cut from the Cocoa Vanilla paper from the Wild at Heart collection! 


For my 2nd card, I used papers and ephemera from 3 different collections! (All listed below with links to the store!!!) The Heidi Swapp lace, was coloured the same way as the lace I did on my canvas for my last blog post. With the gorgeous, Vicki Boutin Art Crayons and some water.


These cards were quick, simple and fun to make!! I love the soft colours for a change! I hope you find some time to play along with our moodboard this month and to check out these gorgeous products I've used in the store!
HAPPY SCRAPPING!!!
Tania


I've used a mix of products from the Scrappingclearly store:
Heidi Swapp Word Stickers & lace

Saturday, 17 June 2017

Mixed Media Canvas by Tania

Hi again! Today I'm sharing a small, mixed media canvas, using lots of goodies from the Scrappingclearly store!!!

I started with a blank canvas, gave it a layer of Gesso and added my background layer of colour with the Vicki Boutin Art Crayons, I am so loving at the moment!! By simply colouring directly to the canvas, I alternated with two different colours, then went over the top of them with a generous amount of water and a brush. The colour was rich , just as I wanted.


When this was dry, I added some black crayon to a stamp and spritzed with water, and did some random stamping. the image doesn't come out crisp when you use this technique, however, as it's mixed media, I didn't mind.


I added a few more layers of very faint stamping before stencilling with a TCW stencil and some more colour from a few of the crayons, then went over the top with some BLING, Colourblast paste and a fab Dina Wakley stencil. The stamp set I used in this project is the Finnabair Dream On set.


Mixed Media is really all about layers, and I felt that I was only just beginning to get the look I was after. I have some Liquitex Glass Beads and blended them with some of the Pebble Rock from Michelle Grant. (Just painted the Glass Beads on really thick and then sprinkled the pebble rock on top.) Once that was dry, I gave a coat of white Gesso over the top, and then painted with some Lindys Color Shots, (which are a powder you mix with water or any wet mediums to colour.)


By now I was looking for some more texture and height for my canvas, so I found a piece of black elastic, (recycled from clothing tags), and a piece of corrugated cardboard as anchors for my embellishments. I coloured the cardboard with the Art Crayon, before attatching to the canvas on top of the elastic.


I embellished with some pretty, Prima and Cocoa Vanilla flowers flowers! Stamped butterflies and title from the Finnabair pack and some Heidi Swapp Lace, which I coloured with the Art Crayons and water.. Above you can see I doubled up on the stamped butterfly images for extra depth! I finished it off by adding some Range enamel accents in black!


Below you can see the shine from the Bling Colourpaste!!!! It's awesome.


I really wasn't sure where this little canvas was going at the beginning of this creative sitting, but I'm pretty happy with the way it turned out, hope you enjoyed my process and make sure you have a look at the challenges this month. I will be back next time with my take on this month's mood board.


Tuesday, 6 June 2017

My favourite look - Mixed media page by Tania

Hi all, I'm back with you again this week with a little mixed media scrapbook page. I've been in a painty, mixed media mood this week and have had a few arty projects to catch up on. For this post, I'm playing along with our sketch this month, which I love:


I decided to play a little more with my Vicki Boutin mixed media products from the Scrappingclearly store! I have the Art Crayons and Acrylic paints. I found a great new video by Vicki herself, (in two parts), showing many ways of using the Art Crayons, this helped me with some inspiration for my background! Here are the videos here:


So I decided to go with the acrylic block method, and scribbled some colour on there and spritzed with water. I used 3 colours. I added a bit more water and spread with a brush once it was on my background page. I love the subtle look of the colour.

Then I swiped some paint on to the centre of my page using an old credit card. The colour was a bit too stark, so I went over the top with some of the white acrylic paint. 

I then added some texture paste through a TCW stencil and some squirts directly from the black paint bottle!!!


I added another touch of colour using the spray wand from some Dylusions, Melted Chocolate! Take note: if you are using paint in the way I have done here with the squirt method, it takes quite a long time to dry. So use the heat gun or leave overnight. Of course, i am not patient, so have a few finger marks in mine, but hey it's mixed media after all!

I added another layer, with some stamping and I have this cute little paw print stencil in my stash I just had to use for this page.

My papers and embellishments are from my very first DT kit from Scrappingclearly. Teresa Collins Life Emporium. The papers and matching embellishments went perfect with my background and photo. Embellishments used were:
There's also a Studio Calico wood veneer, which I painted black & some Ranger enamel accents, which you can see on the images below!


And here is the end result!! 


Hope I've inspired you to break out your mixed media supplies and have some fun. I love the Art Crayons, and have so many more possible variations to try with them!!!
See you next time!
Tania

Tuesday, 30 May 2017

May sketch, LIVE, LAUGH, LOVE layout by Tania

Hello again lovely bloggers!! For this post, I'm sharing my take on this month's sketch by the fabulous, Peg! I really loved this sketch and found it so easy to put my page together using it for inspiration. I really just did grab my papers and cut, without too much thought process, which sometimes is all we have time to do. Gotta love a sketch!


I am once again using the Teresa Collins, Something Wonderful Range. This kit collection has produced so many projects for me, and honestly, I still have so  much left!!


The backing paper, from both the 12 x 12" stack and 6x6" stack, washi tape, stickers and chipboard buttons, are all from the range. I also added a tiny bit of colour on my background page with some Vicki Boutin Art Crayons. I did this by colouring onto my craft sheet, and using a wet sponge, dabbed it through a stencil to create some subtle splats.


Hope you like my page and you have a couple more days left to play, hope you find the time!!!
Tania


Tuesday, 25 April 2017

Love Deeply - Art Journal Page with Tania

Hello!!! Today I was feeling in an Art Journal mood for my Design Team share here with you! I have these cool, Vicki Boutin Mixed media products, that I'm still playing with, plus, I wanted to try out the Glass Pebble Rock from Michelle Grant Designs!! So this page has a little bit of everything on it! That's what Mixed Media is all about, playing, experimenting & having fun!!!


For my base layer, I painted the whole spread in the Toasted Marshmallow acrylic paint, then I used the Heidi Swapp Art Screen with some Sweet Buttercream paint.


 I wanted to add a bit of red/pink so that the flowers would have an anchor on my page. I used Dylusions paint, and mixed a few different colours with some white. Once I painted that onto my page, I sprayed it with a little water and let it run across the page slightly! Then, I had some fun with the Glass Pebbles. The best way to adhere these to your page is use some Soft Gloss Gel, or something similar. (I used the Prima, Art Basics.) I mixed up a little pot of the Gel and the pebbles, using a palette knife, and spread them on my page. While the Gel was wet, I added a few more pebbles. This takes awhile to dry! To fill in the time, I fussy cut my flowers from the Floral Paper, from the Something Wonderful Collection, by Teresa Collins.


 I made up my embellishment clusters, of flowers and when the Gesso was dry, I added a layer of White Gesso over the top of the Pebbles.
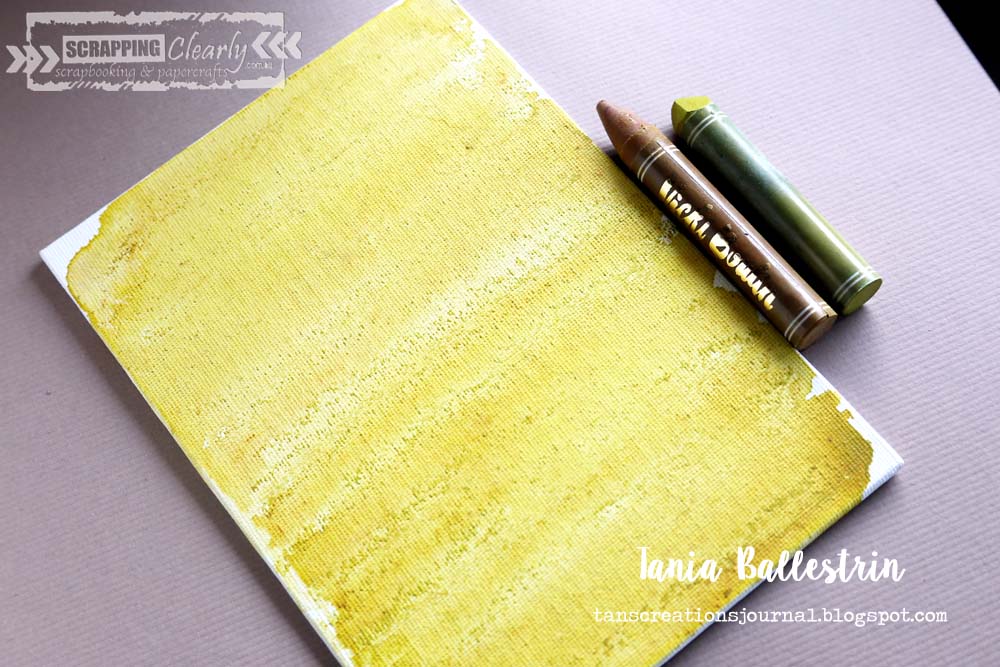
For my next colour layer, I used the Art Crayons by Vicki Boutin, in a kind of olive green, which came out more yellow! (I coloured with the crayon, and then painted some water over it with a brush.)


I then did a layer of stamping with some Kaiser stamps, and flicked some of the Acrylic paints, (mixed with water), over the page.
To finish off the page, I got messy with the Vicki Boutin Glitter, for the flower centres and added the word stickers from the Teresa Collins, Something Wonderful Range. With a lot of my Art Journal pages, I tend to finish off with a border of some description, otherwise it doesn't feel quite finished. My black journal Pen came in handy for that! I hope you like my process. It's a messy page, but I had fun making it!! I have linked to the products available in the Scrappingclearly store for your convenience! Happy Art Making! 


Saturday, 15 April 2017

Happy Easter Cards by Tania

Hello everyone!! Wishing you all a big Happy Easter!!! Hope you are finding lots of time to scrap and have fun over this weekend. I let hubby go camping on his own, so I could catch up on quite a few craft projects, and just rest!!! So here is one of a few projects I've accomplished since yesterday!


I played along with our mood board this month, which was very Autumny!!! I love the colours, and I had some left over Fancy Pants- Golden Days papers, which were the perfect colours.


In addition to the papers, I used a few Mixed Media Products, which are fairly new to the Scrappingclearly Store! (Acrylic Paints & Art Crayons by Vicki Boutin). The Art Crayons were used with a water brush to colour my bird stamps..(also from the store here.) The white Art Crayon is awesome for adding highlights after you have coloured, they are so smooth, much like pastels!


Kylie also sent me some Nuvo, Gilding Flakes, in Sun-kissed Copper, which I was rather excited about. I just added some glue with a glue stick, and added the flakes with a small paint brush, wow, these flakes are awesome and add a lovely, shiny layer to the cards. A handy mixed media item to have in your stash!!!


I mixed a bit of water with the Art Crayons to add the splatters of colour on the background here, and I discovered that the Acrylic paints by Vicki Boutin, are lovely and thick with a squirt top, so I added some paint dots on my cards.


My cute little tag, uses the Golden Days paper and Puffy Stickers, and a few bits and bobs from the ephemera pack...how handy was it that there was a cute little bunny in there!!!


I hope you like my card & tag set and it motivates you to try and use some subtle mixed media on your cards. Enjoy the weekend!!!