Showing posts with label Pink Paislee. Show all posts

Tuesday, 12 November 2019

Downward dog

Hi everyone
back with a really quick and simple layout today.


I started with some Cocoa Vanilla paper from the Boys Rule collection, squirted on some Color Burst powders (Lemon Yellow, Fuchsia, & Turquise) and gave them a spritz with water.   So simple & effective.   I stamped a little Distress Oxide in Picked Raspberry using a 49 & Market stamp and my background was done.

A few simple embellishments including Pink Paislee Citrus Bliss Stickers, a Simple Stories Carpe Diem Bradz, Cocoa Vanilla enamel shapes and a Heidi Swapp bow and I was finished.

Hope you been inspired.
Till next time,
cheers
Tracey 

Wednesday, 23 October 2019

Epic Adventure Mini Album | Sue Plumb


Hi everyone! It's Sue Plumb back again to share my final guest designer project with you. Today I am sharing a special mini album I created to document an epic adventure I had with my sister - a surprise weekend away to celebrate her birthday that was organised by her partner (and a few sneaky scrappy gals you may recognise!)


There is so much to love packed into this album - not just the memories, but some beautiful products too. I have found myself using a lot more patterned papers lately, and falling in love with paper all over again.

So, let's get started on this album. I began with a pile of photos and a small 6 ring binder-style planner I had purchased at Kmart. I opened it up and removed everything from the inside, leaving me with the cover only. 


I started by making myself a "kit" of coordinating items to work from that included a variety of patterned papers; stickers; and die cut ephemera.


I chose a number of patterned papers from the Simple Stories 'Heart' and Heidi Swapp 'Emerson Lane' collections; with some odd sheets from Pink Paislee and Websters Pages added in. My main criteria when choosing the papers for my kit was colour choice - with both the A and B sides of each one needing to fit my chosen palette.


I started by cutting the sheets of paper into smaller "pages" - trimming each one into a variety of different sizes and shapes. I then used a few different decorative border punches to punch along some of the edges. 


Now it was time to sort the pages into some sort of order. I shuffled and stacked them, making sure that the sizes were mixed up and that colours and patterns on facing pages were complimentary to one another. I then punched each page using a 6-hole punch (check out the gorgeous DCWV 6-hole gold punch in the store HERE); adding some hole reinforcer stickers as I placed them into the binder.


With all of my pages in place, it was time to start adding my photos. (I do admit that the order of the pages did get shuffled a little as I began to work my way through the book.)


I treated each page just like a tiny scrapbook layout - I had a background, photo/s and now they just needed embellishments. I didn't want to use anything bulky because I wanted to make sure the pages would lay flat, so I chose a mix of stickers and die cuts to use.


To coordinate with the papers I had chosen, I used the Simple Stories 'Heart' Cardstock Stickers; and the Heidi Swapp 'Emerson Lane' Stickers and matching Ephemera


Throughout the album I added extra interest to some of the pages by adding "tip-ins" (extra interactive flaps) using tags / ephemera / pieces of paper, which I fastened with washi tape. (There is even a set of coordinating 'Emerson Lane' Washi Tapes!)


I left some of the pages in the album photo-free and kept them simply decorative. You can see how having a good variety of different page sizes, colours and patterns adds plenty of visual interest.


I did choose a couple of embellishments that were slightly dimensional to use in my album - the super cute Pebbles 'Spring Fling' Puffy Stickers - Flowers; and the 1 Canoe 2 'Globe Gallery' 3D Butterflies.


I made an effort to include handwritten journalling on as many of the pages as I could - using a variety of labels, journal tags and even paper offcuts to write on.


Another way to switch things up in the album is to add the photos sidewards - just as I did with the landscape shot, which allowed it to be printed larger.


Never be afraid to punch directly through a photo to turn it into a page itself; and when dealing with small pages, sometimes it is better to embellish over part of the photo.


When working on a small scale like this, especially with papers featuring bold patterns, it is better to keep to the "less is more" rule with embellishments.


Look at the papers you have and see what can be fussy cut from them to use as embellishments, such as flowers, labels, shapes and quotes.


Another way to add extra interactive elements to your album is to include small envelopes, such as the Heidi Swapp Memory Planner Envelopes I used,  which can be used to hold memorabilia, journalling or even extra photos (just like I did in my special "sealed section").


This is by no means all the pages from my album - there are just too many pages to share here (and some still to be completed). Once I have them all finished I will try and film an album flip through to share with you in the Scrapping Clearly Facebook group. 

Thanks so much to Kylie and the wonderful team for having me as a guest this month - I have so enjoyed sharing my projects with you.

Saturday, 20 July 2019

What SPARKs your interest with the moodboard?

I had a lot of fun with this crazy picture of my daughter and I and the moodboard colours were just perfect. 

When you use a moodboard what sparks your interest to use it -  Is it the colours ,the patterns, the picture prompts or maybe a word? I like to try and tie it all together in my layouts. I love the colours firstly and then I try to tie in a visual as well when creating my Scrapbook layout. This week I have used the colours and the visual of the girl helped me lend this layout to one of my daughter and I. 

For this layout the base is white cardstock with a few dots of Dylusions Slate Grey paint that have been brayered around on the page.


Next I used up a few of the offcuts from last weekends layout to layer behind my photo - Cocoa Vanilla, Heidi Swapp, Pink Paislee. I have used a Pinkfresh tag - don't be scared to cut these up if you are only wanting part of it - I find I use the other parts layered on the layout or they come in handy for the next project. 


 Time to test it out for placement. Once I found where the photo composition was going I then used Dylusions background stamps to add a little more interest to the page. 


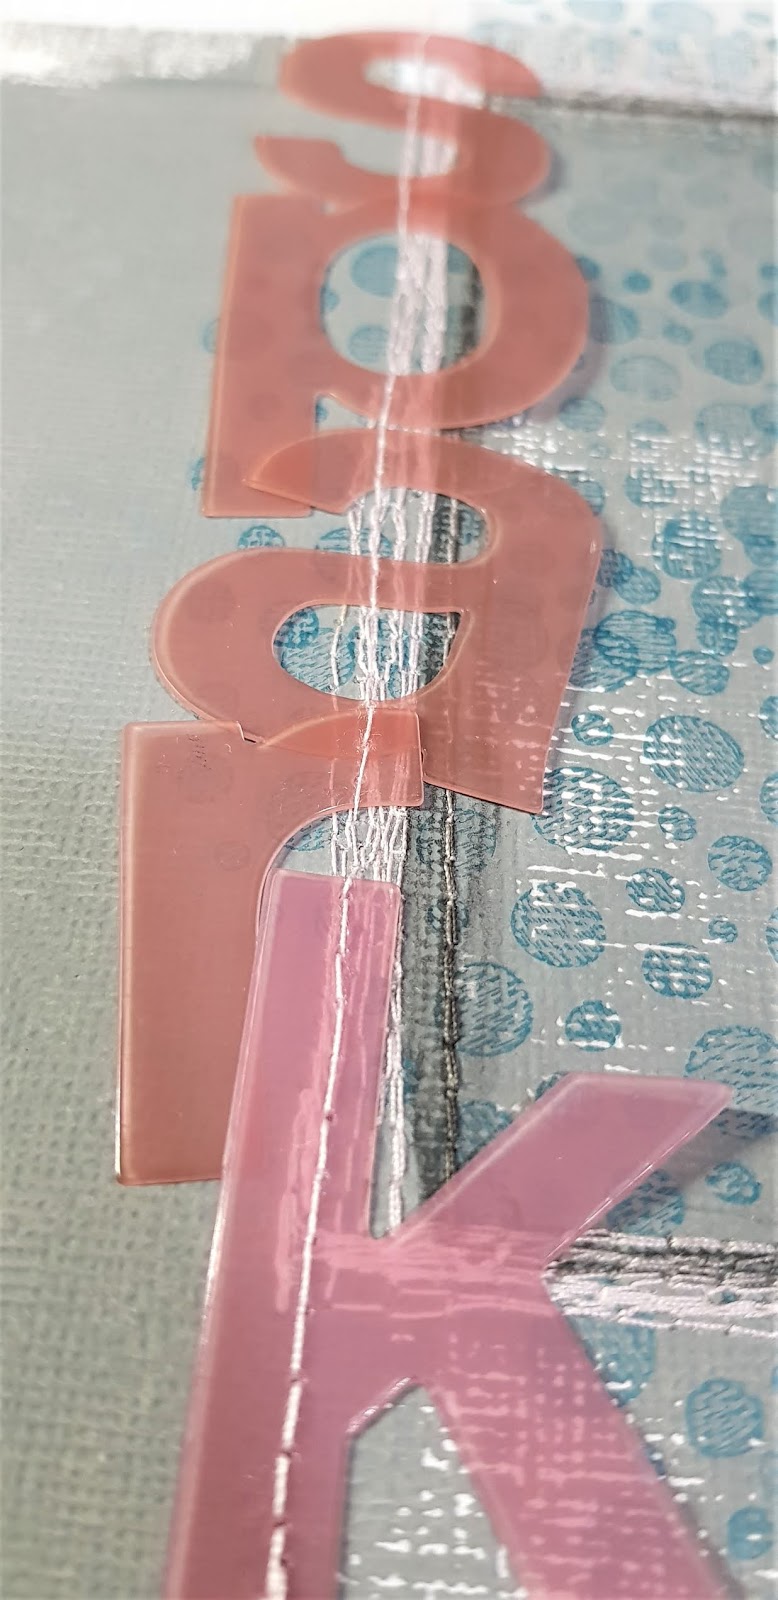
After marking out a border around the photo with an ALLS pencil it was time to hit the sewing machine and stitch around this to help add more depth. After completing that I used a wet paintbrush to smudge up the pencil. I added the title using Heidi Swapp ghost alpha. These were adhered using stitching.


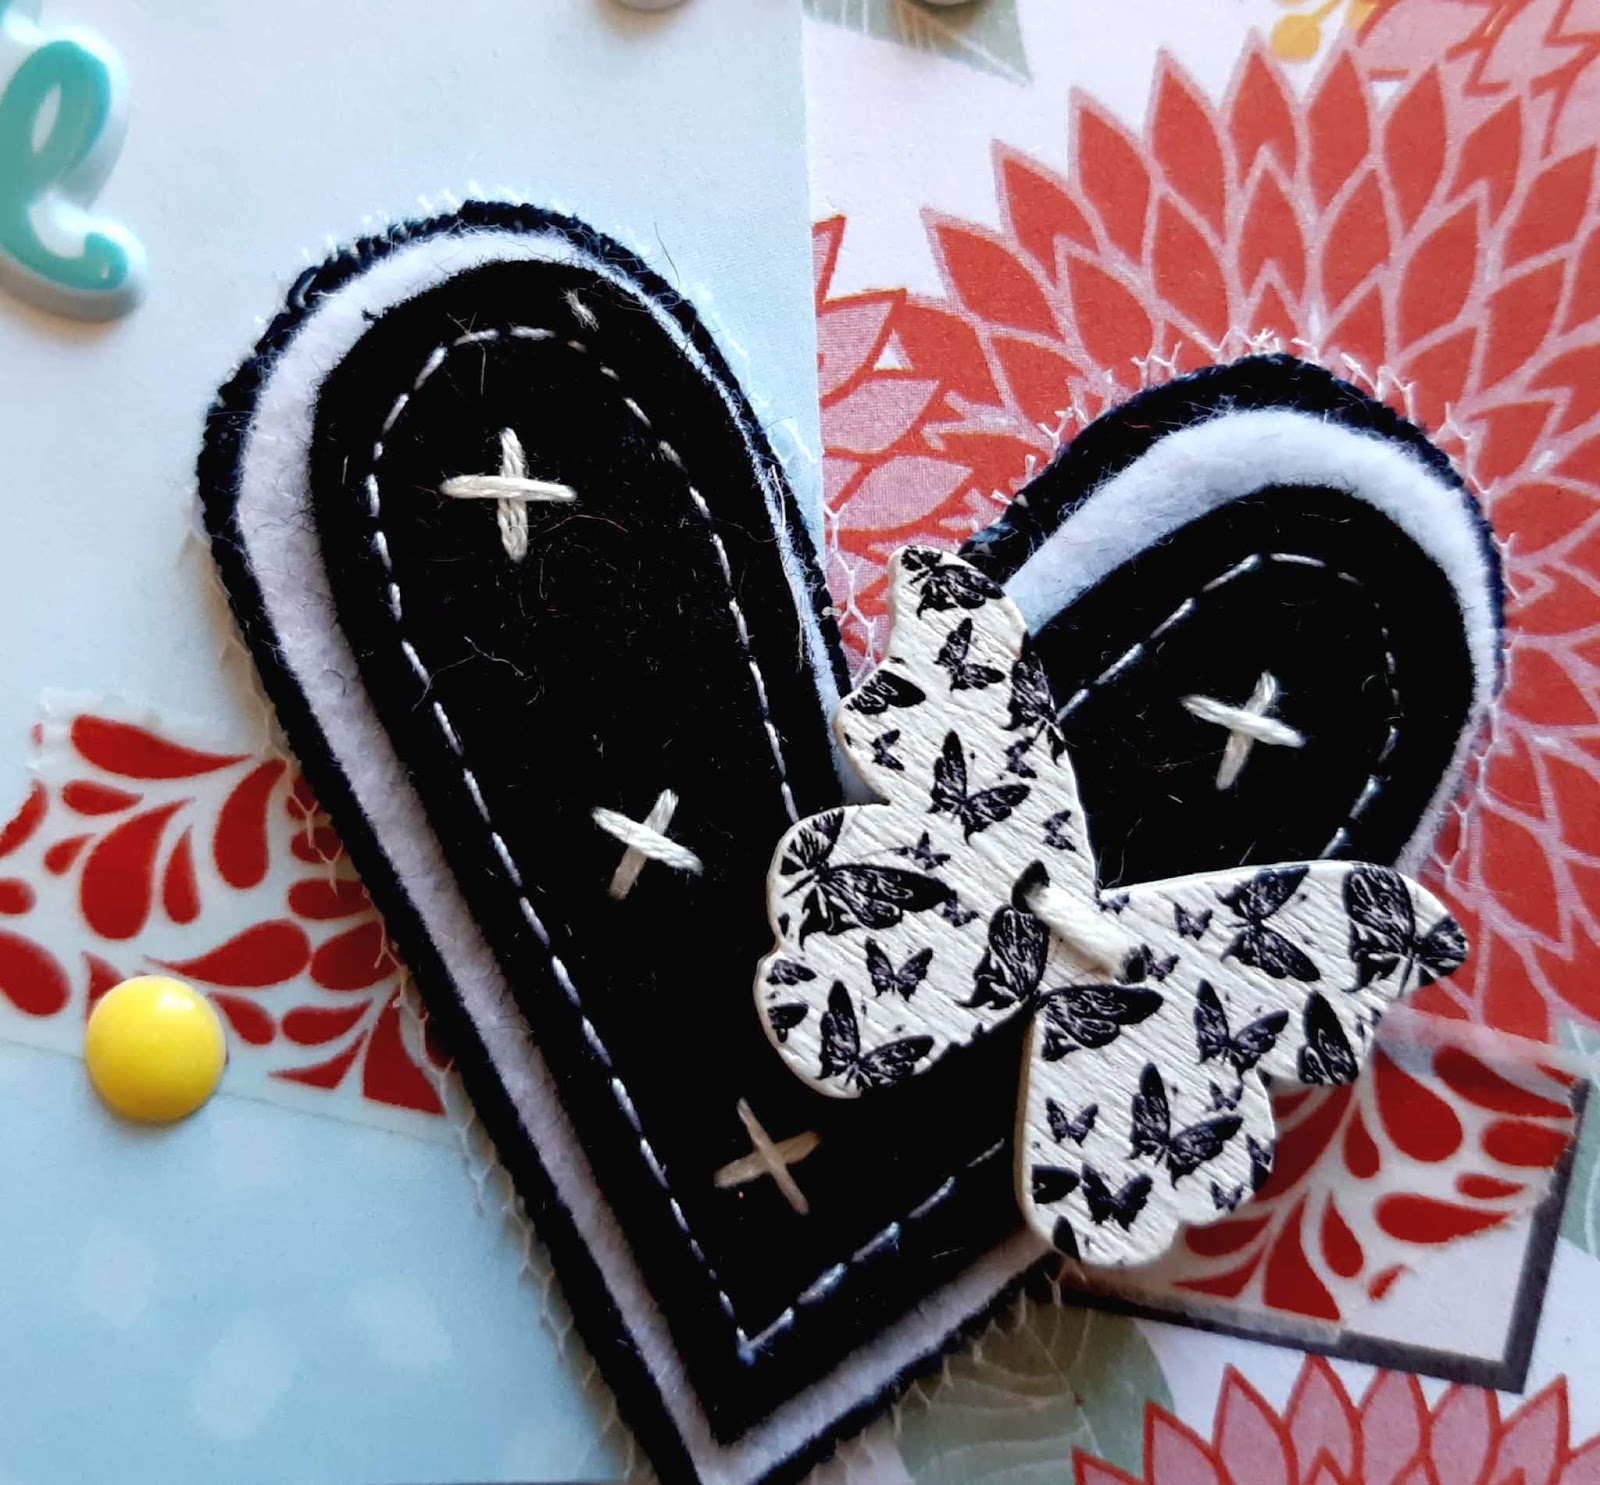
 Before sticking down the photo I added a few more layers from Teresa Collins chipboard elements, Heidi Swapp washi tape, Heidi Swapp acetate label, Pinkfresh sticker words, Kaisercraft butterflies & a flair.


To finish off the layout a border was sewn with a dark grey cottom.


Thanks for popping in and having a look at my crazy life with my daughter who really is a fun little spark of energy with all her craziness... have an amazingly creative day.

Wednesday, 10 July 2019

'Stash Buster'

Happy Wednesday everyone!

It's Amy here popping in with a 'stash busting' blog share today.

I think its fair to say that - as papercrafters - we tend to collect a lot of goodies that we love!

So this post is focusing on using scraps of paper and combining them with embellishments.

The beauty here is that I have combined several ranges from the Scrapping Clearly store. 


I managed to create a variety of embellishments ready to be added to any of my scrap projects.

Some of these vary from tags to note cards to decorative pieces to place next a photo.


I put together a range of masculine and feminine goodies - that way I could have a good variety in my stash ready to go.

I used the following fabulous products from the Scrapping Clearly store - Fancy Pants Designs 'Joy Parade' paper and embellishment collection; Simple Stories - 'Carpe Diem' papers; and Pink Fresh Studio 'Escape the Ordinary' range.

For the bits and pieces I used - Heidi Swapp enamel shapes and tags; Studio Calico Washi Tape - Seven Paper; Me and My Big Ideas puffy stickers 'The Happy Planner'; My Mind's Eye 'Good Vibes' enamel dots; Pink Paislee gold puffy stickers; Mambi Sticks - puffy stickers; Bella Blvd 'Zebra' buttons; Um Wow Studio layered stars painted with Dina Wakley 'Sterling' paint 

The twine is from my stash and I have placed some gorgeous Charms Creations handmade goodies over some of the layers,

It was great making these goodies - and now they are ready to go.

Here are some close ups.


Thank you for popping by,

Amy

Thursday, 3 January 2019

Cards - With Karyn Schultz!

Hi Scrapping Clearly Lovelies,

It's Karyn here, and today I have 4 cards to share with you made using lots of goodies from the Pink Paislee Moonstruck collection available in the Scrapping Clearly Store.


For each card I've used 6" x 6" white cardstock bases overlaid with some papers from the Pink Paislee Moonstruck collection. Then I've added a selection of puffy stickers, ephemera and cork stickers
 

Making cards is a great way to use up scrapbooking leftovers. I've also added some chipboard and paper flowers from my stash to this card as well as splatters of Heidi Swapp gold Colorshine.


Thanks so much for stopping by 
Crafty Hugs xx


Thursday, 27 December 2018

Chic, Timeless, Beautiful - With Karyn Schultz!

Hi Scrapping Clearly Lovelies,

It's Karyn here, and today I have a scrapbook page to share with you made using lots of goodies from the  Scrapping Clearly Store.
I'm also playing along with the December Moodboard Challenge. We would love for you to join the challenge and be in the running to win a Scrapping Clearly voucher - you have until December 31 and you enter by uploading your photo to the album in the facebook group here.
My background is  white cardstock overlaid with some velum from the Pink Paislee Moonstruck collection and some strips of washi from the Heidi Swapp Magnolia Jane Collection. 
Underneath my photo I've used ephemera from the Pink Paislee Moonstruck collection, a Pineapple paperclip from the Heidi Swapp Pineapple Crush collection, and Heidi Swapp puffy stickers. I've also added flair, gold thread and paper flowers from my stash.
Thanks so much for stopping by 
Crafty Hugs xx