Showing posts with label dusty attic. Show all posts

Friday, 30 July 2021

Christmas in July with Belinda Spencer

 Hello Scrapping Clearly fans!!

It's Belinda here today to share my Christmas in July Cybercrop projects. For my projects I chose to bind together some Heidi Swapp Memory Files and create a junk journal. I used the Believe Christmas collection by Heidi from when I attended a workshop here in Adelaide as well as some papers from the Dreamy 6"x6" Paper Pad.

Sadly, as we were in lockdown in Adelaide at the time of the cybercrop, I didn't get as many projects completed as I had hoped. I had to compete for computer time and with everyone home it seemed like I was forever making meals!! Anyway, I will continue to work on it and hopefully have it finished by Christmas in December!!

Challenge One


For this page I used a smaller memory file from the Heidi Swapp Christmas range. There are newer Christmas collections that are equally as gorgeous now. Check out the Oh What Fun and Winter Wonderland collections in the shop. I used Chartreuse Colour Shine on the background as well as a stencil and stamps by Darkroom Door.


I layered some of the patterned papers together and added embellishments from the range as well as a Kaisercraft gold paper doily, a Charms Creations embellishment as well as buttons. I finished with a title created from Dusty Attic chipboard.


Challenge Two


For Challenge Two, I wanted to document how we usually end up at the beach on Christmas Day. Well we used to before Covid. Now we stay home.

I created this page pretty much the same way as the first one. The same Colour Shine and patterned paper range. I tore the papers to represent the waves breaking on the beach. I also added a fabulous 6"x6" Heidi Swapp die cut paper. I tore the die cut paper into strips so I could use it on multiple pages. 


Again I used Charm's Creations embellishments, Darkroom Door stamps and a stencil and Dusty Attic chipboard as well as a Colour Magic star die cut from the Believe collection.


Challenge Three


For Challenge Three I used the softer, pastel colours from the colour wheel. The background paper is from the Heidi Swapp Art Walk Paper Pad. I added some Patina Colour Shine on the background and used some gesso with a Darkroom Door stencil.

Next I chopped up some papers from the Dreamy 6"x6" Paper Pad and layered them together. I added some of the torn starry 6"x6" Die Cut Paper too.


I finished it off with a few strategically placed embellishments.


Well that is all I managed to complete. I am looking forward to working through the remaining challenges and will share those next Friday.

I hope you enjoyed the cybercrop and a big thank you to everyone who shared their beautiful creations.

Cheers
Belinda


Tuesday, 16 July 2019

The Dream is Real

Hi everyone

Back with another LO inspired by this month's mood board.   Don't you just love this colour combo?


I started with my go to white card stock and smooshed some silver Faber Castle Texture Luxe paste through a Dark Room Door Polka Dots stencil using a palette knife.   I then scribbled on my messy mat some Neo Color II wax pastels in white and emerald green and a little green gelato, spritzed them with water and blended together until I was happy with the shade and then just roughly painted them on using a round brush.   I also added a little gelato in guava for a bit more interest.


I created a photo mat using some Pink Paislee patterned papers and blended the edges with some Distress ink.   I used a black Posca pen to colour in the yellow on a Heidi Swapp chipboard sticker (need to go back in and touch this up & then wait until it's dry before I touch it!) and some chipboard from my stash.    I used Dear Lizzy diecut words for my title and a couple of American Crafts chipboard pieces cutting the flower in two.   A few splatters of Colour Blast spray in Roadbase, some Dusty Attic bling and Cocoa Vanilla enamel dots and I was done. 


Hope you've been inspired.   Plenty of time to enter the challenge.   Looking forward to seeing what you create.


Tuesday, 2 July 2019

Still not old

Hi everyone,
I've been playing around with something I'm sure we all did in kindergarten - 

Mixing paint with water and dish detergent then blowing bubbles onto the paper.


I used acrylic paint onto some Prima Water Colour paper.   I used a 12 x 12 paper but a 6 x 6 pad is available here.  I didn't quite get the effect I was after so next time instead of acrylic paint I'm going to use some water colours and then maybe some ink.   Stay tuned - excited to see the different results!

When my background was dry I used a brayer to add more layers of acrylic paint and then some Art Anthology Dimensional paint through a stencil.   Love the shine on these paints.


To finish I added some Dusty Attic chipboard, some Basic Grey alphas and some Art Alchemy Opal Magic wax to highlight the chipboard.
The photos are all about my new plumbing.   After 25 years of really poor water pressure I finally decide to spend the money and replace the pipes.   I can't tell you how much I now enjoy having a shower!

Thursday, 8 March 2018

Bulky Blooms - Mixed Media Canvas by Leonie Neal-Dawson


Hello and welcome, Leonie here with you.

I'm sharing something a little different with you today, well different from my usual 12x12 page anyway.
My subject today is flowers, specifically, bulky ones. I used to use them often on my scrapbook pages
but for a long time now I've only been using either die-cut or very small flowers. 

 I know there are lots of people who love to use bulky blooms, and do it so well, on their scrapbook pages but for me it's about fitting more pages in my albums. Which category do you fall into?

 There are so many beautiful craft blooms available.
Hands up who has a beautiful collection of Prima Blooms in there stash?! 
But if I'm not using them on my pages much anymore the question is what to do with them?
My answer is a canvas, something I can gift to a friend or use as a piece of home decor.

Image result for prima zipper flower

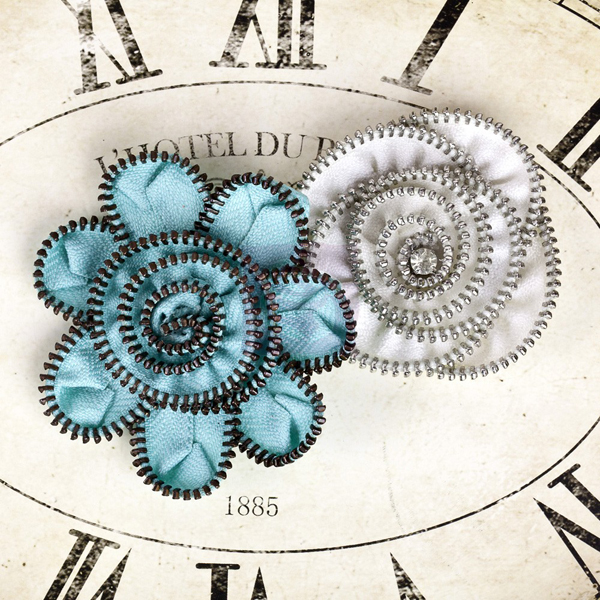
Kylie recently sent me these gorgeous Prima Marketing Zipper flowers from the Sunrise Sunset range. I knew straight away they were bound for a canvas of some sort. I have had this hessian canvas sitting unloved for a while and thought they would make a good match. So I put them together and am very happy with the result.


I applied Liquitex Super Heavy Gesso with a palette knife randomly to the hessian.  
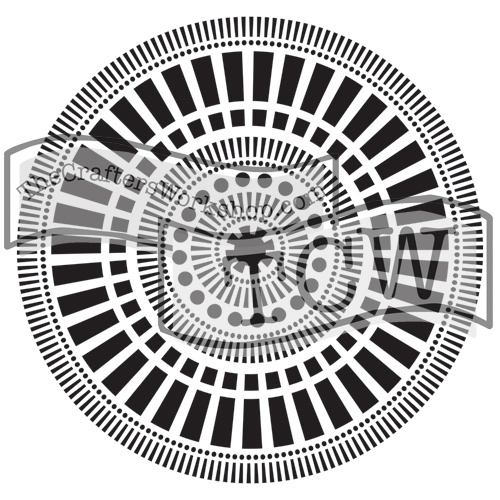
Once Dry I added some detail to the background with the Mayan Calendar Stencil and The Crafters Workshop Light & Fluffy Modelling Paste. I seriously love using Crafters Workshop modelling
paste, it dries quickly to a nice bright white and is absolutely true to its 'light and fluffy' name. 
 I highly recommend it.


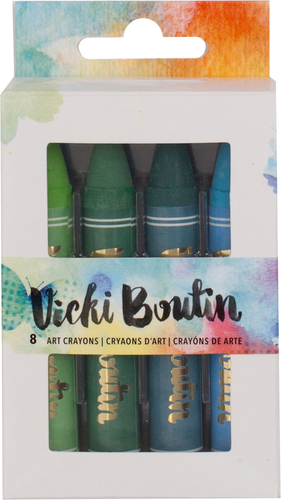
Next up I needed some colour to match that lovely turquoise bloom. I used Vicki Boutin Art Crayons.  My first time using these and they were quite easy to use - I scribbled over the dried Gesso and modelling paste and then used a wet paintbrush to blend and spread the colours around the canvas. To finish off the background I added a few small splashes of Black Ink from Liquitex.


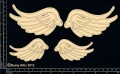
I accompanied the Prima bloom with a set of Chipboard Wings from Dusty Attic.
The Chipboard has a light coat of Gesso applied with a sponge and then Distress Oxide inks Cracked Pistachio, Peacock Feathers and Black Soot.

I used the blending tool foam sponges from ranger to apply the inks.


I then headed to Google for a suitable quote about flying.
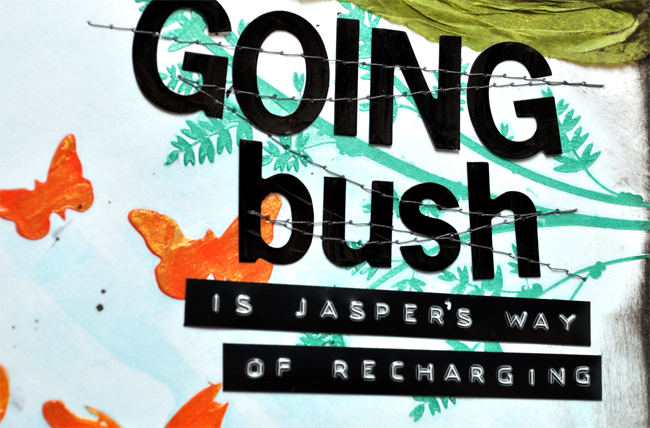
I used a lovely Heidi Swapp acetate word in my quote attaching it to the canvas with Glossy Accents.


So, have I convinced you to get using those bulky blooms? Or do you use them already? 
Let us know in the comments or leave a link to your 'bulky blooms' creations I'd love to see how others use them.
Cheers, thanks for stopping by today,

Leonie Neal-Dawson.


SaveSaveSaveSaveSaveSaveSaveSaveSaveSaveSaveSaveSaveSaveSaveSaveSaveSave

Monday, 18 December 2017

{Wedding Day Love}

Hello to everyone welcome to another week of inspiration here @ Scrappingclearly.....


Today I am sharing a layout I created to celebrate my niece's Wedding Day...
There are always so many gorgeous photos taken on wedding days so I decided 
to just use a small, up close and personal shot which I love.


I have chosen a basic background paper which is a little grungy,
I added some Lemon Zest Dylusions randomly on the background,
some squeezed orange splatters, and
some texture stamps using black ink to give an even grungier look.

Using some scrap bubble wrap I sprayed with gold spray paint to give an awesome dimensional background, which created loads of texture. I scrunched it up a little and adhered to the background paper. 


I began to layer my large array of embellishments,
starting with a chipboard scroll (which I left raw).
I then placed my photo, to which I adhered a Gold chipboard
Kodak lens frame, on top of the scroll.


 I placed all my gorgeous flowers to the right of the frame.
I used an assortment of paper and fabric flowers.
I also added some to the gold bubble wrap in the top left corner.


I adhered two paper black and white drinking straws under the frame, and a black doily folded in half to balance out the layout.
For more texture I added some black cotton and a Heidi Swapp Gold
'Happy' title, which I cut from Heidi's Dies

I absolutely love to use embellishments of all sorts including hair clips and pieces of jewellery
which I can pick up at the cheap jewellery stores and thrift shops for an absolute bargain.
You can see I have layered two hair clips and a gorgeous metal wing with stones.


I wanted to keep a lot of white space on my layout so clustered
and adhered some more random flowers and jewellery pieces onto the layout,
along with some cotton to tie the layout together, and some old book paper.


To finish the layout off I have journaled in the bottom corner, only small (but the details are there), and gave the layout a border with a black Fude ball.

Here is a list of suitable products that can be purchased over @ the Scrappingclearly store.


I do hope you like my layout,
thanks for stopping by, and have a great creative week.


Thursday, 18 May 2017

Do You Have The Same Problem As Me?

Good Morning Arty Peeps! 

Ok, my name is Peg, and I am addicted to Tim Holtz Distress Oxide inkpads.
There, I said it.
I have another oxide layout to share with you today, sorry (not sorry!).


Seriously though, check out that background on heavy weight cardstock.
How can you not love that!


To allow the gorgeous oxide colours to shine I kept the embellishments to a minimum; a pack of Dusty Attic chipboard coloured black with a marker, and some enamel dots.
I used these stickers, also coloured black with a marker, for my title.
I hand journalled on a foiled card.
I added some heart-shaped bubble wrap stamping to the corners with the chippy cogs.
Too easy, and such a quick page.

So yes, I'm addicted to oxide inkpads. I cannot see me not playing with them well into the future. I am in lurve.

If you don't have any yet, get some!

Thanks for coming by,
'til next time,
stay arty,

Friday, 5 May 2017

Colour Paste and Stencils

Hey There Arty Peeps!
Peg here, stepping in for Lisa on Mixed Media Friday.

I've been revisiting my Colour Blast Pastes lately, using them up so they don't dry out on me (not just because I might want more *wink). Here is my latest page using them.


For my background I put Tangerine Dream and Sunshine through a Kaisercraft stencil, these stencils are nice and thick and work really well with pastes.


I also used Envy paste through a small Kaisercraft stencil on diagonal corners of my background. My title is made of some very old alpha stickers I coloured black with a paint marker. These stickers were so old they didn't quite want to stick so I machine stitched them to my page.


I stuck some green tissue paper with this awesome glue stick, then put my matted (on black card) photos on top. I also added some ruched tissue paper to the top right corner of the page. My quote and embellishment stickers are from this sheet. The Dusty Attic chippy branch was also coloured with my black paint marker and an alcohol marker to give it slightly more depth.


I added some colour to the heavy weight white card background by rubbing some Distress ink on with a sponge. As a finishing touch I splattered some black spots around the place with Dylusions ink spray.

This weekend I want to use up all my remaining Colour Blast pastes since I've noticed some of them are getting too sticky. Hopefully I'll have some more backgrounds to share soon.

Have a great weekend, stay arty,
'til next time,


Thursday, 24 November 2016

Happy Memory - Mood Board Challenge

Good Morning Arty Peeps

Peg here today to share my mood board page.
There is still a week to get your entry in, post it here on FB.
Check below for the board.

I found an old pic of my baby girl recently, one she talks about fondly,
so it had to be scrapped. Here's that page...

I created a mixed media background on heavy weight cardstock using...
then Finnabair mica powder mixed with Tim Holtz crazing medium over the whole page.

I used a piece of patterned paper coloured with Dylusions ink spray and a strip of Hambly transparency under the photo and title. The transparency is secured to the left of my page with book binding tape. I love this paper clip from American Crafts too.

I used both pieces of Dusty Attic chipboard to create a border on the right, covering them with gesso first, then Dylusions paint and ink spray and finally, while still wet, Finnabair mica powder for texture and shine.

I managed to drop my black inkpad on my page by accident so to make it look deliberate I did it a few more times along the top and bottom edges.

Using some regular and mini bubble wrap I stamped around the edge of my layout with Dylusions paints. Under the photo is a Prima flower cut in two pieces and a Prima gem sprig. The chippy heart and 'happy' stickers are from this pack, and the wood veneer 'memory' I coloured black with an alcohol marker.  

We'd love you to play along too
with this mood board.
And post your project here.

Thanks for coming by today,
see you next time.
Stay arty,