Tuesday 31 December 2019

Vitality

Hi everyone
Happy New Year's Eve!   
As the year ends I start thinking about the year ahead, not making resolutions as such (way too much pressure!) but thoughts about what I would like my year to look like.  
For me I want 2020 to be full of vitality.

To keep me focused I decided to decorate some wooden letters that will go in my new scrap room.


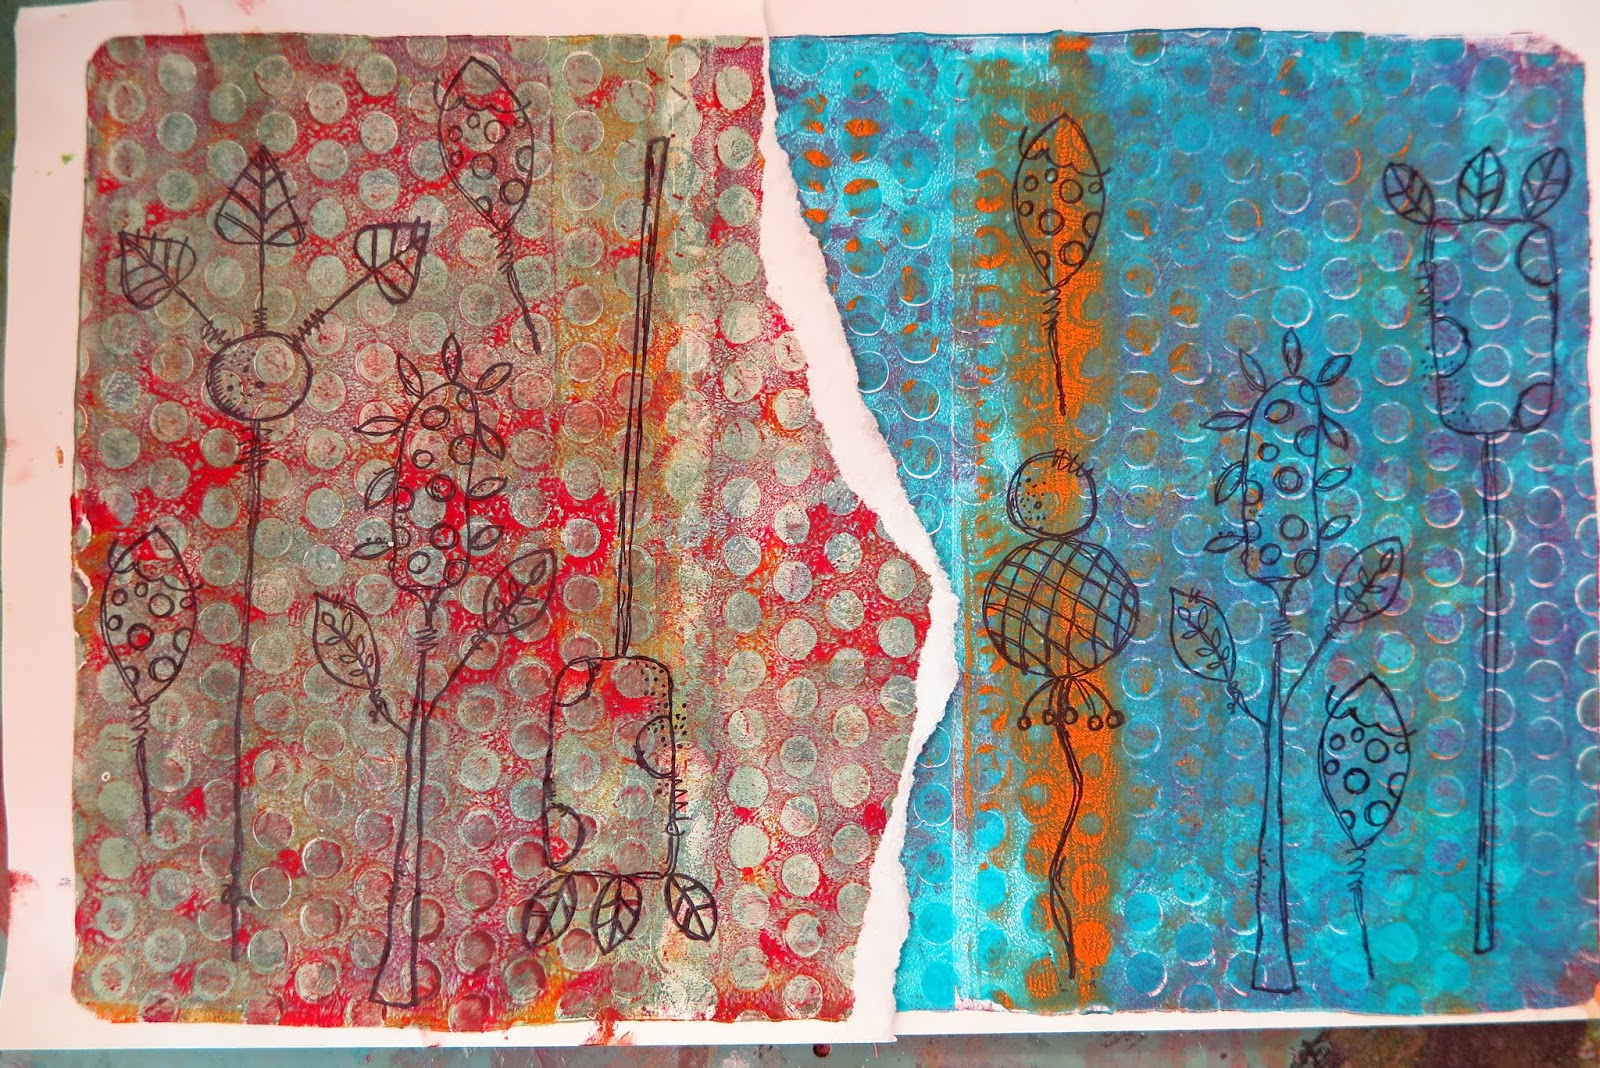
I started by choosing a 6" x 6" paper pack (Heidi Swapp Favorite Things) because I didn't need a lot of paper for each letter and I wanted them to be different but still work together.   I traced the letter onto the back of the paper (remember to reverse the letter if required) and then fussy cut them out.


I gave the edges a couple of coats of gesso 'cause I wasn't sure what I was going to do but in the end I randomly painted them using Dina Wakley acrylic paints (Sky, Lime, Magenta & Blushing).

I stuck the paper to the letters using gel medium and when dry sanded the edges,   Added all my inspirational words and a few embellishments (Pink Paislee Citrus Bliss stickers & Cocoa Vanilla Life is Beautiful alphas).


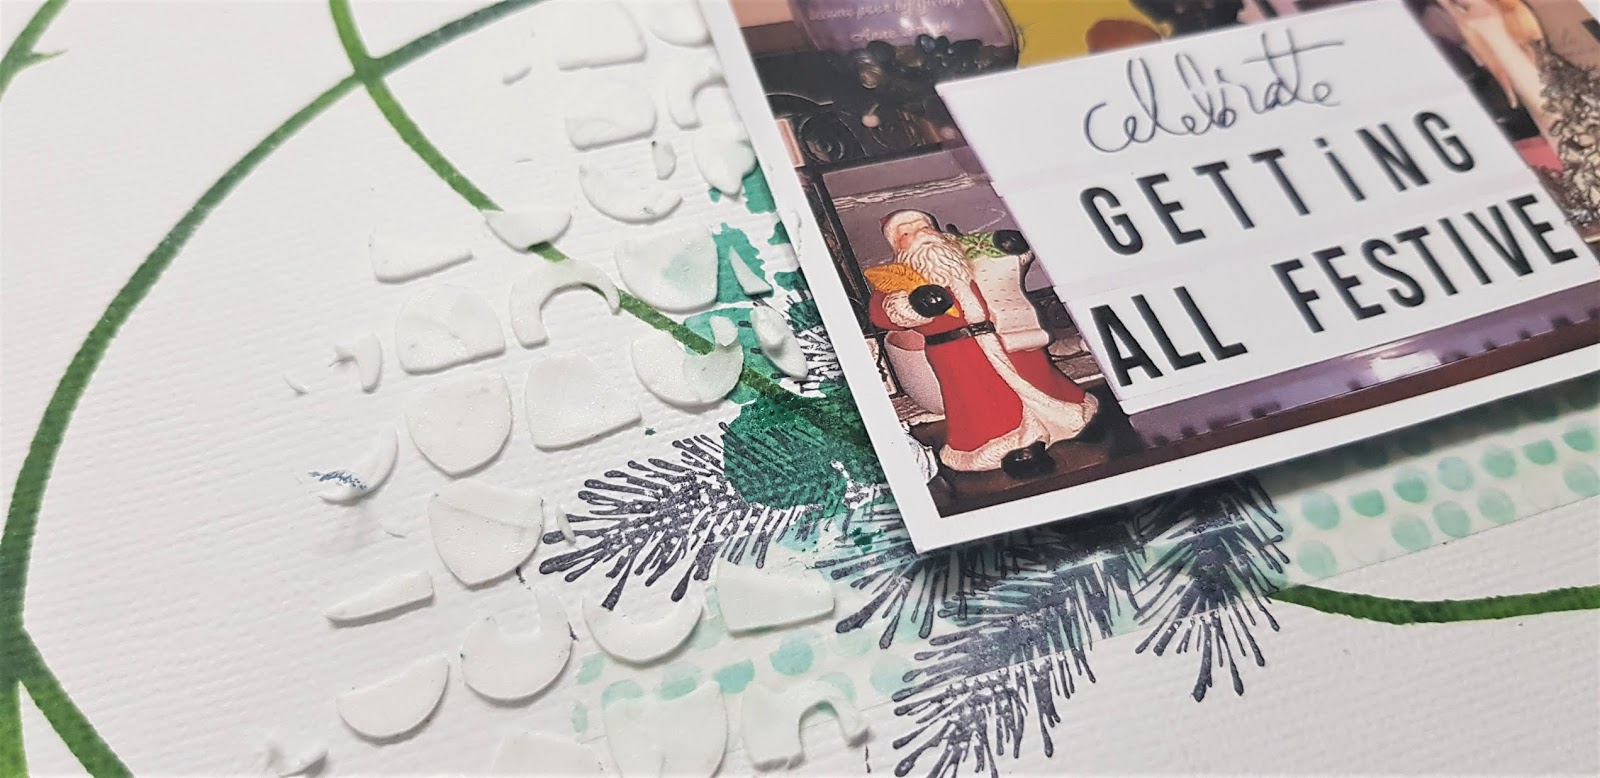
Some close ups for you


If I accomplish all this, you wont know me in 2021!

Have a safe and happy New Year,   
See you all next year
cheers
Tracey


Monday 30 December 2019

Journal Play

I, like many have a lot of unfinished backgrounds in my art journal. So I thought I would pick one yesterday and have some fun with it.


I found a fun, funky stamp I hadn't played with before and some gel prints to stamp on. I then fussy cut them out and used gel medium to glue them into my journal.


I did some shadow stamping onto the background first before I added the stamped images.


I added some white gesso across the centre where I was going to put the focal piece. Using a wet one and a lace print stencil I rubbed off some paint. I then added some back with a sponge and orange paint through the same stencil.


The girl is made from an Art by Marlene figure, combining a few elements to turn her into a fairy.

To finish off I went over with some black pen work and stamped on some butterflies.

Thanks for looking.


Sunday 29 December 2019

Looking forward to Life Book in 2020 with Lisa Oxley

Howdy Folks, Lisa here with a end of year blog post.
Wow, wasn't that a weird end to the decade.
Fires blazing here in Australia, Christmas is over and the New Year approaches.

I am setting my sights upon 2020 and tackling Life Book.
Who else is has join up?, or are you thinking about it?


In 2015 one amazing friend gifted me Life Book as a Christmas present and 
I truly believe it was the greatest gift of creative empowerment I have ever received.

Life Book is a year long online course. 
*It offers 80 plus classes, utilizing the talents of 30 Artist.
Sent to your email throughout the year, classes are supported by a step by step video and a PDF to work at when time is available to you.
There is a visual goodie bag to access.
You also receive an additional 30 lessons from the
 Life Book Creativity and Wellness Summit 2019.
You have Life Long access to all lessons.

In 2020, The Life Book team have asked me to join in to present a lesson.
I'm feeling very excited, humbled and a little nervous also, but I am ready for a challenge and this is exactly what I have been asking the universe for. Obviously, someone was listening...or watching.

If you purchase LIFE BOOK 2020 before December 31st 2019,
 you can receive 20% off  if you use the code
LOVEBOMB2020.

So if you are considering this purchase.. NOW is perfect.


Every item on the LIFE BOOK product list can be purchased through Scrapping Clearly


Big Love and New Years Blessings to the Amazing Design Team,
and a huge Thank you to our girl Kylie, Scrapping Clearly chief enabler and artisan.
A creative maestro, kindhearted, generous and community driven.
We love ya babe, thanks for empowering our passion and enabling our talents.
May the coming year be the best yet.
xxx


Lisa xx

Saturday 28 December 2019

Quick & Simple

Keeping with the time poor theme this month I have snuck in another quick and simple Christmas layout using some fun bright cardstock from the Pink Fresh 'Oh Joy' range. I have layered the 'merry christmas' and the 'jingle bells' cardstock and added a little watermelon coloured muslin. I have then sewn a black border around the outer edge of the white cardstock and the aqua cardstock. Washi tape from Heidi Swapp was added to the top and bottom of the Merry Christmas cardstock. 


 For a little Christmas bling I have added the word 'believe' from Adventures range of Thickers. They had some cute little stars and spots also that I have used on this layout also. Under the word I have added some more Heidi Swapp washi from the Pineapple crush range


 Before adding my photo I mounted it on black cardstock and then raised it using foam tape

The final touch was typing out some journalling and adding a little thanks metal embellishment I had in my stash.


Thanks for popping in and don't forget to pop your creations using the moodboard up on the Facebook page album for December. It has been a fantastic creative year and I look forward to what lies ahead in 2020 on this wonderful creative journey. 


Friday 27 December 2019

"I Spill" by Michelle Logan

Oops almost forgot it was Friday! 
With all the Christmas cheer..... I do not know what day it is!!!
Any way here is a quick share before I head off on a couple of big trips....but I will be back sometime in the new year...!

"I Spill..."


This is a page in my Dylusions Journal. The background was one I had created by smashing my left over paint from other projects onto the page, so there is a few layers here...i even smash down dirty painty stencils, (and I can see my old fave Dina Wakleys "Halves" stencil some where in there)so there is some sort of clash of pattern happening.


Most if not all the paint is Dina Wakley Acrylic....Yes it is a Fave! I also added some very old rub ons, found whilst moving my studio. I could not bring myself to throw them out so I am on a mission to use them up instead.


I used Scrap FX printed Rice paper and old book paper in the background to add some interest and at this stage it was starting to get a little messy so I needed something super bold as the main image.
So I used Dina Wakley Printed Collage Tissue it fitted the bill perfectly.


The skulls looking over the figures' shoulder are an older stamp by AALL and Create, stamped onto tissue using black Stazon ink and applied to the page with Gel Medium.
And that my friends is it for a while.
Items Used:
Dylusions Journal
Dina Wakley Acrylic
Dina Wakleys "Halves" stencil
Various Rub Ons
Old Book paper
Dina Wakley Printed Collage Tissue
Scrap FX printed Rice Paper
Skull stamp by AALL and Create
Stazon ink
Gel Medium.

Till I see you again, happy creating and a safe and arty New Year to all!!

Michelle 

Tuesday 24 December 2019

Fridge magnets

Hi everyone
With less than a month before I have to move house I've started to think about packing.   I looked in the kitchen and saw 3 of those promotional fridge magnets that you get in the mail.   I'd just been whacking them on the fridge 'cause I find them useful but certainly not attractive.   So I decided the get creative.   (Really just a way of procrastinating about the packing!)


I started by giving the magnets a couple of coats of gesso, collaging on some paper, random stamping (Jane Davenport Poppy Girl, Lavinia Stamps Dragon Pods & Seed Heads & others),  and then some Light & Fluffy through a few stencils (Colour Blast Time magic, Dina Wakley Media wheels & others) .  


I made a few embellishments using a mould and some paper clay and covered some metallic bits from my stash with gesso,


 I used alcohol inks on two of the magnets(just squinted them on in places and let them do their thing) and pounced on some acrylic paint using a dry brush for the last one.


I then used my finger to rub on some metallic wax and some gel medium to stick on some mica flakes and beads. 


Hope you all have a fabulous Christmas.
Thanks for looking
cheers
Tracey


Monday 23 December 2019

Graffiti Inspiration

Morning All

I was inspired by the paper and the subject matter in the photo to do a graffiti style background.

Gotta love when the Art looks like your daughter too.


I started with a glorious piece of Ella and Viv paper you will find some in the shop.
I then got a pallette knife and some yellow acrylic paint and just dragged some colour through the background.


I took some achival black ink and circle stamps and added them next. Blue staz on and rectangle stamps also.

I used an old cardboard tube and some orange acrylic paint to stamp on some open circles and dragged the excess paint onto the background with a palette knife to use it up.

I got my Distress stain fired brick out with the foam dauber top. Spritzed some water onto the foam and then splat it down onto the back ground.

I finished off the photo matt with black tissue,some old tags that were lying around on my table and 2 badges I bought at the Banksy exhibition.

Thanks for looking
Merry Christmas to all.
xxx

Saturday 21 December 2019

Keeping it simple

With little to no time at this time of year I am focusing on quick and simple layouts to keep my creative flow going. I am totally in love with the colors of this amazing moodboard & with this in  mind I have grasped a few of those colors and some of the simple shapes to create this layout. It was nice and simple to put together - exactly my focus over the next couple of weeks. It leaves the photo in focus with its awesome use of circles and stars to keep it in the Christmas theme.


I used the Avery Elle Watercolours in Celery to draw circles on a piece of white cardstock - this was done straight from the bottle. I dried this with my heat tool, alternatively you could let it dry naturally as this will also allow the colour to stay rich and not watered down.


I decided on photo placement and then used Heidi Swapp washi at the base where the photo will go. Tim Holtz distress stain in Evergreen Bough was stamped through a UM WOW studio stencil. Inkadinkadoo stamps were used with Ranger Archival Ink in black at either side of the photo prior to placement. I was loving the pinecone look of the stamps - very Christmassy.


Foam tape was added to the back of the photo before adhering to the layout. Liquitex light modelling paste was also added to the layout through the Um Wow stencil.  Timber embellishments from the Heidi Swapp wood range were added for a title and thickers were used for the word Xmas. 


For a few final touches puffy silver stars from Heidi Swapp range of embellishments and a border was sewn in black around the outer edge.  


There are only a few more sleeps to go before the big guy in the red suit comes by... I would love to see your take on this moodboard before the end of the month - and don't forget you go in the draw to win a store voucher so get your entries into the Facebook moodboard album

tracey 
xx