Showing posts with label glass bead gel. Show all posts

Saturday, 17 June 2017

Mixed Media Canvas by Tania

Hi again! Today I'm sharing a small, mixed media canvas, using lots of goodies from the Scrappingclearly store!!!

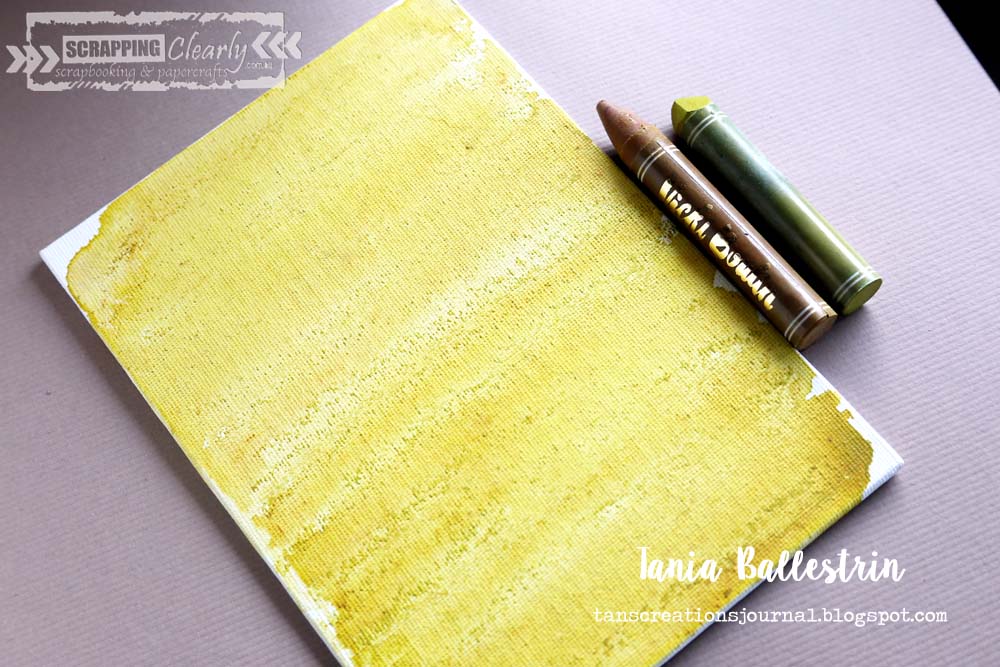
I started with a blank canvas, gave it a layer of Gesso and added my background layer of colour with the Vicki Boutin Art Crayons, I am so loving at the moment!! By simply colouring directly to the canvas, I alternated with two different colours, then went over the top of them with a generous amount of water and a brush. The colour was rich , just as I wanted.


When this was dry, I added some black crayon to a stamp and spritzed with water, and did some random stamping. the image doesn't come out crisp when you use this technique, however, as it's mixed media, I didn't mind.


I added a few more layers of very faint stamping before stencilling with a TCW stencil and some more colour from a few of the crayons, then went over the top with some BLING, Colourblast paste and a fab Dina Wakley stencil. The stamp set I used in this project is the Finnabair Dream On set.


Mixed Media is really all about layers, and I felt that I was only just beginning to get the look I was after. I have some Liquitex Glass Beads and blended them with some of the Pebble Rock from Michelle Grant. (Just painted the Glass Beads on really thick and then sprinkled the pebble rock on top.) Once that was dry, I gave a coat of white Gesso over the top, and then painted with some Lindys Color Shots, (which are a powder you mix with water or any wet mediums to colour.)


By now I was looking for some more texture and height for my canvas, so I found a piece of black elastic, (recycled from clothing tags), and a piece of corrugated cardboard as anchors for my embellishments. I coloured the cardboard with the Art Crayon, before attatching to the canvas on top of the elastic.


I embellished with some pretty, Prima and Cocoa Vanilla flowers flowers! Stamped butterflies and title from the Finnabair pack and some Heidi Swapp Lace, which I coloured with the Art Crayons and water.. Above you can see I doubled up on the stamped butterfly images for extra depth! I finished it off by adding some Range enamel accents in black!


Below you can see the shine from the Bling Colourpaste!!!! It's awesome.


I really wasn't sure where this little canvas was going at the beginning of this creative sitting, but I'm pretty happy with the way it turned out, hope you enjoyed my process and make sure you have a look at the challenges this month. I will be back next time with my take on this month's mood board.





Thursday, 19 January 2017

Best time together with Amy Prior

Hi there Scrapping Clearly fans! Amy Prior back with you all again today, this time sharing my take on the fantastic Mood Board challenge we have over on the Scrapping Clearly Community Facebook page. Here is the mood board...


...and here is the layout that I have created using this mood board as inspiration. I have a quick step-by-step tutorial showing how I created the background for this layout below.


Step 1: Scrape some Liquitex - Glass beads effects medium through a stencil using a palette knife over the top of some American Crafts 12x12 Double Thick White Cardstock and dry completely either naturally or using a heat tool.


Step 2: Mix some Colour Blast - Shimmer Dust - Duke & Candy with water and use it to paint some Heidi Swapp - September Skies - Color Magic - Die cuts words.


Step 3: When the Liquitex - Glass beads effects medium has completely dried, spray a deep puddle of water over the areas where you would like there to be colour on your background. 


Step 4: Using the tip of a long thin palette knife, sprinkle tiny amounts of Colour Blast - Shimmer Dust - Duke all over the puddle of water that you have created on the background.


Step 5: If the powder is not dispersing enough, spray a little bit more water just over the top of dry areas. Let it dry completely either naturally or by using a heat tool but try to avoid moving the water around with the heat tool as you want the colours to be blotchy looking for a multi tone effect. 


Step 6: When the Colour Blast - Shimmer Dust - Duke is completely dry, use your finger and gently rub some Viva Decor - Inka Gold - Silver over the texture on the background. 


Step 7: Cut various rectangles and squares out of American Crafts - Shimelle - Starshine patterned papers - various  to layer underneath the photograph. 


Step 8: Finish off the layout with various items from American Crafts - Shimmelle Starshine - stickers, the painted Heidi Swapp - September Skies - Color Magic - Die cuts, and My Mind's Eye - On Trend 2 - Acrylic words. Adhere the clear stickers to white cardstock then fussy cut if you would like them to stand out better like I have here with the hot air balloon.


Products used for this project include:


Well that is all from me today, thanks so much for stopping by and until next time, happy scrapping!

Amy Prior xx