Saturday 31 October 2020

Journey by Tracey Thorne

 I am still finding pages that need to be cleared off my desk. I think I am up to the fifth one now. Slowly slowly will win this race 😏. I hope you are all enjoying your weekend thus far and are ready to get messy and creative.  This layout was all about just finding things that were on my desk that I chose not to use on other layouts and was too lazy to pop away. 

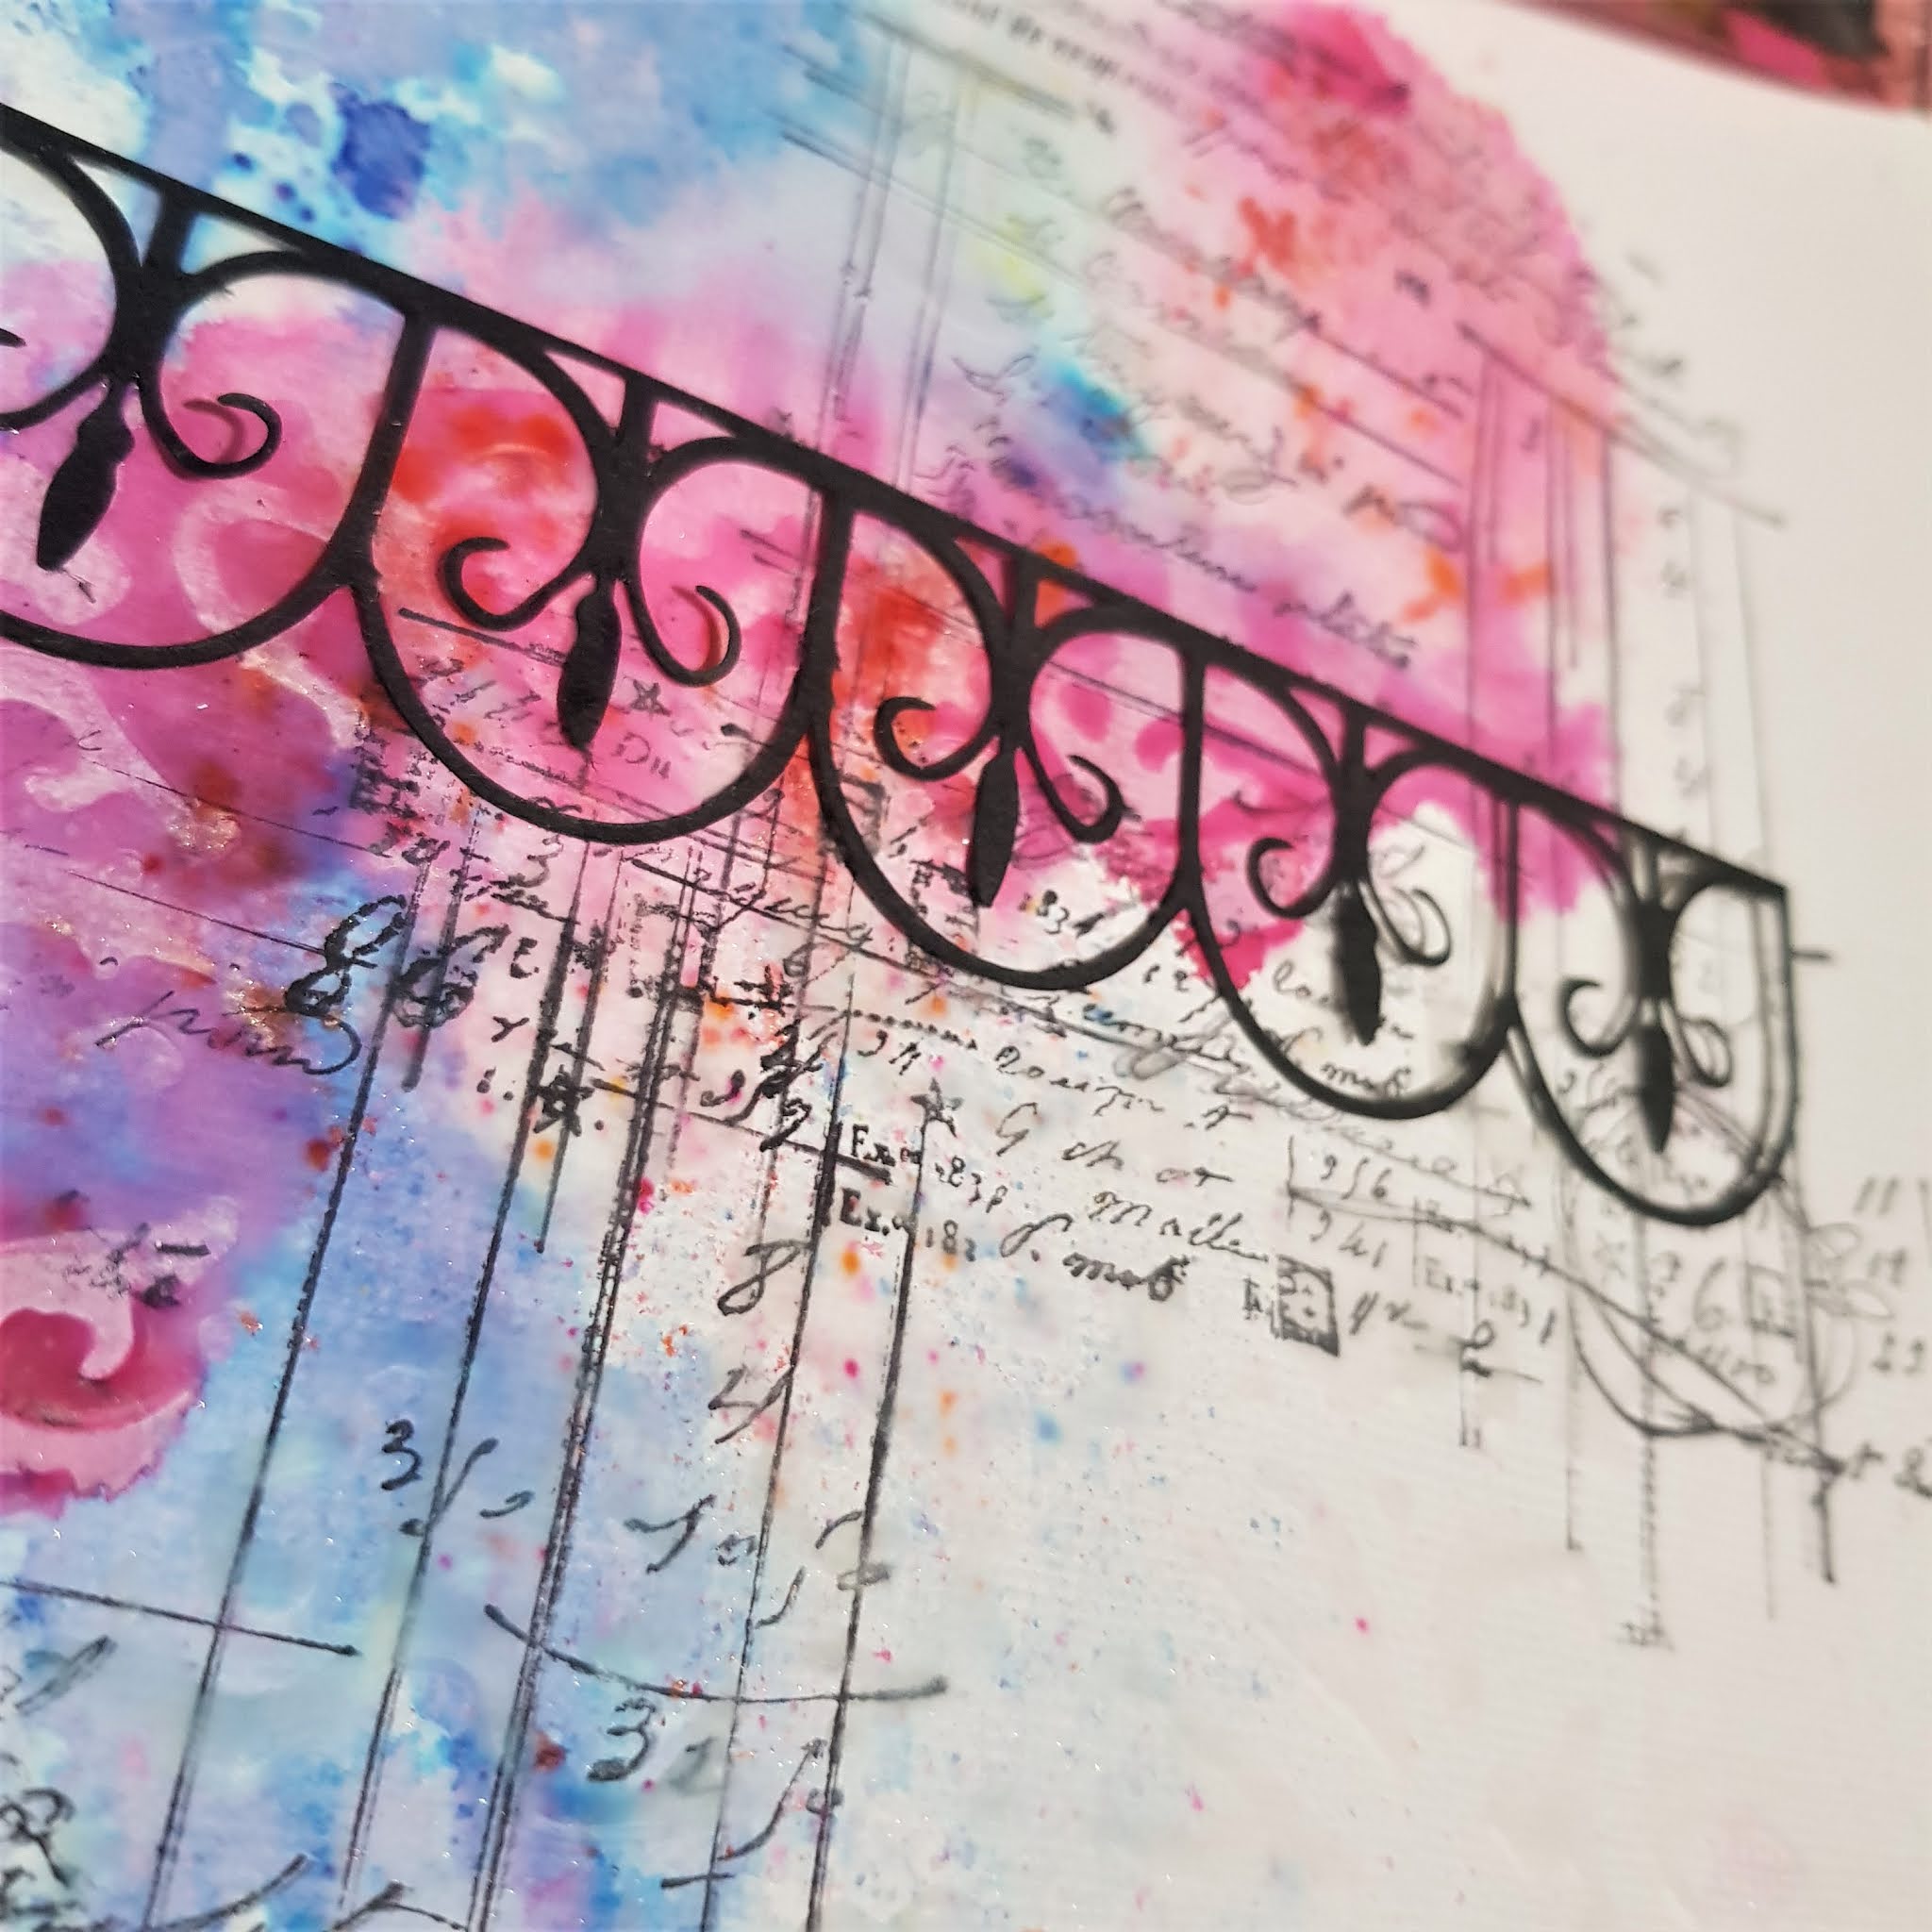
I started with a pre-worked piece of white cardstock which had a bubble stencil used on it with Liquitex modelling paste and some Dina Wakley paint in fuschia mixed through it {I am thinking but going from a very bad retention of memory}. I freshened the paint up with a little gesso over the top and a quick rub off with a wipe. I added a little black stitching across the page and then created a rectangular border to encompass the ephemera and photo. A little black shadow was added along the line using and ALLS pencil and smudging it with water.


I have then layered a few bits and pieces of paper & fabric ephemera - A playing card, old tags, some Muslin that I dyed with some yum Speckled Egg Ink, off cuts from Vicki Boutin & Heidi Swapp printed paper, Calico, Tab from Flutterby Designs, number cutfile created by myself. At this stage I added the photo and stitched an ephemera tag to tie it all together. I have also added hand stitching to the top and bottom corners of the photo. I found staples were the quickest and easiest way to attach a lot of this layering with a little glue for good measure squirted underneath.


I have then added a little more 3D ephemera to this page using Tim Holtz arrows, clock face and gasket. I have added a few wood numbers also and a offcut of hexagon chippy. Ooh and stamping I needed to add a little more black for balance. I have used AALL & Create Checkmate stamps which help tie in with the muslin check. I have also added my title using Heidi Swapp Acetate word - journey.


Finally I used some Tim Holtz Rub ons to add a few more words to the page. A blacked stitched border finished my page off. 


I do hope you have a creative weekend... bit jealous that Kylie has her retreat this weekend and I live a million miles away and just have to wish from afar. Have a fabulous retreat everyone!

Don't forget today is the last day for our October moodboard for entries to be uploaded in the Scrapping Clearly Share and Inspire facebook page... so if you haven't given it a crack maybe it can spark your mojo as there is nothing like the last minute.

have a great weekend.

Tracey xx


Thursday 29 October 2020

More Mini Art Journalling - With Karyn Schultz!

 Hi Lovelies!

Today I have 4 art journal pages that I created using lots of fun products available at Scrapping Clearly
 
 
 I have created all of the pages in my Dina Wakley Media White Journal
 
For this first page I start by painting DWM acrylic paint across the page (lime, turquoise, ocean, medieval, mineral). Then I sprayed DWM gloss spray in lemon through the DWM circle halves stencil. Next I added splatters of DWM gloss spray (night).  I added some collage elements from project offcuts and book paper as well as a fussy cut stamped image. Some Tim Holtz Idea-ol-ogy Small Talk Word Stickers completed the page. 


For this next page I used similar colours to the first page. I painted DWM acrylic paint across the page (lime, turquoise, ocean, medieval, mineral). Then I sprayed DWM gloss spray in lemon through the DWM circle halves stencil and Night DWM gloss spray through the DWM Swirling dashes stencil.  Next I added splatters of DWM gloss spray (night).  I added some collage elements from project offcuts and book paper. Some Tim Holtz Idea-ol-ogy Small Talk Word Stickers completed the page. I like to use my Tim Holtz Tiny attacher to attach collage elements.


The next 2 pages use similar techniques with a different colour palate.
 
 
 For the next page I painted DWM acrylic paint across the page (blushing, magenta, fuschia, lemon eggplant). Then I sprayed DWM gloss spray in lemon through the DWM circle halves stencil. Next I added splatters of DWM gloss spray (eggplant and lemon).  I added some collage elements from project offcuts and book paper. Some Tim Holtz Idea-ol-ogy Small Talk Word Stickers completed the page.


For the last page I painted DWM acrylic paint across the page (blushing, magenta, fuschia, lemon eggplant). Then I sprayed DWM gloss spray in eggplant through the DWM wallpaper stencil. Next I added splatters of DWM gloss spray (eggplant and lemon).  I added some collage elements from project offcuts and book paper, as well as a fussy cut stamped image from the DWM Positive Women stamp set. Some Tim Holtz Idea-ol-ogy Small Talk Word Stickers completed the page.


Thanks so much for stopping by!

Crafty Hugs xx


Wednesday 28 October 2020

2 pages with the "Elegance" Butterfly stencil, by Amanda Hartmann

 Hello friends!

Today I get to share two pages, and I used the AALL & Create Elegance Stencil - it combines butterfly with florals and it is divine.

I used Tim Holtz Distress Oxide Ink Pads to add colour to these pages.

Here is "Fabulous":


I placed the stencil/mask on the page and used a blending brush to rub Distress Oxides through the stencil. Afterwards, I painted water around the design to soften the edges and also added some water splatters (which react with the oxide).

Finished with a hand cut photo, some sweet embellishments, and an Embossed chipboard title.

Distress Oxide colours used: Cracked Pistachio, Broken China, Evergreen Bough

Check out these close ups!


Here is "Happiness is Dance":


For this page, I used the same technique. However I placed the stencil more in the bottom left of the page. I again used Distress Oxides to blend through the stencil. This time I added more ink to the edges so as to define the edge of the butterfly wing more. Again I softened the edges with water and included some splatters of the ink on the page.

Finished with some stickers and embellishments, the hand cut photo and again an embossed title.

Distress Oxide colours used: Picked Raspberry, Faded Jeans and Wilted Violet.


Check out these close ups!


I LOVED this stencil and I loved creating these pages.

Thanks for looking,
Amanda


Tuesday 27 October 2020

The Good Life by Tracey B

 Hi everyone

I'm on a bit of a mission to use up stuff I have had in my stash for years and years (to make way for all the goodies heading my way in a lovely gold parcel!)

I have 3 folders of alphas (colour coded of course) a lot of which I will never use for their intended purpose so I dragged out a couple of sheets and randomly stuck them onto my page along with the waste form the circle stickers for some added texture.


I then used a brayer to roughly roll on some paint.  I added some Art Anthology velvet dimensional paint through a stencil and some water colour to give more depth and traced around some of the circles with a stabilo and a Posca pen.


Some finishing touches and calling it done.

products I've used include

Letter stickers and waste
Dina Wakley Paints (Sky, Turquoise & Mineral)
TCW Stencil (Mosaic Tiles)
Cocoa Vanilla ephemera (Unforgettable)
Cocoa Vanilla Enamel dots (Totally Rad)
Wendt Vecchi Archival ink (Watering Can)

Thanks for looking.

For those heading to Art is Life I know you will have a fabulous time.   
Will be thinking of you and hope to see you all next year.

cheers
Tracey


Saturday 24 October 2020

Magic - created by Tracey Thorne

 Welcome to another fantastic Saturday. I am still on a mission to use up my pre-sprayed pages and on  this one I added a few extra splashes of colour - Distress Oxide picked raspberry ( which i refer to as pickled raspberry 😂) & Lindy's magical shaker Alpine Ice Rose. After drying I have used a Viva Las Vegas stamp & Carabelle Edges in my Journal stamp.

Now a funny thing is mistakes can be blessings in disguise. I accidentally picked up the Liquitex matte medium instead of the modelling paste - but the effect was amazing and gave the page a similar look to encaustic. I used it through a mandala stencil. LOVED IT!

I have then layered some pre cut ironwork cut outs before layering Hambly acetate and then the photograph which was bordered with Maggie Holmes Gather cardstock


I decided to add a little bling to the layout by cutting out my title, frame and a few hearts. I used the silhouette and some silver glitter cardstock.


I layered the title over the photo and added extra journalling by using Tim Holtz phrase stickers.


A little extra black stamping was added using Stampers Anonymous Grunge stamps. I have also used Dina Wakley Media stamps - handwritten quotes. A stitched outer border was added to help tie it all together.


I hope you have enjoyed this process & remember mistakes can sometimes be blessings in disguise.


Have a great weekend

Tracey