Showing posts with label Teresa Collins. Show all posts

Friday, 3 September 2021

Living Our Best Life by Belinda Spencer

 Hello Scrapping Clearly peeps!!


It's Belinda here with you today to share my layout inspired by the September Mood Board and featuring some awesome products from the Scrapping Clearly store.


Here's a peek at the stunning mood board:


'Living Our Best Life'


I began this layout by spritzing some Black Velvet Heidi Swapp Colour Shine onto a sheet of Vicki Boutin Mixed Media Cardstock. I flicked some of the colour over the page too.


Next I added some stencilling using an Art By Marlene stencil with Colour Blast Heavy Black Gesso. I added some stamping too using a stamp from the Inkadinkadoo Branches Rubber Stamp Set and Jet Black Ranger Archival Ink


I created a paper stack using offcuts from various paper ranges including Studio Calico Seven Paper Goldie collection, Teresa Collins Urban Market 6x6 Designer Pad. I cut the title from a sheet of patterned paper from the Heidi Swapp Art Walk 12x12 Paper Pad.


I added a Heidi Swapp wood veneer word that I coloured using a white Posca Pen, a fleur de lis chipboard shape from the Teresa Collins Urban Market range and a cute hand chipboard shape from a Vicki Boutin Storyteller Thickers sheet.


I added some more stamping using the Vicki Boutin Colour Study stamp set, some fussy cut transparency butterflies by Scrap FX and washi tape from the Colour Study collection. There is also a sticker quote from the Studio Light Jenine's Mindful Art Time To Relax Sticker Book.

Thanks for stopping by the blog today. I hope you are feeling inspired to give the mood board a go this month.

Cheers
Belinda


Tuesday, 19 November 2019

Beds are overrated

Hi everyone
I love moodboards as they start you thinking and can take you in unexpected directions.   This time I was inspired by the bed in the moodboard even though my photo doesn't actually feature a bed.   I did initially think I was going to go with the colour scheme of the board but started pulling out my stash and went in a completely different direction.   Sometimes life's like that!


I started by giving my Fancy Pants patterned paper a coat of clear gesso.
I sponged on some acrylic paint through a Heidi Swapp lattice stencil.
Then smooshed some Distress oxide (Picked Raspberry) onto my messy mat and gave it a spritz with water and then added it to the LO with a paint brush.
Next some Ceramcoat paint mixed with some modelling paste through a Darkroom Door Creative stencil.


I've matted my photo with some Teresa Collins Urban Market paper and then used  some left over bits and pieces from different Cocoa Vanilla ephemera packs (Love Always, Happiness & Hello Sunshine).   Love how they all effortlessly coordinate with each other.   Some Cocoa Vanilla enamel shapes and a Heidi Swapp acetate embellishment to finish off.  


Plenty of time still to have a go at this month's board.
Looking forward to seeing what you create


cheers
Tracey


Tuesday, 5 November 2019

Graduation time

Hi everyone
 Inspired today by this month's moodboard.   So much so that I went for some Cocoa Vanilla patterned paper as my base.   Very unusual for me!


I coated the paper with clear gesso and then some moulding paste through an old TCW stencil.


I sprinkled on some Ken Oliver Colour Burst powders (sepia & lamp black) and gave a little spritz with water.

I've embellished with some Heidi Swapp stars and cut out the waste from some used Cocoa Vanilla Stickers to give me some more embellishments (more stars and the arrow).   I do this quite a bit.   Not only does it stretch your crafting dollars but they look cool.


Plenty of time to give this month's challenge a go.  


 Looking forward to seeing what you create.

cheers
Tracey


Wednesday, 16 October 2019

Happiness & Cocktails | Sue Plumb


Hi everyone!
It's Sue Plumb back again today to share my latest guest designer project with you.
For today's post I wanted to go "back to basics" and create a fun 12x12" scrapbook layout that was focused on paper. (My love of paper is, after all, what first led me down the rabbit hole of scrapbooking.) I chose to document some fun photos that were taken almost a year ago at my retreat on the Sunshine Coast.


The collection I chose to pair with my photos was the 'Good Vibes' collection from Crate Paper. This collection is full of bold, playful patterns - perfect for pairing with my retreat photos!

I began with a sheet of the Girls Night paper as my layout base, which I topped with a sheet of white cardstock, that I trimmed down to measure 11x11". This left me a nice, even 1/2" patterned paper border all the way around the edges.


I then turned to my other papers and was immediately drawn to the gorgeous All Good paper, with its rich colours, florals and sweet bird motifs. I cut a large rectangular piece which I placed vertically on the left side of my page. I then cut a smaller piece of the Hashtag paper and layered it horizontally over the top.

Next, I cut one of the stripey pattern strips from the Passion paper, which I added on top to provide a strong, horizontal line on which to place my photos. 


I still wanted more layers behind my photos though, so I cut two tags from So Chill cut apart paper; punching a hole in each and then tying them with twine. These were then tucked in underneath where my photos were going to go. I also tucked a small white doily into my layers before sticking my photos down.


For my page title, I cut the large "happiness" piece from the Big Heart foil accent specialty paper and placed it below my photos. I then used some blue Pinkfresh Studio 'Boys Fort' Mini Alpha Stickers to complete my title. (These are such a cute size, and there is also a sheet of both tan and green alphas included in the pack.)


With so many busy patterns at play, my layout required very few embellishments (as the papers had already done most of the hard work for me). I reached for the remaining piece of the All Good paper I had used earlier and fussy cut one of the little birds from it. I the added it to my page using foam tape to give it some dimension.


Above my photos I added a gorgeous 3D butterfly embellishment from the One Canoe Two Globe Gallery range.
To finish off, I added a scattering of blue sequins from the Teresa Collins Urban Market Sequins pack. (These were the perfect match for the blue of our cocktails!)


That's all from me today, I hope I have inspired you to get back to basics too and create something featuring lots of pretty papers too. 
Until next time, happy scrapping!

Wednesday, 2 October 2019

Happy Days | Sue Plumb


Hi everyone!
It's Sue Plumb here with you today and I am so excited to be joining Kylie and the rest of the Scrapping Clearly team as this month's guest designer.

For my first project I thought I would start with what I know best - a 12x12" scrapbook layout to document some photos that were taken at the Cocoa Vanilla Studio retreat back in May.


I began my page with a sheet of Bazzill 'Marshmallow' Smooth Heavyweight cardstock; choosing the heavier weight cardstock because I was going to be applying wet media to add some subtle watercolour detail to my background.

I started with Ranger 'Stormy Sky' and 'Tumbled Glass' Distress Oxide ink pads, which I swiped onto my non-stick craft then spritzed with water until large droplets had formed. I then used my fingertip to swirl the water through the inks, blending them together in a few places before laying the cardstock over the top and smoothing it down to absorb the ink.


I set my background aside to dry whilst I turned my attention to the patterned papers. The ones I had chosen to work with were all from the gorgeous 13Arts 'Blue Magnolia' collection. I cut a large piece of the striped Evening Letters paper and added it to the right hand side of my page, leaving my watercolour work visible on the left side of the page.

Next, I added a small piece of teal paper as a mat for my photos. I used the reverse side of the Forever in My Heart paper from the Simple Stories Heart collection and then added my photos on top using some cardboard underneath to pop them up from the page. 


Now it was time for some fussy cutting! I took the Flowery Day paper (also from the 13Arts Blue Magnolia collection), which is full of gorgeous elements to cut out. I cut a few floral pieces and added them to my page with foam tape so that they formed a "visual triangle" around my photos. I also used black cotton thread in each cluster to add some soft texture to my page. 


In the bottom right corner I added a fussy cut branch with a sweet little bird perched on it; then three butterflies (also cut from the same sheet) which I placed around my page to form a secondary visual triangle.

For my title piece, I used the happy days die cut from the Pinkfresh Studio 'Boys Fort' Collection Ephemera Pack, which I also applied using foam tape for dimension.


Next, I added a simple doodled border using a black Fude Ball pen; a small strip of paper along the bottom edge to record the details about my photos; and finally, a scattering of black and white sequins from the Teresa Collins Urban Market Sequins. To finish off, I couldn't resist a few tiny black splatters of Indian Ink.

Thanks so much for stopping by, I will be back next week with another project to share with you.


Saturday, 20 July 2019

What SPARKs your interest with the moodboard?

I had a lot of fun with this crazy picture of my daughter and I and the moodboard colours were just perfect. 

When you use a moodboard what sparks your interest to use it -  Is it the colours ,the patterns, the picture prompts or maybe a word? I like to try and tie it all together in my layouts. I love the colours firstly and then I try to tie in a visual as well when creating my Scrapbook layout. This week I have used the colours and the visual of the girl helped me lend this layout to one of my daughter and I. 

For this layout the base is white cardstock with a few dots of Dylusions Slate Grey paint that have been brayered around on the page.


Next I used up a few of the offcuts from last weekends layout to layer behind my photo - Cocoa Vanilla, Heidi Swapp, Pink Paislee. I have used a Pinkfresh tag - don't be scared to cut these up if you are only wanting part of it - I find I use the other parts layered on the layout or they come in handy for the next project. 


 Time to test it out for placement. Once I found where the photo composition was going I then used Dylusions background stamps to add a little more interest to the page. 


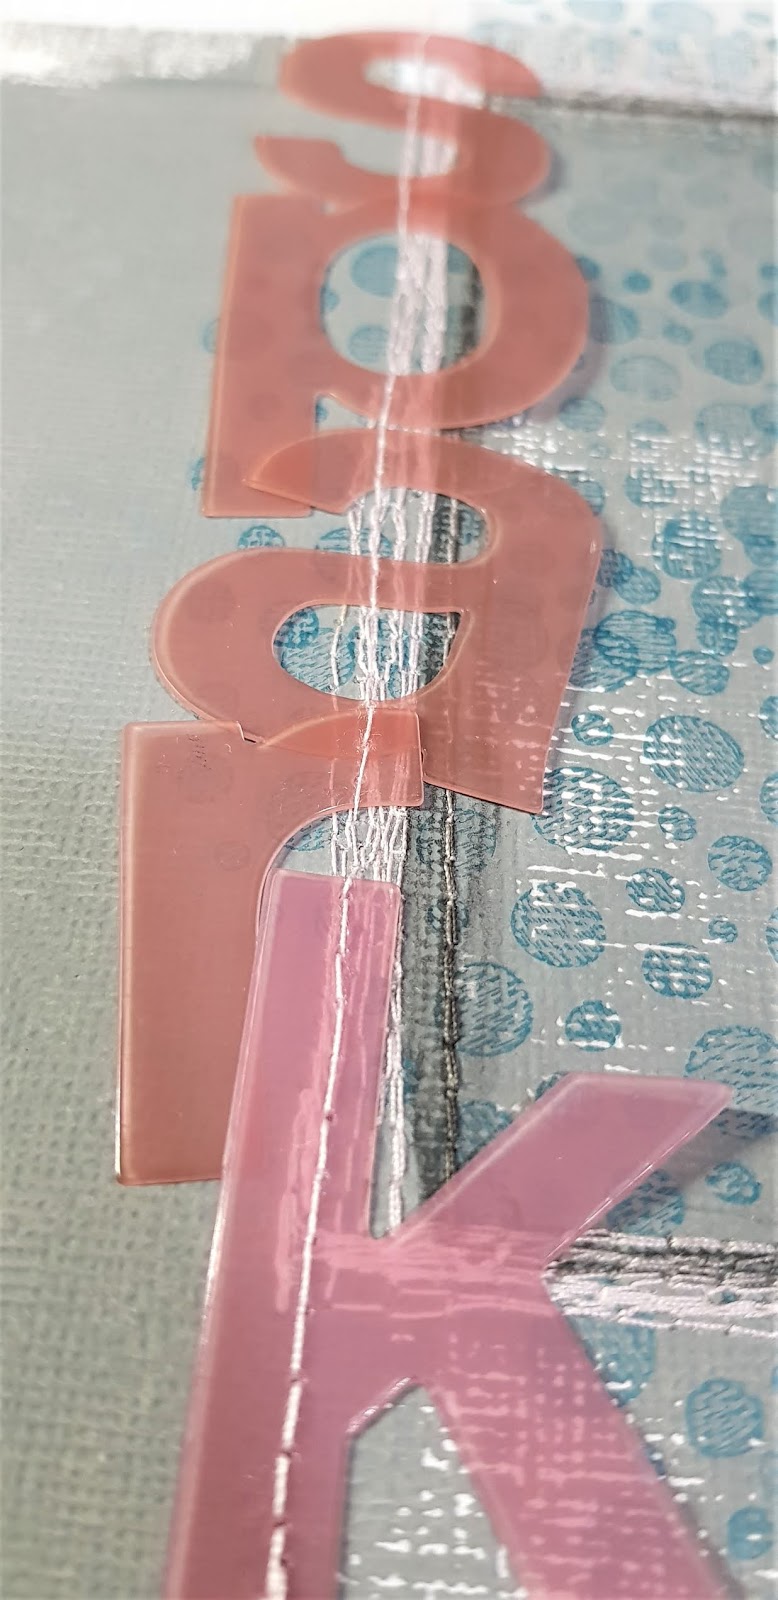
After marking out a border around the photo with an ALLS pencil it was time to hit the sewing machine and stitch around this to help add more depth. After completing that I used a wet paintbrush to smudge up the pencil. I added the title using Heidi Swapp ghost alpha. These were adhered using stitching.


 Before sticking down the photo I added a few more layers from Teresa Collins chipboard elements, Heidi Swapp washi tape, Heidi Swapp acetate label, Pinkfresh sticker words, Kaisercraft butterflies & a flair.


To finish off the layout a border was sewn with a dark grey cottom.


Thanks for popping in and having a look at my crazy life with my daughter who really is a fun little spark of energy with all her craziness... have an amazingly creative day.

Friday, 14 December 2018

Handmade Christmas Cards

Hi everyone! 

I have here some simple handmade cards from the Pink Fresh Studio 'Oh Joy' range. 


This range is perfect for these four cards, as the colours are fresh, with simple designs.


For this first card, I used the following papers: Winter Wonderland, Under The Tree, Advent Love.

To decorate the card, I used a red 'Tis The Season Bitty Bow, Cocoa Vanilla sequins, and Cocoa Vanilla Totally Rad Little Stars - all from the store.


With this shaker card I used Jingle Bells and Joyful Christmas papers from the Pink Fresh Studio collection
The buttons and snowflake were from my stash. For the sentiment, I used ephemera from the Fancy Pants 'Merry and Bright' collection


Here I used Joyful Christmas, Jingle Bells, Winter Wonderland - all from the 'Oh Joy' collection. 
From the store, I have used sequins from the Cocoa Vanilla 'Tis The Season Range. Across the top of the card, I have used Teresa Collins 'Tinsel and Company' decorative tape.


On this final card, I have used Jingle Bells, Advent Love, and I cut the stacked presents from 'Under The Tree' paper. 
To embellish this simple card, I have used Heidi Swapp - Marquee Love Collection - in black, Cocoa Vanilla 'Tis The Season sequins and ephemera from Fancy Pants 'Merry and Bright' collection.

I hope you enjoyed this post and that it might have inspired you! 

Thank you for stopping by, Amy


Friday, 16 November 2018

Hairy Coos!

Hi All,

Just popping in with a simple but fun 12 x 12 project here.

As you can see, I have used green - as I loved last month's moodboard and so was inspired to use these colours.

The gorgeous cow pictured here is a Galloway Cow. They are known for their placid nature. The photos were captured by a friend of mine whose parents own a cattle farm in the western district of Victoria.


Initially, using an old gift card and ColourBlast Black Gesso I smeared four large strips horizontally across the page. I repeated the process using Dina Wakley Heavy Body Acrylic paints in both Lime and Evergreen

Once dried, I splattered some Tim Holtz Distress Stains in Black Soot over some of the strips. Using a modelling paste from a stash and Crafters Workshop 6x6 stencil - Mini Cubist.


Finally, with the background, I splattered Dylusions by Dyan Reaveley - Shimmer Spray - in Fresh Lime.

 
Then it was time to adhere the photos and to embellish this simple page. For the embellishments I used Polaroid Die Cuts, Wood Veneers (from Teresa Collins Something Wonderful Collection), Kaisercraft wood veneers and finally - American Crafts Thickers.


Thank you for popping in!

Ciao, Amy