Sunday 30 May 2021

A Little POP culture - by Emma Zappone

 Happy Sunday friends.
Emma up on the PF Blog with you today with a bright POP layout.
Using lots of bright colours and a few old school techniques this layout came together nicely.


I'll now show you how I created it.....


I started by adding a sheet of Art by Marlene Collage Paper to an A4 card. And once dry created some tags out of it that would match my layout. Next came the colour! Using Dylusions paints (lemon zest, blue Hawaiian, peony blush, laidback lilac, cherry pie & black Marble) I dotted the colours in a straight line and then using a palette knife dragged the colour down the page. Then I flipped the page upside down and using the knife once more dragged them toward me again. Wiping the knife in spots to create an abstract feel.


Once the paint was dry I started to build layers with stencils and stamps. First was a couple of Dylusion stencils with Distress Oxides in Chipped Sapphire and Kitsch Flamingo to mark make. Once the Oxides were dry I grabbed some Modeling Paste and using a circle stencil went through in random but strategically placed sections😉


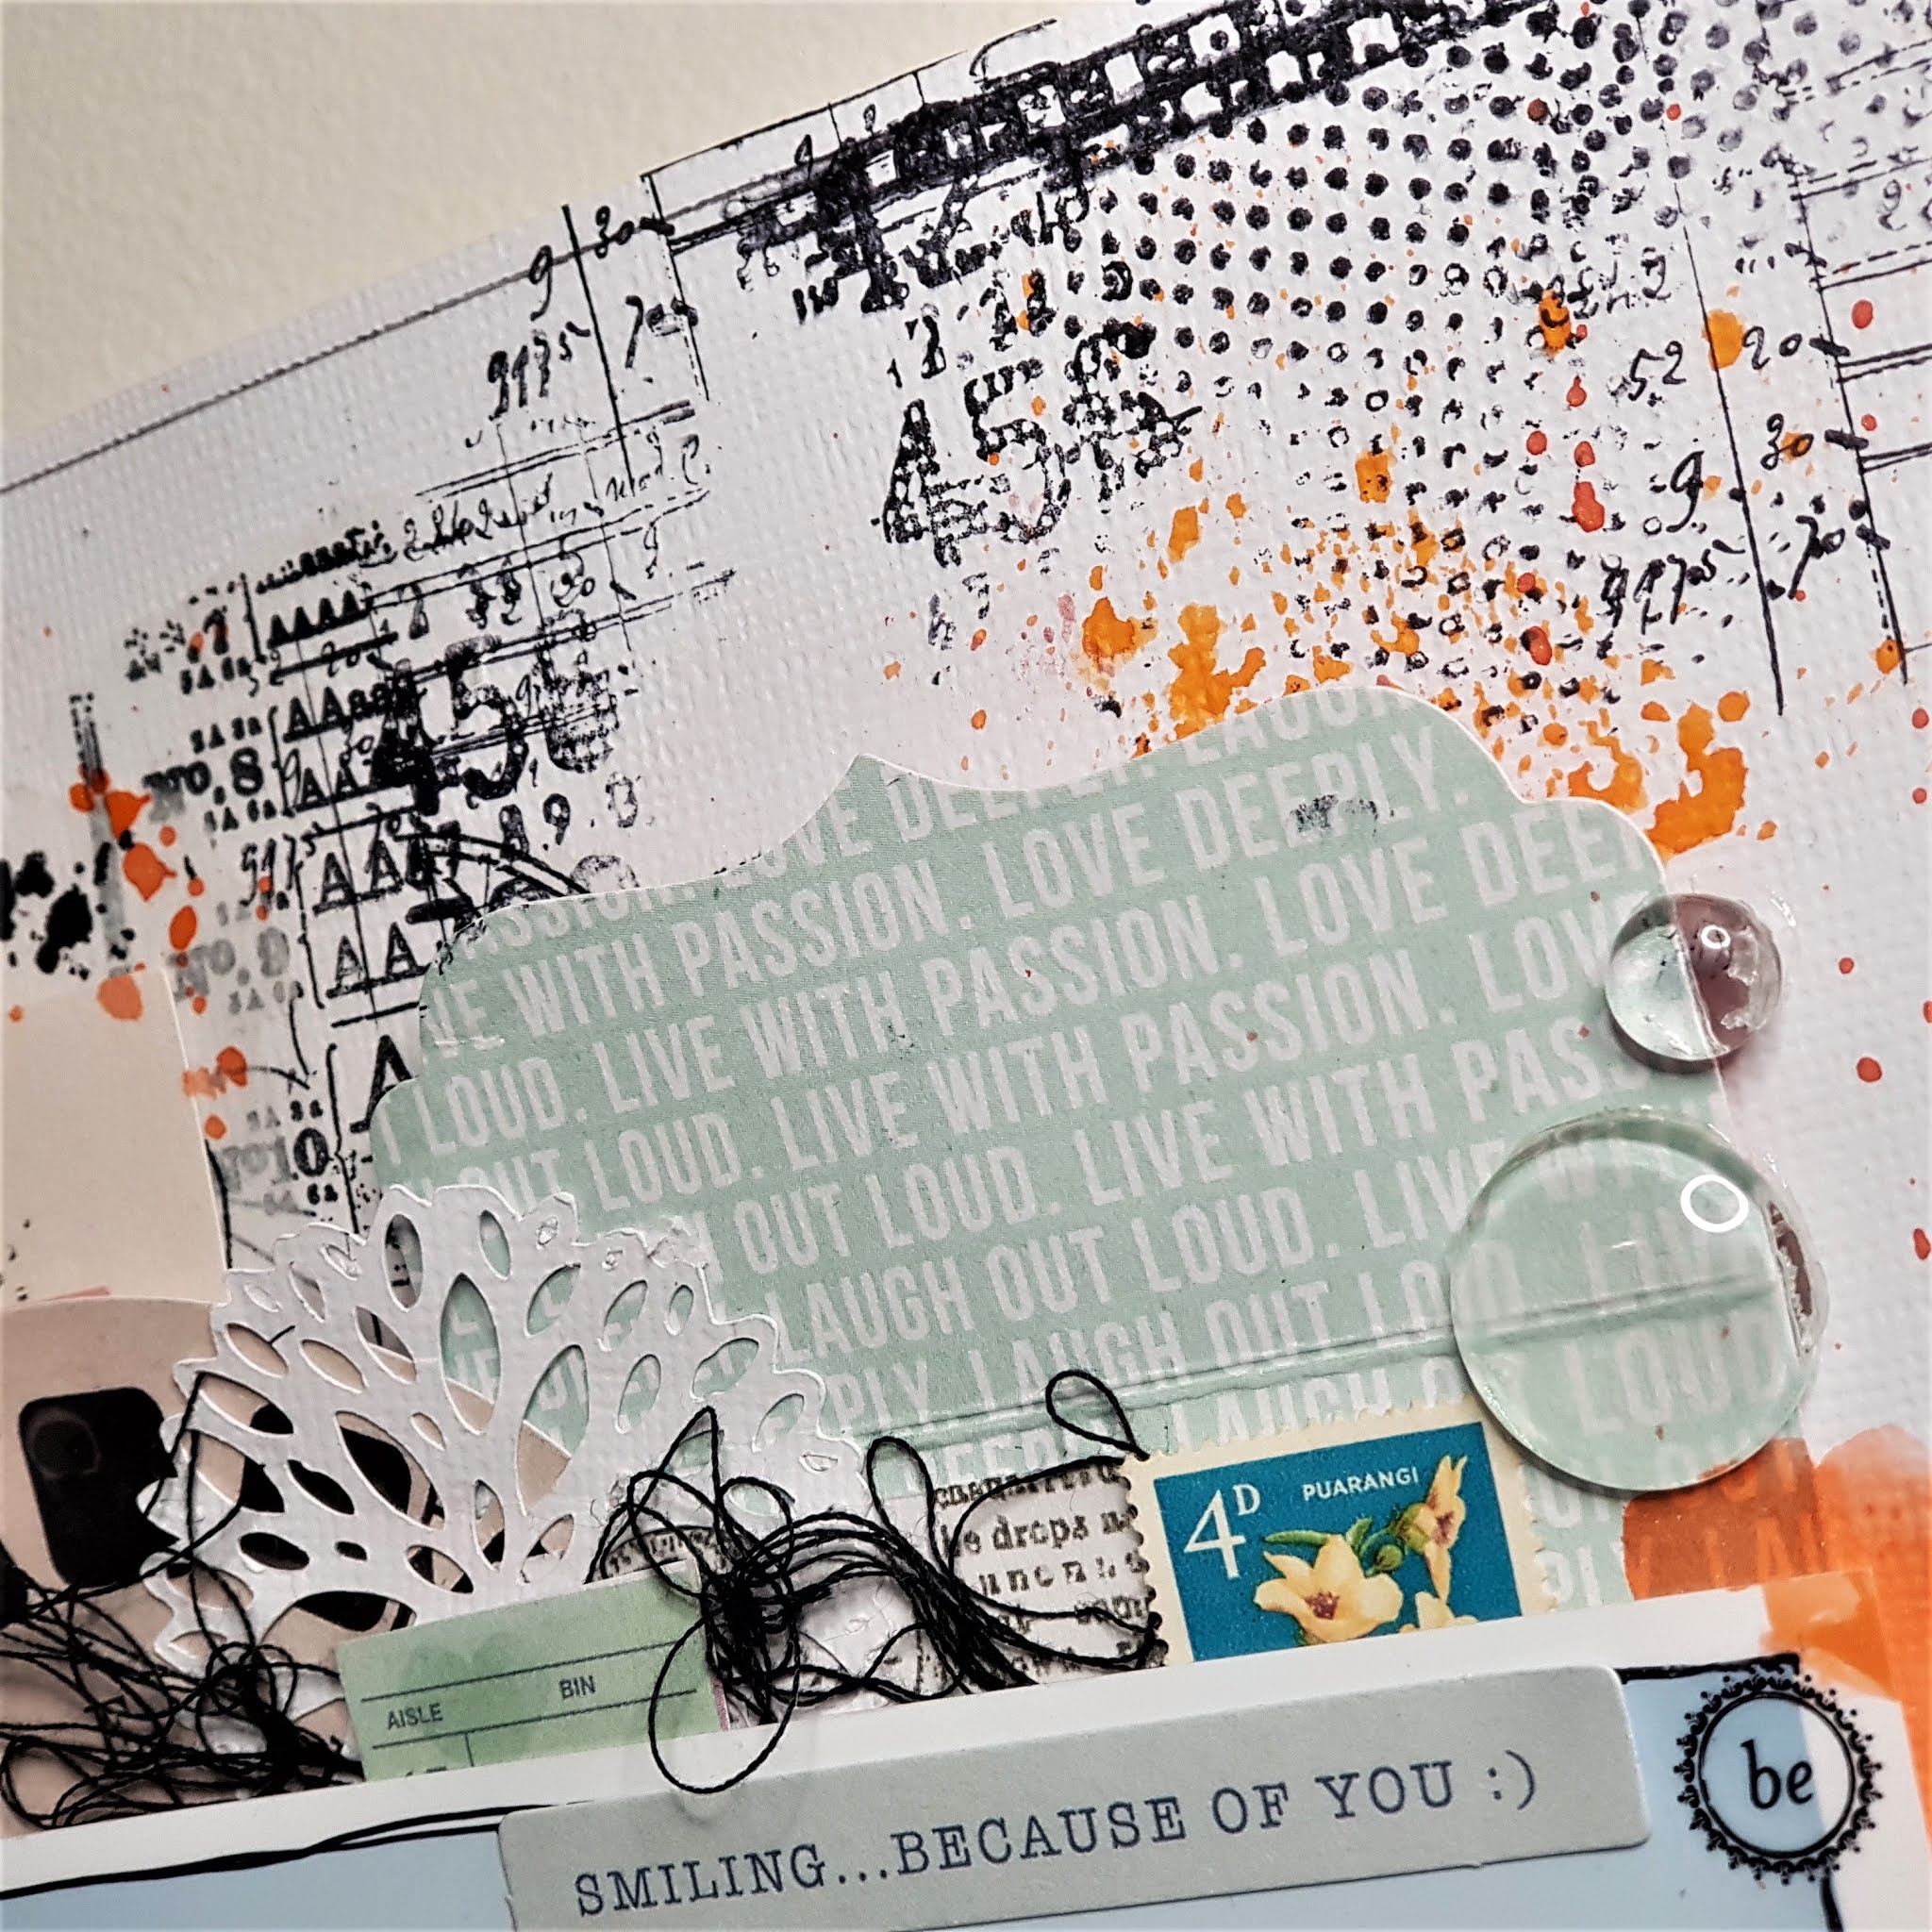
Then choosing a section of the HUGE Aall & Create Scribble It stamp, stamped in the areas that the modelling paste was laid. And then I started the composition with the tags made earlier and some chipboard elements. I love layers and this page has that for sure.


Once all my chipboard pieces and fabric were glued in place, it was time to add some story to the page, and what better than the Studio Light artsy Arabia sticker Quotes. These have so many awesome quotes, I had to use 2 to tell the story.


I dug around my stash and found the good ol' enamel dots that I prettied the page up with a little. Finally a few black & white splashes and this bright POP page was complete. 


Bright and fun for this last Sunday of May.

Thanks for joining me, happy crafting and will see you next month.

Em xx


Saturday 29 May 2021

Keep it Real by Tracey Thorne

 Welcome back to the blog and another fabulous Saturday.  

There is only a couple of days to go to enter and upload your layout in Scrapping Clearly's monthly challenge - you can see the challenge moodboard here on the Facebook page - you can also upload your layout in the album to be in the draw for our monthly fab prize from Kylie.

My 12x12 layout this week I suprisingly put together quite fast. I was trying to clean up a few odds and ends on my desk and the layers all just came together. 

For the base I have used a page from the Vicki Boutin Mixed Media cardstock pad. I started to pull in ephemera and strips of cardstock from the Pink Paislee Memorandum & Cedar Lane ranges. I have also used a piece of music paper and Project Life card to help build up the base for the photo. There were a few offcuts and practise pieces of Kraft cardstock on my desk so I have used them up too. I have also decided to use a bit of the Pink Paislee cardstock to create my title.


After working out placement I have drawn a black square around the photo layers using a Stabilo black pencil. I have added water to this and then sewn the border also. Whilst sewing this border I have also sewn the outer edge border.


I have added a little more layering using some Darkroom Door stamps - Gazette & Abstract 01. I also used a Finnabair butterfly stamp. These were applied using Adirondack black ink.


After adhering the photo stack layers more ephemera was added including some beautiful sparkly Freckle Fawn glitter stars.


The title was created by using American Krafts Thickers - Kensie. I have also used some Vicki Boutin stickers, punchunella & Dina Wakley star tissue paper.


Added quotes to help with my journalling were added using the Tim Holtz range of stickers. I love using these for a quick answer to journalling - with style 😉


Thanks for popping in and I hope you get an opportunity to create a little something for yourself this weekend that you can add to your memory bank.


big love to ya
tracey


Saturday 22 May 2021

you are by Tracey Thorne

 Good morning and welcome to the blog.

I have taken a few colours from the Monthly moodboard and created this little ditty... the photo has been sitting on my desk for a while and I felt it was time to give it a little substance.


I have started with a base of white cardstock and have found a nice little package of Teresa Collins to help add the layers and the colours to the page.


I have also added some AALL & Create stamps that have been stamped out on tissue paper and added them by using Liquitex Matte Medium. Some Basic Grey rub ons were also added for interest.


I have added some lotus flower cutfiles from my own stash as well as some stamping using - Kaisercraft spotty stamp, AAll & create stamp sets 386,122 & 398 as well as Darkroom door stamps Number Medley.


I have added a flair and some cotton. The butterfly was a printout that I have fuss cut and added to the page. I have used a few Basic Grey rub ons and Thickers to create the title.


a black pen border was created to block the whole piece as weel as a few stamps and sticker statements.


I hope this has inspired you to create a little something special with  your memories


have a fabbo weekend


Tracey xx


Friday 21 May 2021

Happy with Belinda Spencer

 Hello Scrapping Clearly fans!

It's Belinda here with you today to share my latest layout using lots of gorgeous product from the Scrapping Clearly store.


For this layout I began by cropping my patterned paper and cardstock to my preferred size for layouts. I cropped the Studio Calico Seven Paper to 8 1/2" x 11 3/4" and the Bazzill Marshmallow Heavy Weight cardstock to 8 1/4" x 11 1/2". I used my W R Memory Keepers Typecast Typewriter to add a bunch of stuff that I am currently loving and that makes me feel happy. I then stuck this piece onto the patterned paper.

Next I mixed some Vibrant Turquoise Dylusions Paint with heavy white gesso and spread over my layout with a palette knife. I watered some down and flicked it over the page with a paintbrush too.


I added some sweet stars using a Heidi Swapp stencil and a Pigma Micron 04 Pen. I tore some pretty flowers and a leafy stem from the Tim Holtz Botanical Collage Paper and added to the page with some matte gel medium.


I created a stack of layers next to sit my photo on. I used some Heidi Swapp Dreamy patterned paper from the 6x6 Paper Pad as well as die cut papers, doilies, a tag and a chipboard frame. I added my title and some embellishments as well as a sticker quote to finish.

'Happy'


Products used:

BAZZILL Heavy Weight Cardstock Marshmallow
STUDIO CALICO Seven Paper Goldie 002
HEIDI SWAPP:
- 6x6 Paper Pad Dreamy
- 6x6 Die Cut Papers
- Paper Doilies
- Chipboard Frames
- Chipboard Stickers
- Tags
TIM HOLTZ Idea-ology Collage Paper Botanical
RANGER Dylusions Paint Vibrant Turquoise
STUDIO LIGHT Jenine's Mindful Art Collection Stickers
PIGMA Micron 04
UNI Posca Pen Black 0.7mm
gesso
matte gel medium

Thanks so much for stopping by the blog today. Have a great weekend and I hope you manage to fit in some scrapping time.

Cheers
Belinda


Thursday 20 May 2021

Hello - With Karyn Schultz!

 Hi Scrapping Clearly Lovelies!

It's Karyn here and today I have a scrapbook page that I created using lots of fun products available at Scrapping Clearly
 
 
 I'm playing along with the May moodboard challenge. We would love for you to join in with this challenge and be in the running to win a Scrapping Clearly store voucher. You have until May 31st and you need to upload your challenge here.
For my background I started with heavy white cardstock cut down to 22cm x 22cm. I then sprayed Dylusions Shimmer spray in Tangerine dream through an Art-By-Marlene stencil

 
Here is my completed page. 
 
 
I matted the white cardstock onto a sheet of  Vicki Boutin Field Notes "Choose To Shine" paper. I matted my photo (8cm x 10.5cm printed with a white border) onto a Vicki Boutin Field Notes "Good Stuff" paper offcut. I fussy cut lots of butterflies from a sheet of Vicki Boutin Field Notes "Take Flight" paper and flowers from "Among The Wildflowers" paper and added to the page. I used a Fude Ball pen to draw around the edge of the white cardstock, and I added splatters of DWM Marine Gloss Spray. Lastly I added a date stamp, journalling, chipboard and enamel dots.
  
Here are some close-ups of the page. 


Thanks so much for stopping by!
 
Crafty Hugs xx


Sunday 16 May 2021

Let Life Surprise You - with Emma Zappone

Hi, Em with you on the SC Blog today.

And today's focus is on the Mood board and all things Tim Holtz.
My project is made up of only Tim Holtz products. It was a lot of fun putting together.

Here is the beautiful mood board I was inspired by, I was inspired by the rustic colours in the panel with the butterflies mostly.

I started by using An A4 piece of white card and then started to tear pieces of Tim's Idea-ology Collage paper, 2 different ones were used, they were - Typeset and Typography.
Once I was happy with the amount stuck down I then added a couple of washi tapes to it. 

After adding a layer of clear gesso and completely drying it, I added some colour. I really wanted to play on the orange aspect of the board, so using Distress Oxides I actually started with Vintage Photo around the border first. Then with Carved Pumpkin I blended over the top of the Vintage Photo and in through to the collage paper.
Then flicking some water and removing the moisture created a distressed look.

Next I added a pop of colour through a Tim Holtz Stencil, I used Eye Chart with Distress Oxide - Peacock Feathers. This added a cool effect without using modelling paste.


Stamping was next. I chose an assortment of stamps from the Stampers Anonymous range - Field Notes and Glitch1. Glitch1 stamps were stamped with Distress Oxide Crackling Campfire.


For my layers and embellishments, this was using a variety of elements from the Ephemera pack - field notes. This is such an awesome pack as you have 'tags' and butterflies and bugs to flowers. It covers so much. And has beautiful colours. I chose only those that went with this mood board.


Finally the title I added using a couple of stickers from the Idea-ology Small Talk range. These are perfect for story telling which I love to do.


Have you had a play with this months board yet? We would love to see your take on it.

Catch you all very soon, Em xx