Showing posts with label Amy Churchward. Show all posts

Wednesday, 24 July 2019

'Ciao'

Today is my last post here at Scrapping Clearly.

So first, I would like to say a huge thank you to Kylie and the awesome talented girls in the Scrapping Clearly team! It has been fabulous and I have very much enjoyed being a part of this brilliant and artistic team. 

Also, importantly - a big thank you to you! - the creative community for your kind comments and fantastic support. I will look forward to continuing to follow this blog, too, as part of this wonderful community.

I have here a cheeky 'goodbye greeting' selfie. I thought that I would do this last one of me - and make it a bright and colourful page with the addition of pink - as pink is my favourite colour. 


For this simple and fun page I used the following products from the store - American Crafts 'Box of Crayons' Collection; American Crafts Thickers in 'Imprint'; My Minds Eye enamel dots - 'Good Vibes'; Maggie Holmes 'Chasing Dreams' Jewel Embellishments.

These embellishments were just the right things to be used on this fun page - and finally I have used a Charms Creations purple star with a Maggie Holmes bow placed on it..

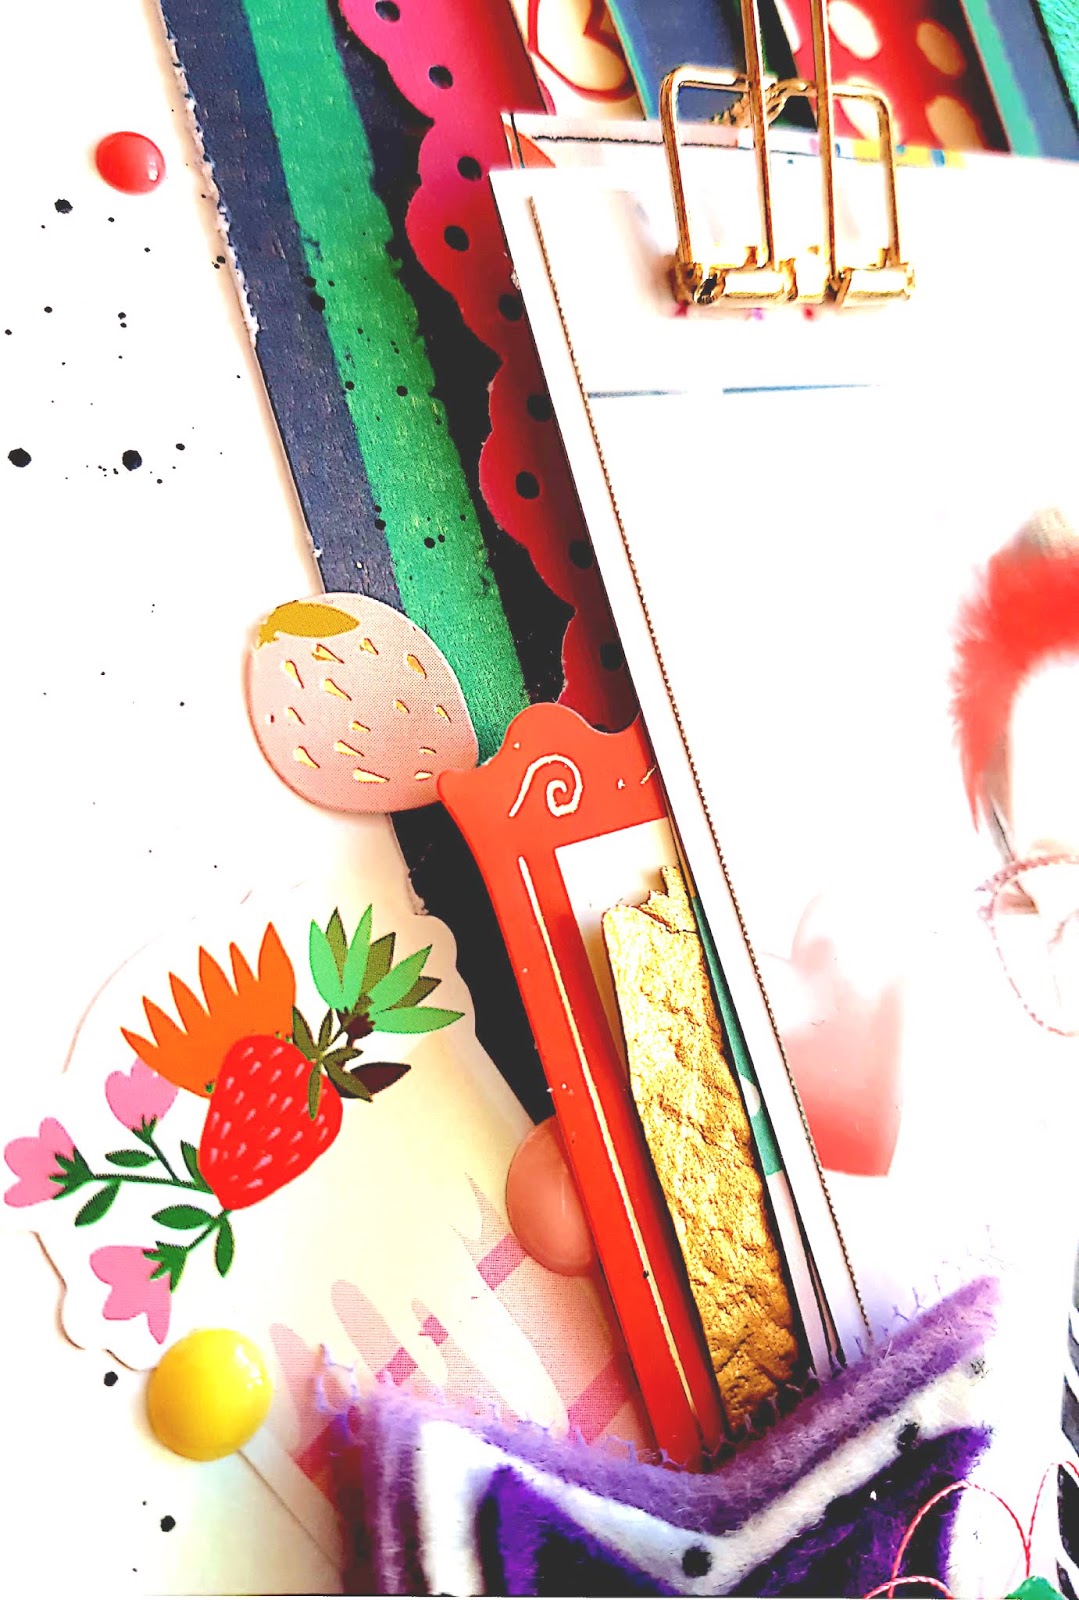
Take a look at these close ups...


Another layout complete! ... using the wonderful products from the huge range in the Scrapping Clearly Store.

Again, thank you for all your wonderful support.

Lots of love

Amy

Wednesday, 17 July 2019

'Grow Together'

Hello there Scrapping Clearly fans! I hope you are all well - and keeping those crafty minds active!

I have here some photos captured on our travels through Canada and USA when our boys were quite young. I adore these photos as they are great reminders of precious innocent moments.


Finally, I placed two handmade Charms Creations embellishments over the layers. The embellishments from the Scrapping Clearly Store were just the coolest notions to add, as I wanted to keep this page simple - as the photos were the focus here.

Take a look at these close ups...


Thank you for stopping by, Hope this leaves you feeling inspired to do some crafting.

Amy

Wednesday, 10 July 2019

'Stash Buster'

Happy Wednesday everyone!

It's Amy here popping in with a 'stash busting' blog share today.

I think its fair to say that - as papercrafters - we tend to collect a lot of goodies that we love!

So this post is focusing on using scraps of paper and combining them with embellishments.

The beauty here is that I have combined several ranges from the Scrapping Clearly store. 


I managed to create a variety of embellishments ready to be added to any of my scrap projects.

Some of these vary from tags to note cards to decorative pieces to place next a photo.


I put together a range of masculine and feminine goodies - that way I could have a good variety in my stash ready to go.

I used the following fabulous products from the Scrapping Clearly store - Fancy Pants Designs 'Joy Parade' paper and embellishment collection; Simple Stories - 'Carpe Diem' papers; and Pink Fresh Studio 'Escape the Ordinary' range.

For the bits and pieces I used - Heidi Swapp enamel shapes and tags; Studio Calico Washi Tape - Seven Paper; Me and My Big Ideas puffy stickers 'The Happy Planner'; My Mind's Eye 'Good Vibes' enamel dots; Pink Paislee gold puffy stickers; Mambi Sticks - puffy stickers; Bella Blvd 'Zebra' buttons; Um Wow Studio layered stars painted with Dina Wakley 'Sterling' paint 

The twine is from my stash and I have placed some gorgeous Charms Creations handmade goodies over some of the layers,

It was great making these goodies - and now they are ready to go.

Here are some close ups.


Thank you for popping by,

Amy

Wednesday, 3 July 2019

'Thankful'

Hi everyone! A new month and a new Moodboard. This Moodboard is a stunner - with beautiful soft tones. 


...and this is my take on it...


I started the layout on a base of white cardstock printed on Gesso. Then, using the Ranger Gel Press Brayer from the store, I applied the gorgeous Dina Wakley paints in 'Blushing', 'Mineral', and 'Evergreen'. 

I randomly smeared the Dina Wakley stencil 'Big Leafy' and modeling paste and ColourBlast Texture Paste in 'Steel' over this painted background. 


Once I was happy with the coverage, I used a craft heatgun to ensure that the background was completely dried. 

Once this stage was done, I adhered my photo down with layers behind it.


Take a look at these close ups.


I have also used two great products from two Australian sites - Charms Creations and D-Lish Scraps.

Here is a re-cap of the page with the fabulous products used from Scrapping Clearly store.


Thank you for stopping by,

Amy. 

Wednesday, 19 June 2019

Bright Little Gift Cards

Hi there Scrapping Clearly fans! I hope you are keeping warm and getting plenty of craft time. 

I have here some bright gift cards to share with you.

I trimmed down heavy white cardstock to size 8.5 cm x 8.5 cm (to fit my envelopes). 

Then I used...
  • White and black pens from my stash. However, the store has Posca paint pens that are ideal.


For embellishment, I used Mambi Stickers, Fancy Pants Designs Puffy Stickers, and some handmade embellishments from Charms Creations. 

Finally, for the sentiments, I used both Tim Holtz Idealogy Collection Small Talk and Mambi Stickers.

It was a lot of fun creating these small but bright card. My highlight was using the new Dylusions Dyalog stencils. 

Have a look at these close ups!


Thank you for taking the time to read this. I hope it left you feeling inspired to do some more crafting.

Ciao for now,

Amy

Wednesday, 12 June 2019

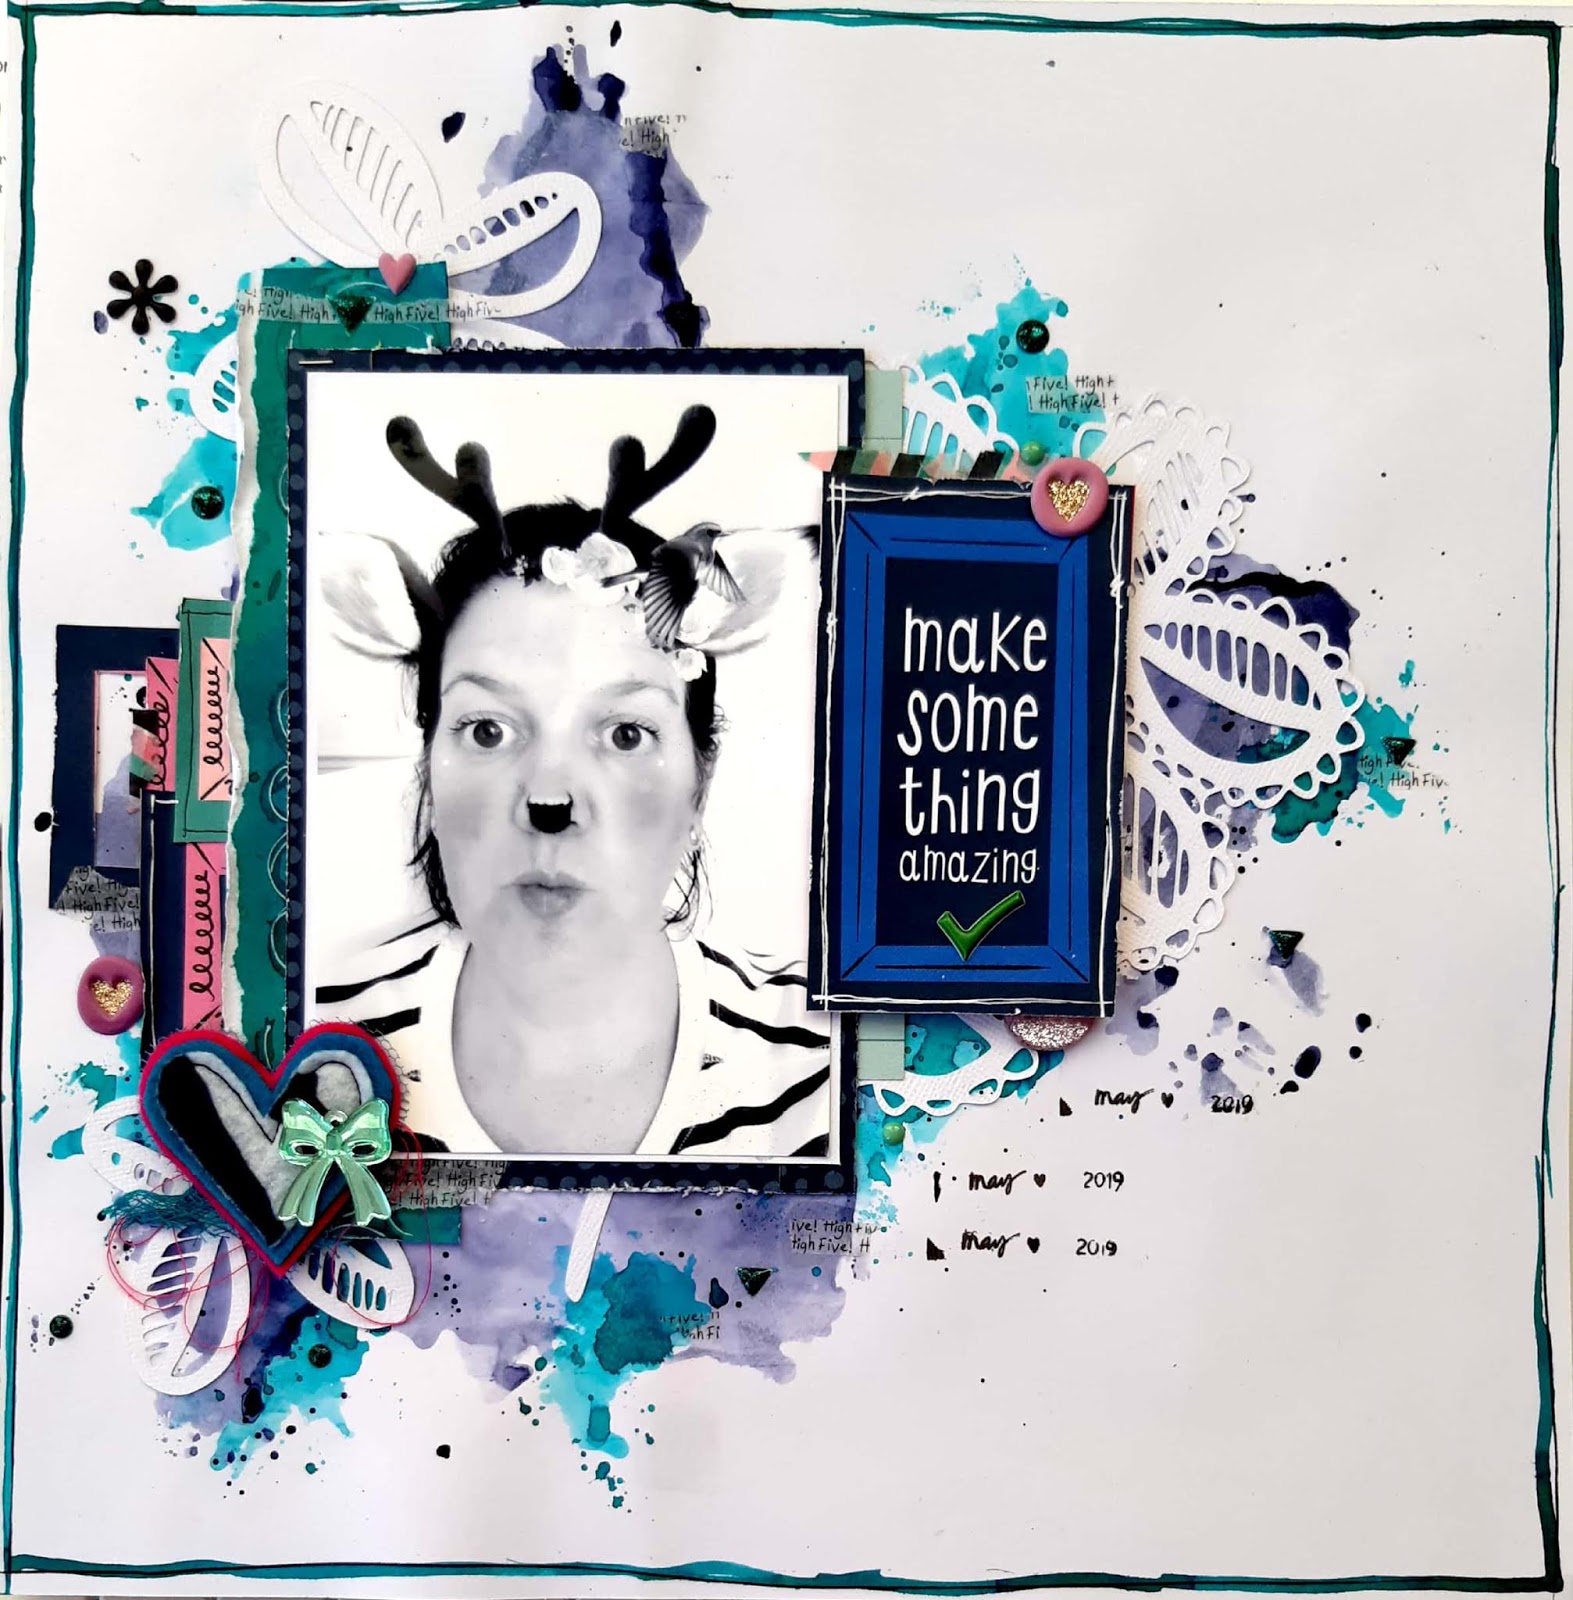
'Make Something Amazing!'

Hi everyone, it's Amy here and today I have a scrapbook page to share with you that I made using lots of goodies form the store.


I started the layout on a base of white cardstock primed with gesso. 

To add colour to the background, I applied (with packaging and water) Dina Wakley acrylic paint in 'Night' and Dylusions Ink Spray in 'Turquoise' on the page. I then heat-dried it.


I splattered the ink I had left over, over the coloured areas. Then it was time to add layers - with papers - over the coloured background. 


For the layers behind the photo I used papers from the American Crafts 'Box of Crayons' Collection from the store. This range is great, being so versitile for pages of all ranges of topics.

I also used some gorgeous cut files from Cut To You - and then adhered my photo down - and added some embellishments. 


Finally, I created a border with the Dylusions Ink Spray in 'Vibrant Turquoise' - and "voila!" - this quirky page is finished.

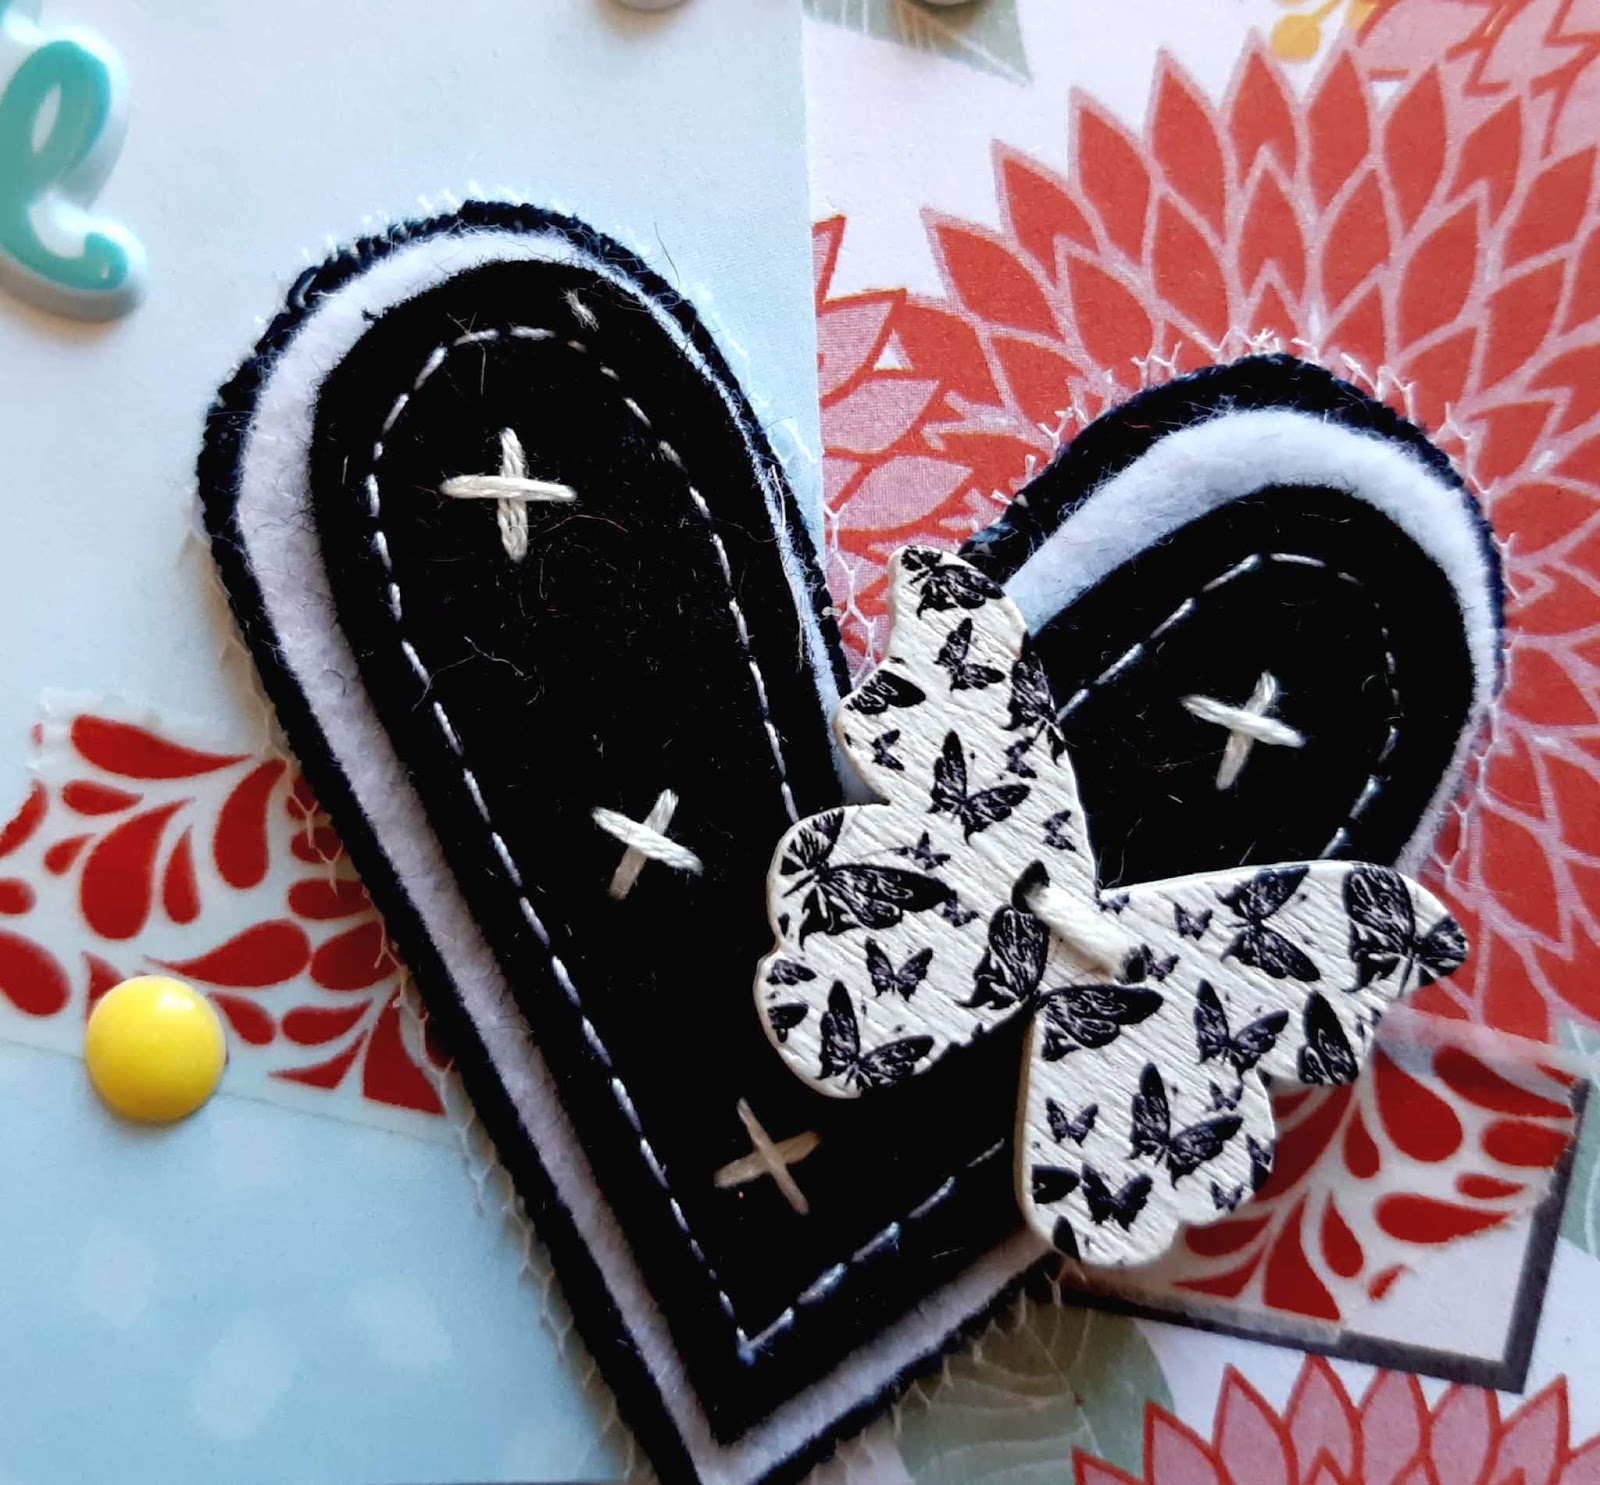
Here are some close ups.


Thank you for popping by, Amy

Wednesday, 5 June 2019

'A Perfect Moment'


Hi everyone! Amy here. A new month and a new Moodboard - yay! 
This Moodboard is a beauty - on so many levels - from the colours and tones to the subtlety of the textures.

I have here a photo captured from our accommodation during a recent trip to Western Australia. I thought that the photo was just the thing to match this gorgeous Moodboard...


... and so this is my take on this Moodboard. 


I do have to admit that I found this Moodboard challenging to do, as I tend to do more brightly coloured and masculine-looking projects - being the mother of two boys. However, it was good to be out of my comfort zone and I am kinda happy with how this page came together.

I started the layout on a base of white cardstock primed with gesso. I then added a sheet from the Kaisercraft 'Ooh La La' collection from the store. This collection is full of gorgeous vintage-style papers. Next I added some stamping with a Kaisercraft background stamp.


For the circles, I simply dipped the lid of my Colourblast Colour Spray bottle into stamping ink and stamped randomly around the page. 


I splattered both 'Love' and 'Roadbase' Colourblast Colour Spray over the page. 

From here, more layers were applied to this page. Again, I used the Colourblast 'Roadbase' and 'Love' - with water - over the background. 

Once this was fully dried, I splattered the background with Dina Wakley acrylic paint in 'Sterling' and Prima Art Alchchemy paint in 'Red Wine'


Next I applied modeling paste over The Crafter's Workshop Mini Circle Stencil, to break up the background a bit. 

Once this was dried, I adhered my photo down with layers behind it.


For the layers, I used some items from my stash, as well as fussy-cutting some shapes from the Kaisercraft 'Ooh La La' collection

To finish off the page, I added some sequins for bling, and punched and inked some flowers from the Kaisercraft papers

Finally, for the subheading, I used the Tim Holtz Idealogy Collection Small Talk

I hope you can find a little inspiration from my layout and have a go creating your own project.


Thank you for dropping by.


Ciao, Amy.