Showing posts with label AC Thickers. Show all posts

Thursday, 11 March 2021

Let's Go - With Karyn Schultz!

  Hi Scrapping Clearly Lovelies!

It's Karyn here and today I have a scrapbook page that I created using lots of fun products available at Scrapping Clearly
 
 
 For this page I was inspired by a challenge at a recent "Create All Day" event held by Natalie May Scrapbooking in Adelaide. The challenge was to scraplift Nat's layout. 
 
To create a background I added a geometric stencil pattern (using texture paste) to a square shape in the center of a sheet of heavy weight white cardstock. Then I painted Prima watercolour confections on using a painting with Plastic technique and splatters. Next I used a Fude Ball pen to draw around the edge of the stencilled area.


 Here is my completed page. 

 
 I matted my photo on Vicki Boutin Field Notes "Good Stuff" paper and distressed the edges. I fussy cut lots of butterflies from a sheet of Vicki Boutin Field Notes "Take Flight" paper, then I added a selection in an ombre pattern across the page. I added a title using Glitter Foam word stickers. And used a roller date stamp to add some random word stamping.
 
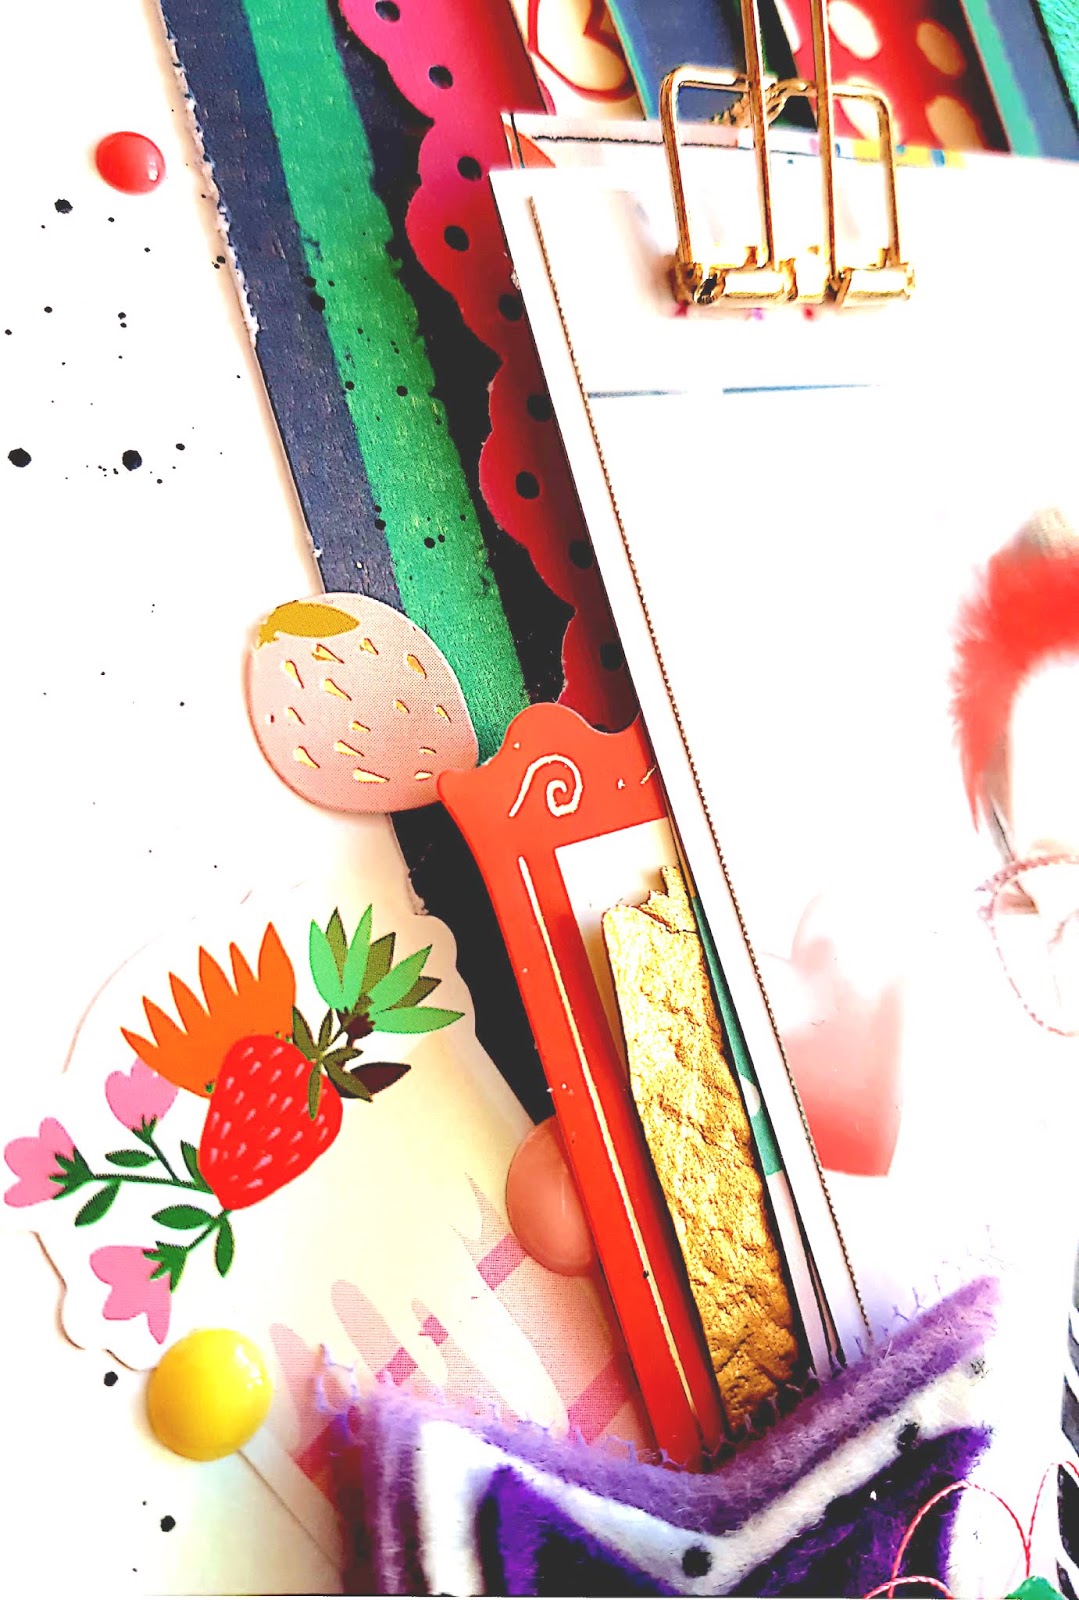
 Here are some close-ups of the page.


  Thanks so much for stopping by!
 
Crafty Hugs xx


Friday, 5 February 2021

My Here + Now by Belinda Spencer

 Hello Scrapping Clearly fans!!


It's Belinda here today to share one of the layouts I created for the Australia Day Cyber Crop. I created this one for Challenge Four; My Backyard and used some fabulous products from the Scrapping Clearly store.


'My Here + Now'


I used a photo of my backyard which is actually the front yard of our home. We use the back door as our front door though so our house is kind of back to front. That is what you get with a quirky old farmhouse built in the 1800's. We even have an outdoor dunny that you can see in the photo. It gets so cold in the hills in winter so I would not have wanted to go out at night to use that dunny especially with the amount of redback and white tail spiders as well as brown snakes and red belly black snakes we get! Thank goodness for indoor toilets!!

I started my layout by cropping a sheet of the Paper Arts Bubbles 3 patterned paper. I love this paper. It really doesn't need too much mixed media on it as it is quite lovely just as it is. But of course I did add some! I had some Prima Finnabair Art Extravagance Icing Paste in Vintage Gold to play with for the first time. I have to say how impressed I am with this product!! I used it with a Vicki Boutin stencil and applied with a palette knife. It gave a really crisp edge and was quite quick to dry. I am going to be using this a lot and think I will have to invest in other colours.


Next I spritzed the page with some water and dropped in some Prima Art Philosophy Concentrated Watercolour in Marigold. I used a paintbrush (and my finger!) to push the watercolour around a little. Aqua and yellow are such a beautiful combination and the yellow co-ordinated so well with the yellow leaves in my photo.


I added some Peacock Concentrated Watercolour too for a more intense aqua/teal colour.


And because I LOVE stamping I added some stamped leaves to the background for added interest. I am totally in love with the little Inkadinkadoo Cling Stamps. This one is called Branches and has the sweetest little stamps. I used Jet Black Archival Ink which is my weapon of choice when it comes to stamping. It is waterproof and gives a lovely crisp image.


Next, I added some layered patterned papers and my photo.


I stamped some flowers and leaves onto book paper using stamps by Vicki Boutin and the Jet Black ink. I coloured the flowers with the same watercolours as used on the background and left to dry. I added double sided tape to the back of the book paper before fussy cutting each piece. This essentially creates a sticker and reinforces the paper to make it easier to fussy cut. Then all you have to do is peel off the backing and stick the fussy cut piece onto your layout.


Finally, I added some embellishments sprinkled over the page and my title.


Products used:
VICKI BOUTIN Stamp and Die Set
- Right Here
DUSTY ATTIC Chipboard Flies

Thanks for stopping by the blog today. I hope you are feeling inspired to have a play with your Scrapping Clearly goodies too!

Cheers
Belinda


Saturday, 8 August 2020

Buckle Up Buttercup

Welcome to another fantastic weekend of creativity. I hope you are enjoying creating with the August moodboard. A couple of weekends ago I created a layout using a car like the one in moodboard and have found another photo similar to create with. I take a lot of similar photos at different angles when the kids were little - they each have a different story. In this one my little boy was so proud that he got to drive the car at Dreamworld. If we could only keep them this young and cute.


For this layout I chose some 12x12 Vicki Boutin paper from the Let'sWander range - Beach Vibe & Chasing Stars. I used the Chasing stars paper as the base and used a strip of the Beach Vibe as a layer.

I have added a little of the Ranger Distress Ink - speckled egg to the background. I did this by adding it to plastic & spraying a little water before tipping it and dabbing it on the cardstock in a few places.


After the ink had dried I then stamped in a few places the Stampers Anonymous stamp - Grunged  . I used Liquitex Modelling paste with a Dina Wakley stencil - Wheels. Once all of this was dry I marked out with a pencil where my photo and layering cardstock would go and then took them away and used my sewing machine to add some black borders.


As I added all the layers I found some grey loose cardstock on my desk to add under the photo also. I built up the photo using foam tape. I have then stamped a few small dots using Ranger Ink and a Viva Las Vegas stamp. The title was created in the Silhouette and coloured using an Artline black marker and raised on the layout using foam tape. I have used some yellow stickers and stars from the Heidi Swapp Stationary set and used a good amount of the Studio Calico timber embellishments that came in the pack. To add to the boy theme I added some chipboard cogs coloured with Staz On - midnight. I finished off the layout by adding a flair & some older rub-ons I had in my stash and Vicki Boutin heart stickers - because they are super cute. 


I hope you are having fun creating with this months Moodboard and I am enjoying the entries trickle in and fill up the Share & Inspire Facebook page album. We are a creative bunch.


Until next time - stay safe, create & have fun

tracey xx


Saturday, 1 August 2020

#Circa 1980ish

 A new month sees us with a new moodboard and this one is a cracker. The colours are so versatile for all types of creativity... who doesn't like a bit of yellow and blue? Instead of the grey I wanted to test out my new coffee Izink ... but there will lots more creating for me this month so I will have a play with the moodboard again next week.


To create my layout I started with a base of white cardstock and to that I added some Izink dye spray - coffee - by spraying it on a piece of plastic and then pressing it on the page. I then did the same process for Art philosophy watercolour - ginger. 


I then went to my stash of ephemera - all that stuff you get in a pack but forget it is there - and started pulling out lots of kraft and brown toned tags & labels. I did a bit of paper shuffling to work out what shapes I needed and put them on the page.


After marking out where my ephemera layers were going I took a pencil and lightly drew a rectangle on my page which I later sewed around a couple of times. I have used the 13@rts stamp - unforgettable with Ranger black ink . I have also added a splash of Art Philosophy watercolor - truth 


I have added a little more depth by choosing Prima Art Alchemy paint - plum preserve in a couple of places to highlight the layers & pick up those tones in the photo. I used a spot stencil to add a little more texture to the page by adding a thick layer of Liquitex modelling paste. I have added this to extend past all the layers when they are added.


I double stacked the photo and added foam tape to the top photo. All the layers of ephemera were added by popping them under the photo in places. I have used some Vicki Boutin stickers, Tim Holtz rub ons, Thickers foam alpha, Ephemera tickets, Cocoa Vanilla Boys Rule word stickers.


I finished the layout off by adding some side journalling and some black cotton under the photo.


I hope you enjoy creating with this months moodboard. You will find an album for you to upload your  entry into over at the Scrapping Clearly Share & Inspire Facebook page. 

I hope this has inspired you to dust off your arty supplies ready to fill your August full of creativity.

tracey 
xx

Wednesday, 19 February 2020

Shine, by Amanda Hartmann

Hi everyone,

Over the past few months I have been building my collection of the wonderful and colourful Dina Wakley Acrylic Paints. I also recently acquired a Geli Plate - they are a perfect combination for a page. 

Let's take a look....


I started with my 5x7 inch Geli plate and added some Dina Wakley paint -In Ruby with some small squeezes of Eggplant.

Then, I layered the leaf masks from Carabelle Studio.

I printed this to the centre of  a smooth white piece of cardstock. And rollered some excess paint on the edges of the print.


Once it was dry, I added some stamped leaves using Staz On Jet Black with Dina Wakley Media - Stamps: Scribbly Leaves and Pods.


With a wet brush, I painted some of the leaves in, and around the edges and added lots of splatters.

I added some extra black stamping, and black splatters using some watered down Dina Wakley Media: Acrylic Paint in Black.

To finish I added some doodling, washi tape, flowers and a flair button.  
I used the American Craft: Thickers: Adventures Copper for the title and extras!

Here is the page:


And some close ups....


Thanks for looking today, and celebrating my stunning daughter on her graduation (from primary school)!

See you again soon,
Amanda


Products used

Dina Wakley Media: Heavy Body Acrylic Paint 1 oz: in
* Ruby and 
 * Black


Wednesday, 24 July 2019

'Ciao'

Today is my last post here at Scrapping Clearly.

So first, I would like to say a huge thank you to Kylie and the awesome talented girls in the Scrapping Clearly team! It has been fabulous and I have very much enjoyed being a part of this brilliant and artistic team. 

Also, importantly - a big thank you to you! - the creative community for your kind comments and fantastic support. I will look forward to continuing to follow this blog, too, as part of this wonderful community.

I have here a cheeky 'goodbye greeting' selfie. I thought that I would do this last one of me - and make it a bright and colourful page with the addition of pink - as pink is my favourite colour. 


For this simple and fun page I used the following products from the store - American Crafts 'Box of Crayons' Collection; American Crafts Thickers in 'Imprint'; My Minds Eye enamel dots - 'Good Vibes'; Maggie Holmes 'Chasing Dreams' Jewel Embellishments.

These embellishments were just the right things to be used on this fun page - and finally I have used a Charms Creations purple star with a Maggie Holmes bow placed on it..

Take a look at these close ups...


Another layout complete! ... using the wonderful products from the huge range in the Scrapping Clearly Store.

Again, thank you for all your wonderful support.

Lots of love

Amy