Showing posts with label colour resist. Show all posts

Thursday, 10 May 2018

Together - by Emma.

Hi everyone to this fantastic Thursday!
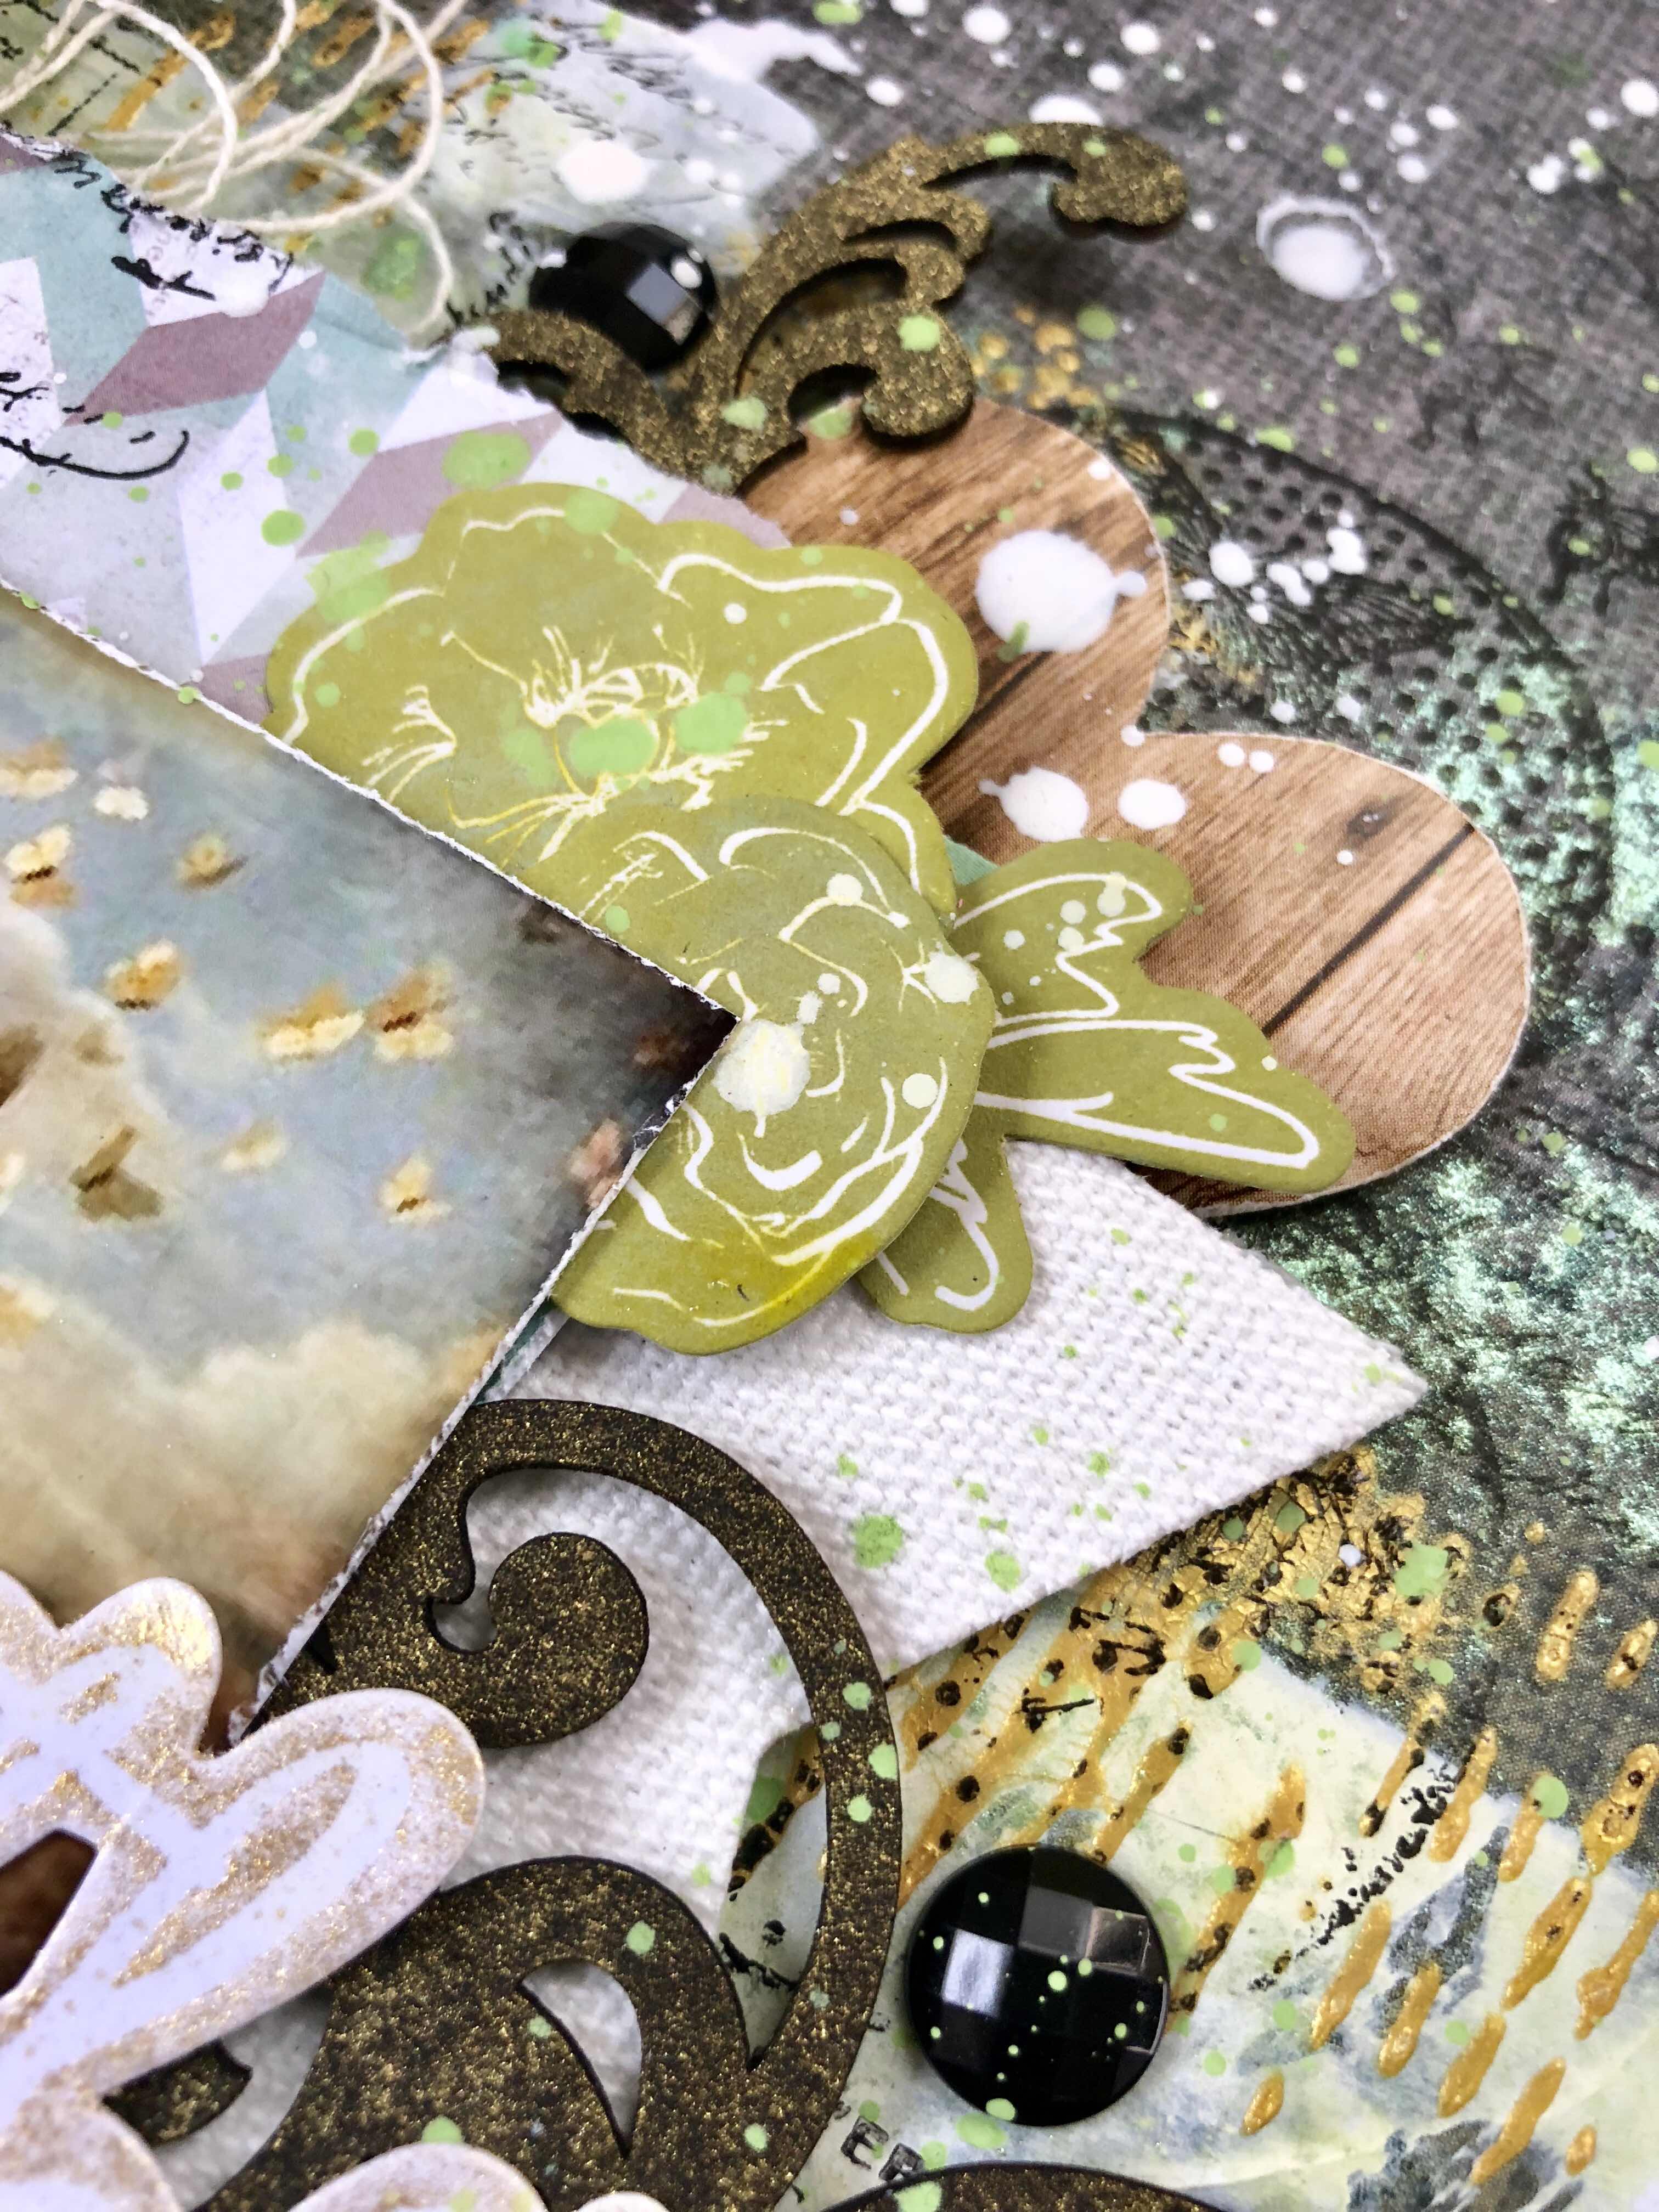
Today I’m sharing a layout that again was inspired by some Pinterest art. (O my there is so much awesome on Pinterest)
I also sort of kinda played with this months moodboard colours ðŸ˜œ 
So here is my take....


I’ve used lots of SC products. 
For my base I placed white Gesso then over that I started with distress oxide in peeled paint. Smooshing this over the gesso. 
Then I flicked and activated with water some mica powder in green
And with a stencil gold crackle texture paste


Then I stamped and started my layers. 
My layers include sheets from the Pink Paislee memorandum collection and a fabric Heidi Swapp tag  And I used some 2Crafty chipboard painted with Dylusions mushy peas  and black ink


I also spritzed a couple of pieces with Gold and the ‘together’title I sprayed with gold also. 

The resist flowers I rubbed the distress oxide over to compliment the base colour. 


A flower and a few Heidi Swapp marquee love rhinestones and this page is complete. 
But not quite....I had to finish with the flick of liquitex titanium white . 😜 
I hope you have a great Thursday and I will catch you all really soon. 
Em xx


Wednesday, 14 March 2018

A Totally Boy Page - with Emma


Hey Hey my SC peeps!

It's Wednesday today and I'm here to share another layout showing
some more awesome products that Kylie has in store.


So firstly I chose a sheet of the very cool Ella & Viv graffiti paper.

And yep, I totally ruined it!

I put it to the side and was so disappointed in myself cos I had an idea in my mind and it totally did not work out!
Trying to choose another background paper, nothing worked with the image I was using
quite like the Graffiti paper did.
So grabbing it out again I thought I must be able to salvage it. surely.....

I applied gesso and some Dina wakley acrylic paint in Ruby to the background covering some of my mistake.
You can see how I do this in my video at the end of this blog post.

Next I played with stamps I recently purchased, Dina Wakley cling stamps to be exact.
these are so very, very cool and easy to play with.


On the background I also used a few Tim Holtz Remnant Rubs instead of more stamping.
It's been ages since I used rub-ons and these were awesome. Sticky and easy to rub.
They look just like a stamp.


Then for my layers behind my photo I used a few different things,
starting with a sheet from the Pink Paislee Memorandum pad.
I also used a Heidi Swapp fabric tag and a Heidi Swapp Color Magic notes (boy do I love these,
I just love applying colour to these with a baby wipe, with the resist on them, it just adds so much depth).


Then directly behind the photo I chose one of the We R Memory Keepers chipboard frames to frame my boy.
Because I chose one in the kraft, I stencilled over it with one of the same stencils I had used on the background.


And as with all my layouts, yep you guessed it, a splash of Liquitex Titanium white ink.

What are some of your favourite go-to products that you just cannot go without on a layout?

I would love you to check out my latest video of this layout as well.
My gorgeous son Jude composed the music for it. So it felt fitting to use a photo of him with his latest track.

I hope you enjoy, and will catch you all soon.
Have an awesome Wednesday.


Emma x

Sunday, 23 April 2017

Family Fun Today with Amy Prior

Hi there Scrapping Clearly fans! Amy Prior back with you all again today, this time sharing a quick scrapbook page that I have created using the gorgeous Simple Stories Life in Color Collection along with some other favourite products available from the Scrapping Clearly store!

To create the background for this layout, I have added some Colour Blast - Colour Paste - Sunshine through a stencil over a piece of Simple Stories - Life in Color Collection - Various Patterned Papers. Just add the paste randomly and avoid the middle section where the photo layers will go so you don't waste product necessarily.


When the paste has dried completely, sprinkle some Colour Blast - Shimmer Spray - Fire Engine randomly around the edges before sticking on some ripped pieces of Simple Stories - Life in Color Collection - Various Patterned Papers, and finish off with some Teresa Collins - Something Wonderful Collection - Washi Tape.


Spray some Colour Blast - Colour Spray - Love over a Heidi Swapp - Color Magic - Banners and set aside to dry. Wipe off any excess with a baby wipe when it is dry to show the resist better. 


Layer some Simple Stories - Life in Color Collection - Various Patterned Papers in various sized rectangles around the phtograph. I have distressed around my papers to tie in with the ripped paper on the background. 


Add the dried Heidi Swapp - Color Magic - Banners to the layers of paper and then add the title using American Crafts - Amy Tangerine - Better Together - You & Me Black Thickers and some letters from Simple Stories - Life in Color Collection - Expressions Cardstock Stickers. I have outlined the American Crafts - Amy Tangerine - Better Together - You & Me Black Thickers with white to help it pop as my photograph is quite dark in a lot of areas. 


The complete product list for this layout includes...

Well that is it from me today, thanks so much for stopping by and until next time, happy scrapping!
Amy Prior

Sunday, 30 October 2016

Live Colourfully with Amy Prior

Hi everyone! Amy Prior back with you all again today with a quick tutorial on how i created this fun and colourful layout titled "Live Colourfully". Ok so the word Colourfully is spelt wrong because it is an American branded product used but I bet you didn't really notice at first glance anyway so we will just run with that LOL.


Creating the background for this layout was fairly simple. All you need to do is follow these quick and easy steps...

Step 1: Spread some Dina Wakley White Gesso over the top of  The Crafter's Workshop 12x12 Sweet Posey Stencil using a palette knife or a credit card. As you can see, I have first placed the stencil on one side of my 12x12 Bazzil Cardshoppe Marshmallow heavy weight card-stock followed by the other part of the stencil for the other side. Be sure to have a much smaller side and a larger side to get this fun effect. The larger side will be the side you place your photo also so if you want to recreate this layout but in reverse, be sure to place the larger part of the stencilled image on the right side instead. Paint a couple of different sized circle chipboard frames with the Gesso also and put them aside to allow to dry.


 Step 2: Dry the Gesso completely using a heat tool if required, or simply let the Gesso dry completely overnight etc. The drying time will depend on how thick you have scraped the gesso through the stencil. When scraping anything through any stencil, be sure to scrape off any excess before removing the stencil to avoid long drying times.
Step 3: When the gesso is completely dry, spray some Colour Blast Shimmer Spray over the pattern randomly in colours Sunshine, Rose Petal and Singin' the Blues. Do not add any water and ensure you spray really close to the card-stock to avoid too much over-spray occurring. Pink, blue and yellow mixed together will create a brown colour which you will want to avoid for this layout as there is no brown in the papers etc. 


Step 4: If the chipboard circles are not yet dry, blast them with a heat tool and ensure they are dry completely. When completely dry, spray the entire surface with some Colour Blast Snow White Shimmer Spray and set aside to dry.


Step 5: Spray some white paper flowers and some Heidi Swapp - September Skies - Color Magic Die Cuts with some Colour Blast - Shimmer Spray - SunshineColour Blast - Shimmer Spray - Singin' the BluesColour Blast - Shimmer Spray - Rose PetalColour Blast - Shimmer Spray - Apple of my Eye. You can then leave these to dry naturally or give them a quick zap with the heat tool. If you plan on using your heat tool, use some double sided tape to stick your die cut pieces to a craft mat before you spray them. This will ensure that they stay still when you blow the heat tool over the top. 


  Step 6: Begin layering small square and rectangle pieces of Dear Lizzy - Happy Place - Patterned Papers around the photograph and include a doily as well. If your background is completely dry, this bundle of happiness can then be adhered to the background but ensure you use some good quality adhesive as the bumpy gessoed background will not be good for standard double-sided tape. I use a hot glue gun but any good quality glue would suffice. If you are using the clip from the Heidi Swapp - September Skies - Attachment Kit to adhere the Dear Lizzy - Happy Place - Decorative Brads to the photograph, then I recommend clipping this on before you add your paper layers as I forgot and had to peel back the double sided tape a little to tuck him underneath.


Step 7: Stick down the completely dry circle chipboard frames over the top of the photograph and to the side of the layout. If the circle overlaps the edge like mine did, simply trim off any excess with some scissors. Try not to cut off the excess until your glue has dried otherwise you may move the chipboard a little. 


Step 8: The final step is to finish off embellishing the layout. Adhere some flowers on both of the circle frames and then stick the various die cut pieces that you have chosen randomly around the page wherever you fancy. I have also drawn around the edges of the die cut phrase a couple of times with a Ranger White Opaque Pen to ensure that the title stood out a little bit more on top of the layers. 


Here is a complete list of products that were used for this layout...

Well that is it from me today, I hope I have inspired you to get creative with all these fantastic products from the Scrapping Clearly store and until next time, happy scrapping!
Amy Prior xx


Wednesday, 19 October 2016

This is Cool with Amy Prior in my Happy Place!


Hi there Scrapping Clearly fans! Amy Prior back again with you all today, this time sharing a quick layout that I created using the fabulous Mood Board Challenge for October 2016. Here is the Mood Board and you can click here to view the challenge details...


Here is the layout that I created using the mood board as my inspiration. I was really inspired by the gorgeous colours and watercolour elements on this mood board.


This layout was created by starting off with a 12x12 piece of White (Marshmallow) Bazzil Cardshoppe Cardstock that I have added some stencilling over the top using Prima - Art Extravagance - Texture Paste - Clear Crackle. Once the Clear Crackle Paste was dry, I have sprayed some puddles of water over the top of the background before sprinkling some Colour Blast - Shimmer Dust - Sunflower over the top of the water. If there is not enough water to move the shimmer dust around the page, simply spray a little bit more water over the top to spread it out. 


While the Shimmer Dust was drying, I have sprayed various flowers from the Heidi Swapp - September Skies - Colour Magic Die Cuts. I have used Colour Blast - Shimmer Dust - SunflowerColour Blast - Shimmer Spray - Rose PetalColour Blast - Shimmer Spray - Apple of my eyeColour Blast - Shimmer Spray - Deep WaterColour Blast - Shimmer Spray - Singin' the Blues, and Colour Blast - Shimmer Spray - Fire Engine. I have then heat dried the background and the die cut pieces so that I could continue with the layout quickly. You could leave them to dry naturally also if you preferred. 


The final touches to this layout included adding lots of gorgeous layers of Dear Lizzy - Happy Place Collection - Patterned Papers as well as some Heidi Swapp - Mini Instaframes around my photographs. Lastly I embellished with lots of goodies including Dear Lizzy - Happy Place Collection - BradsDear Lizzy - Happy Place Collection - Die-cut Phrases, and Heidi Swapp - September Skies Attachment Kit

The complete product list for this project include...


Well that is it from me today, thanks so much for stopping by and until next time, happy scrapping!

Amy Prior xx