Showing posts with label heidi swapp marquee love. Show all posts

Thursday, 10 May 2018

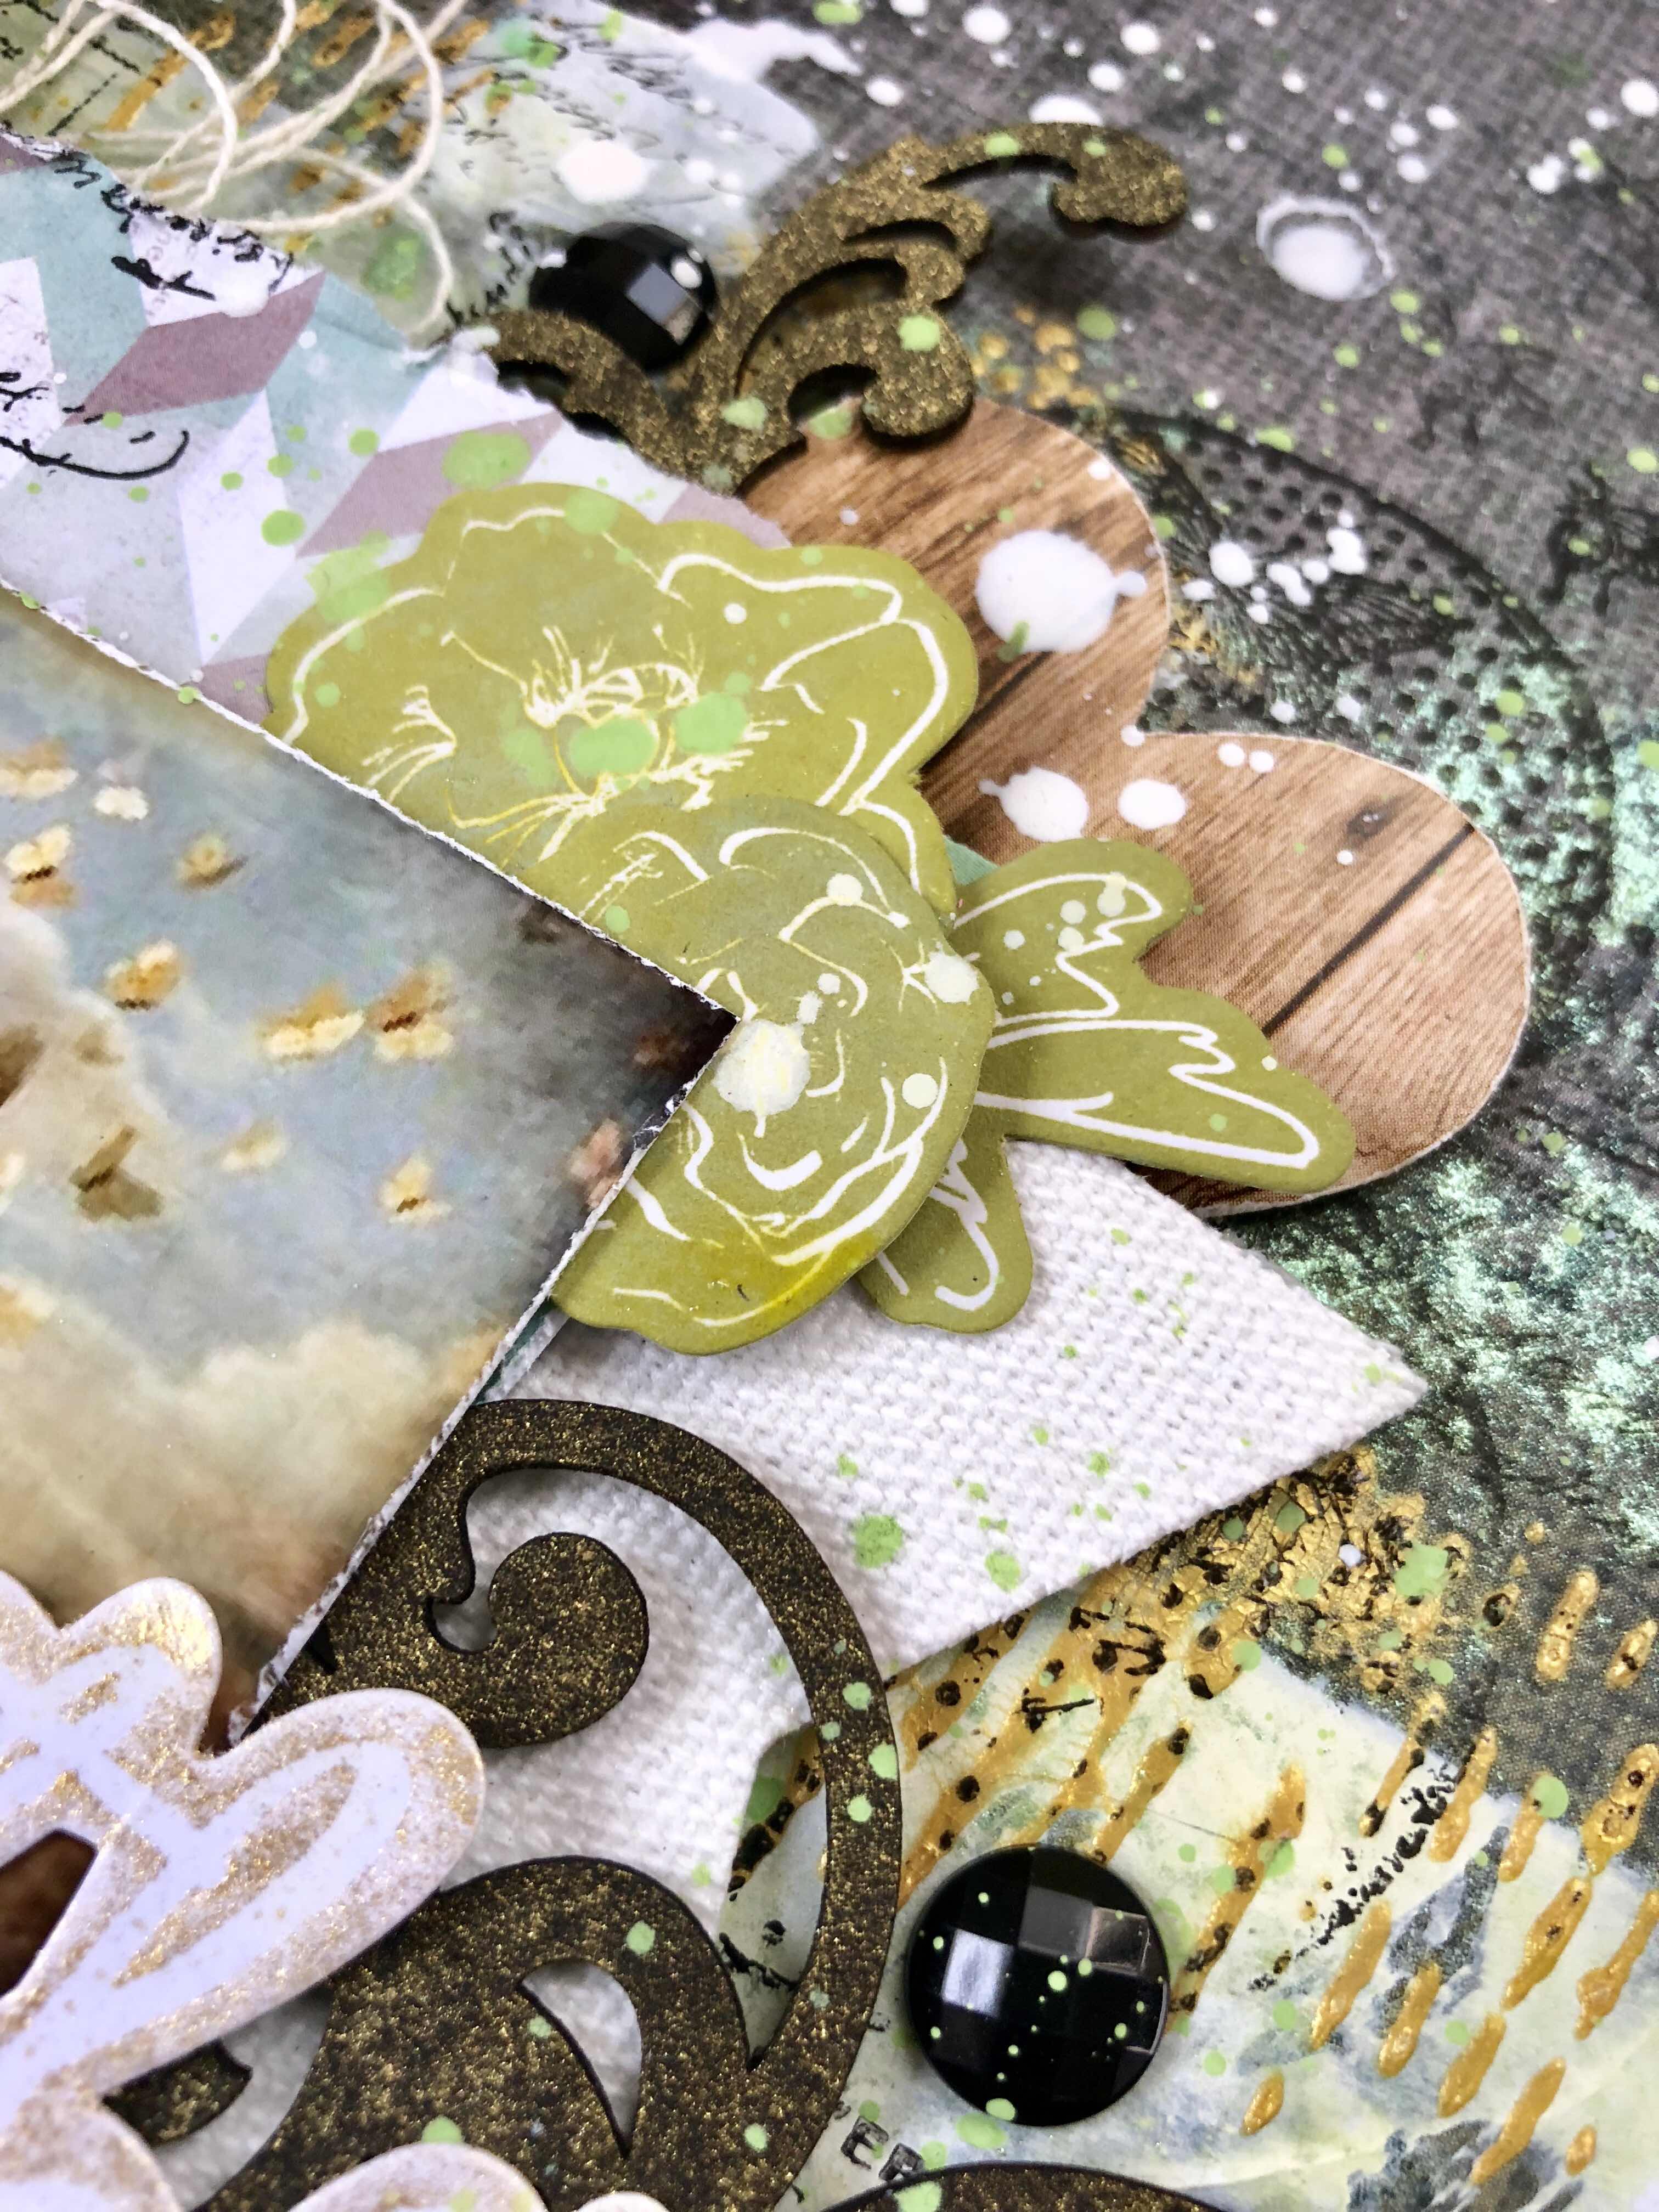
Together - by Emma.

Hi everyone to this fantastic Thursday!
Today I’m sharing a layout that again was inspired by some Pinterest art. (O my there is so much awesome on Pinterest)
I also sort of kinda played with this months moodboard colours ðŸ˜œ 
So here is my take....


I’ve used lots of SC products. 
For my base I placed white Gesso then over that I started with distress oxide in peeled paint. Smooshing this over the gesso. 
Then I flicked and activated with water some mica powder in green
And with a stencil gold crackle texture paste


Then I stamped and started my layers. 
My layers include sheets from the Pink Paislee memorandum collection and a fabric Heidi Swapp tag  And I used some 2Crafty chipboard painted with Dylusions mushy peas  and black ink


I also spritzed a couple of pieces with Gold and the ‘together’title I sprayed with gold also. 

The resist flowers I rubbed the distress oxide over to compliment the base colour. 


A flower and a few Heidi Swapp marquee love rhinestones and this page is complete. 
But not quite....I had to finish with the flick of liquitex titanium white . 😜 
I hope you have a great Thursday and I will catch you all really soon. 
Em xx


Friday, 7 April 2017

Adventure favours the Brave

Howdy Folks , Lisa here with a Friday Mixed Media update ,
sharing a little art journal page 
Yep, there is my wing fascination again, 
(if i got them, ill use them) 
So I started with some Heidi Swapp pattern paper and 
adhered it to the page of my Dina Wakley Mixed Media art journal  with Liquitex Matt Medium 
then added a little blue Dina Wakley paint using my beloved Liquitex spatula.
Drying time 
 Out come the jumbo white and black sharpies...omg I seriously love them ,
 for mark making and filling in space with journaling ,
they are bold and fun to use.
You may have to pm Kylie direct if you want these babies , 
they don't appear on the SC Shop Webpage. 
A few strip sentences and words from the Flutterby Designs stickers sheets 
A couple of Darkroom Door film photos for added interest, and then out comes the big beautiful wings made with this stencil here and black lava textured paste from Prima .
A butterfly stamp from the finnabair/Prima stamp range and 
then I added my beautiful girl to this page,a photo taken a few years ago  
I love this childs free spirit and loving nature,
 her passion and need to travel and explore the world.
this page is my way of preparing myself for the inevitable change in our lives, 
when our children grow and go off to explore the world and themselves .

Thanks for dropping by .
Ill be back next week.

Saturday, 30 July 2016

Fun with Marquee Love by Tania

Happy Saturday everyone, hope the weekend is full of fun, love and laughter for you all! 
I just had me some fun, playing with the Marquee Love letter kit which was in my DT kit this month. I have to admit to having to think about this one for awhile, but after surfing Pinterest, and gaining some inspiration, my Letter 'B' was transformed!


Here's a shot of my desk, which shows you some of the products I used to decorate my light!

I used some Heidi Swapp Colorshine in Mint, Georgia Peach and Pink. The yellow was Dylusions ink. You can see my colour swatches where I tested a few different colours first. I was trying to match up the colour's of my daughter's bed covers in her room, as this is a pretty little gift for her!


The gorgeous Prima flowers are from my new DT kit and I've just pinned them on the letter with some Heidi Swapp lace ribbon and an American Crafts, clothespin. (That way, she can take them off if she doesn't like the flowers!) 
I also wanted to use the Marquee Love tape to decorate the edges, which I used in Gold. It was a little bit tricky putting the tape in the middle of the  letter, but thankfully, the tape is forgiving and I was able to peel it back up a few times and re-do!

Overall, this was a really quick and simple project!! They make great gifts and you can personalise them in many ways!! Possibilities are endless, just requires a little imagination and some inspiration!!!
There are so many gorgeous accessories in the Marquee Love range, take a look in the Scrappingclearly store!
See you next time,
Tania

Tuesday, 5 July 2016

Heidi Swapp Marquee Love Chalkboard with Melinda

Hi there and welcome to the Scrappingclearly blog today!!

I have a fun OTP project to share with you all today using the gorgeous Heidi Swapp Marquee Love Chalkboard Heart available here in store.

When I opened up my box and saw this I was stuck! What am I going to do with this? It is so pretty already!! Swoon! That's about how my internal monologue went for a couple of weeks ;) And then, boom, inspiration hit me and I came up with this!


I am going to hang this on my craft room door and perhaps leave messages for my husband and children when I don't want to be disturbed while I'm tucked away in here ;) Or perhaps they could leave me little love notes ;) Haha!

Here are a couple of close ups


You can see here that I have layered up a flower from the Maggie Holmes Bloom ephemera pack and some of those totally gorgeous  butterflies I hand cut from the "Flutter" patterned paper.

I also added in some splatters from the ever reliable and so, so pretty Heidi Swapp Colour Shine in Gold.


This heart is actually a DIY job :D I adore the layered hearts that came out in this collection and never got my hands on any (apparently the rest of the population also loved them!!) so I made my own. It was a very simple process! I started with a big heart die that I cut out of plain white card stock. I grabbed some of the patterned papers from the Maggie Holmes Bloom 6x6 paper pad and also this one from a scrap (the pink B side) from a previous project. I've also layered in some of that oh so pretty gold printed vellum and a strip from the washi tape booklet. After it was all stuck down I took it to my sewing machine and used some gold thread to sew along most of the lines and I really love how this turned out!

Oh, and of course I used these gorgeous gold glitter foam thickers, again!!

And finally, a photo of this light up in all of its glory :)


That's it for me for today!

I hope you have a fabulous scrappy day! Make sure you stay tuned to the blog for more of the beautiful inspiration from the rest of the design team girls!

Melinda