Showing posts with label Posca Pens. Show all posts

Monday, 17 November 2025

The Right Pen Makes All the Difference — Writing, Drawing & Detailing in Your Journals

Blog Post 2: The Right Pen Makes All the Difference 

Writing, Drawing & Detailing in Your Journals

If you caught our last post, you’ll know that finding the right journal is the first step toward a creative, personal, and inspiring journaling practice. Now that you’ve chosen your journal, let’s talk about the tools that bring your ideas, lists, doodles, and reflections to life — your pens.

Pens may seem like a simple choice, but when you’re journaling, creating art, or adding handwritten touches to your scrapbooking layouts, the pen you pick can change everything — from the texture and mood of your writing to the longevity and look of your pages.

At ScrappingClearly, we stock a wide range of journaling pens, fineliners, and paint pens that suit every style — whether you love a crisp handwritten note, a doodled border, or a splash of metallic ink across your layout.


Journaling Pens – For Writing, Doodling & Detailing


Journaling pens are designed for smooth, consistent writing without bleeding through your pages. They’re ideal for daily writing, note-taking, sketching, or fine detailing in planners and notebooks.

Some customer favourites in-store include:

  • Uni-ball White Pen – The Uni-ball White Pen is perfect for adding crisp, opaque highlights, doodles, and contrast to your journal pages. It shows up beautifully on dark backgrounds, painted surfaces, and mixed media layers without skipping. A must-have for adding those final bright details that make a page pop.

  • Fude Ball Pens – Ideal for bold, smooth statement journaling. Their rich, opaque ink glides smoothly across the page, making them ideal for titles, headers, outlining, and adding emphasis to important words or phrases. They also write beautifully over paint, gesso, collage, and textured surfaces, which makes them a must-have for mixed media journals.

  • Tim Holtz Distress Markers - Distress Markers are perfect for journallers who love adding soft colour, shading, and subtle detail to their pages. Designed with water-reactive ink, these markers let you blend, wash, and layer colour effortlessly — ideal for adding gentle backgrounds, colouring stamped images, or creating watercolour-style effects without the mess of paints. The dual tips (fine point + brush tip) make them incredibly versatile for : Use the fine tip for writing, outlining, date stamping or doodle details & use the brush tip for colouring, shadowing, and blending with water. They work beautifully in notebooks, art journals, tags, and layered mixed media pages. If you want controlled colour with that signature Distress look, these markers are a fantastic tool to have in your journaling kit.

  • Art Marlene Duo Acrylic Markers - Bold Colour × Two Tips, the Art by Marlene Duo Acrylic Markers deliver vibrant, opaque colour with the versatility of two nibs in one pen. Use the fine tip for writing, details, and outlining, and the brush tip for colouring, shading, and expressive strokes. They write beautifully over paint, gesso, collage, and textured pages, making them perfect for mixed media journals that need strong, reliable colour.

  • Artline Supreme Markers - Artline Supreme Markers are great for adding clean colour, simple shading, and quick lettering to your journal pages. Their smooth-flowing ink and comfortable nib make them perfect for titles, borders, doodles, and everyday notes. A reliable go-to marker for lightweight mixed media and creative journaling.

When you’re writing in a junk journal or vintage-style book, the fine tip of a black or sepia fineliner complements aged papers beautifully. For a bright art journal, coloured pens add contrast and energy to your pages.


Paint Pens – Adding Bold Colour, Texture & Highlights

If pens are for writing, paint pens are for expression. They glide over textured surfaces where regular pens can’t — perfect for mixed media journals, tags, and art pages layered with paint, gesso, or collage.

In the ScrappingClearly store, you’ll find:

  • Posca Paint Pens – A must-have for any mixed media artist. They come in a huge range of colours and nib sizes, and can write over acrylic, watercolor, gesso, or even fabric.

  • Spectrum Noir – Spectrum Noir Markers are perfect for journallers who love soft blends, smooth colouring, and polished shading. Their dual tips (fine + chisel or brush, depending on the set) make them great for lettering, colouring stamped images, adding shadows, and creating gradient effects. They’re ideal for adding detailed colour to journals, tags, and mixed media pages where you want a refined, alcohol-marker look.

  • Pilot Pintor – Pintor Paint Pens deliver bright, opaque colour that works on paper, paint, gesso, fabric, wood, and more. They’re great for journaling and mixed media when you want bold marks, lettering, doodles, and highlights that really stand out. Smooth flow, strong colour, and reliable coverage make them an easy favourite for creative play.

  • Life of Colour - Vibrant, versatile, and fun! Life of Colour pens are perfect for journaling, scrapbooking, and mixed media projects. With brush and fine tips, they glide smoothly, layer beautifully, and even blend with water for painterly effects. From bold brights to metallics and earthy tones, these pens make every page pop with colour.

  • Ecoline Brush Pens - vibrant, fluid, and full of life! These water-based brush pens are perfect for journaling, hand lettering, and creating smooth, expressive strokes. Their transparent, ink-like colors layer beautifully and blend effortlessly with water for painterly effects. Whether you’re adding bold highlights, soft backgrounds, or delicate details, Ecoline pens give your pages that splash of artistic flair without fuss. Pro tip: Keep a water brush handy to turn your lettering into a seamless watercolor masterpiece!

  • Liquitex Paint Pens - Liquitex Professional Paint Markers deliver rich, artist-quality acrylic colour in a smooth, controlled pen. They’re perfect for journaling and mixed media pages, writing effortlessly over gesso, paint, collage, and textured layers. Use them for bold titles, graphic lines, layering, and adding strong pops of colour that stay vibrant and permanent.

  • Kent Urban Paint Pens - Kent Urban Paint Pens are perfect for adding bold, opaque marks to your journal pages. They write smoothly over gesso, paint, cardstock, collage, and textured surfaces, making them ideal for mixed media layers. Use them for titles, borders, doodles, highlights, and expressive marks where you want strong colour that stands out.

Paint pens are fantastic for:

  • Writing affirmations over textured backgrounds

  • Adding dots, doodles, and borders

  • Highlighting areas of your page with white or metallic accents

  • Creating layered journal covers or mixed media tags


Tips for Mixing Both

One of the best-kept secrets in journaling and scrapbooking is the combination of journaling pens and paint pens. Try this creative formula:

  • Use fineliners for your notes and outlines.

  • Add paint pens for embellishing, layering, or colour blocking.

  • Finish with metallic or white paint pens for that extra highlight or visual “pop.”

Pro tip: Always test your pen on the back page of your journal — some papers, especially coated or handmade ones, may react differently to wet mediums.


Coming Up Next…

In our next post, we’ll dive into how tags and stamps can elevate your journaling or scrapbooking spreads — adding layers, meaning, and texture that pull your page together beautifully.

Whether you’re jotting down gratitude lists or capturing those end-of-year reflections, having the right tools — from your journal to your pen — makes the creative process flow effortlessly.

Explore journaling pens and paint pens now at ScrappingClearly   and get ready to fall in love with the art of writing again.


#ScrappingClearly #ArtJournaling #MixedMediaArt #CreativeJournaling #PoscaPens #JournalingPens #ScrapbookingSupplies #CreativeTools #GratitudeJournal #CraftInspiration


Friday, 16 July 2021

Tab Tag Booklet with Belinda Spencer

 Hey Scrapping Clearly fans!

It's Belinda here today with a late post! I have a cute little booklet to share with you featuring the Tab Tags by Studio Light Art By Marlene Essentials and lots of other fabulous goodies from the store.


I grabbed 6 tags from the pad and proceeded to colour them using Prima Art Philosophy Concentrated Watercolours. I spritzed one tag to start with using quite a lot of water and then dropped the watercolour onto the surface. It's kind of mesmerizing watching the watercolour bloom and spread. I added three different colours to the first tag. Then, because the tag was so wet, I placed another tag on top of it to colour that one too. 


There was quite a lot of excess watercolour that squeezed out the sides so I used some book paper to swipe it up and made myself some instant collage fodder.


Next I grabbed some of the awesome Dina Wakley Stickyback Canvas Tape. I cut three lengths, removed the backing and stuck them to some plastic packaging. I spritzed them with water and added the same watercolours. I left them to dry in a sunny spot. These are what I used to bind my tag book together.


Once completely dry, I stamped and stencilled the tape. I used Ranger Jet Black Archival Ink for the stamping and a heavy weight gesso for the stencilling.


Next, I added some stencilling to the tags using the same gesso and stencils.


Here is the cover of my tag booklet. I added some collage using torn pieces of the collage fodder I created earlier and also torn pieces of Art By Marlene Collage Paper. I also collaged on a cute girl from the Art By Marlene Paper Elements Books (Mint and Lime). I used Dina Wakley Ultra Thick Gel Medium for the glue. I also added some stamping and doodling. I used a Stabilo watersoluble pencil to scribble around the girl and then activated with a wet paintbrush to emphasize her and set her apart from the background.


I used pretty much the same techniques for all of the pages using different cute die cuts from the Paper Elements books. I used Posca Pens, acrylic paint and Lyra Watercolour Crayons to add detail to the backgrounds. The quote stickers are from the Studio Light Jenine's Mindful Art Collection Time To Relax Stickers.


Products used:
STUDIO LIGHT Art By Marlene:
- Essentials Tab Tags
- Collage Paper
- Paper Elements Lime Collection
- Paper Elements Mint Collection
- Clear Stamps Mandala Tapestry
- Marlene's World Clear Stamp Sweet Birdie
STUDIO LIGHT Jenine's Mindful Art Collection Time To Relax Stickers
VICKI BOUTIN Clear Stamps Colour Study
PRIMA Art Philosophy Concentrated Watercolour:
- Blush
- Bright Pink
- Marigold
- Peacock
- Truth
RANGER Archival Ink Jet Black
gesso
DINA WAKLEY 
- Ultra Thick Gel Medium
- Stickyback Canvas Tape
UNI Posca Pens

Thanks for stopping by the blog today! I hope you are inspired to have a play over the weekend with your Scrapping Clearly goodies too.
Cheers
Belinda


Friday, 1 January 2021

Fun...with Belinda Spencer

 Happy new year Scrapping Clearly fans!!

It's Belinda here today to share my very first project for the new year. I have created a 'fun' layout inspired by the January Mood Board using lots of awesome product from the Scrapping Clearly store.

'FUN'


Here's a peek at the mood board:
Aren't those reds just gorgeous?!!

I started my layout by adding some stencilling to my Marshmallow background using one of the Vicki Boutin Storyteller Radiate stencils with Tim Holtz Distress Inks in Aged Mahogany and Barn Door. I blended the inks through the stencil using an ink blending tool and then flicked some water over the page using my fingertips. Once dry. I flicked over some Heidi Swapp Color Shine in Primrose.


Next I used an extra piece of marshmallow card stock and coloured it with Distress Inks. I swiped Distress Inks in, Aged Mahogany, Barn Door and Victorian Velvet over my heat resistant craft sheet, spritzed with water and then dragged the card stock piece through the inks. I dried it with a heat gun and then repeated until I was happy with the look. I flicked water over this piece too, let it sit for a moment and then blotted away the water using paper towel. Once it was dry again, I stamped two butterflies on it using the Tim Holtz Stampers Anonymous Specimens stamp set and Ranger Jet Black Archival Ink.


I fussy cut the stamped butterflies, some stars from the Vicki Boutin Let's Wander Chasing Stars patterned paper and cropped some matching papers to layer and sit my photo on. I used patterned papers from the Vicki Boutin Storyteller range including Plot, Mosaic and Assemblage. The papers look a little purple in my photos but are actually more red in real life. Blame the photographer!!


Next I added some scratchy lines around the stars using a black Uni Posca Pen and some stamping using the Carpe Diem Make It Happen Roller Stamp and the Jet Black ink. I added my photo and a couple of chipboard stickers from the American Crafts Thickers Tell Your Story and Wildflower sets. I painted a ScrapFX chipboard piece with white gesso and when dry added a fussy cut quote from the Vicki Boutin Storyteller Plot patterned paper. 


I used a Heidi Swapp Wood Veneer word for the title. It was covered in hot pink glitter but anyone that knows me knows I hate glitter so I carefully sanded it off. In the sanding process I got a little too vigorous (angry about the glitter! LOL) and broke the word. If you try this for yourself, I highly recommend sanding very carefully and lightly so as not to break your wood veneer. I then painted the word with some of the Primrose Color Shine and let dry before adding to my layout.


Thank you for stopping by the blog on this brand new day in a brand new year. Let's hope this year is better than last year!!

Cheers
Belinda


Tuesday, 15 December 2020

Sir Theo

 Hi everyone and happy crafting Tuesday (that's a thing right?!)

You know when you start with only a vague idea where you're going?

Well, this is what happens.   

I got lost in the weeds but eventually made it out the other side!

I started with my go-to white card stock and added some Art Philosophy water color and some Lindy's powders.


I then ripped up some Prima tissue paper and stuck it down with gel medium.


I then added some paint using a brayer but finished up with way too much green


so wiped some off with a baby wipe through a stencil.   I still wasn't happy so I went over entire page with gesso.   In the weeds, right?


While the gesso was drying I went back in with a baby wipe and took off some of the gesso being careful not to take too much or I'd be back where I started.


I then added some more Lindy's powders and some distress inks.   I gave my chippies a light coat of gesso and then sponged on some Distress Ink to the edges and added a little glitter with a glitter Posca pen. 


I had everything stuck down then decided my background needed something else so I carefully pulled everything up and added some stamping.


 And this is what I finished up with


Products I have used include

Lindy's Stamp Gang Magical Shakers (California Poppy Gold & Cowabunger Copper)
Dina Wakley paint (Lemon, Buff, Evergreen, Ancient)
Vicki Boutin Stencil
Distress Ink (Rusty Hinge & Bundles Sage)
Carabelle Studio stamp scribbled leaves
Fancy Pants Golden Days Cork shapes
Washi tape
 
TFL
cheers
Trace


Friday, 23 October 2020

'Brave' Art Journal by Belinda Spencer

 Hello Scrapping Clearly fans!!


It's Belinda here with you again today and I have my latest art journal spread to share with you using lots of awesome product available in the Scrapping Clearly store.


'BRAVE' Art Journal


To start with I laid down some colour in my DINA WAKLEY MEDIA 6x6 White Journal using PRIMA Art Philosophy Concentrated Watercolour in Peacock and Truth. I spritzed the pages with a LOT of  water first and then just dropped the colour on. I picked up the journal and played around with the colour letting it swish this way and that.


Next I added some salt crystals and set aside to dry completely.


The salt crystals didn't really work as well as they normally do so I ended up covering most of this up! I think they didn't like such a textured surface. Lesson learnt!!


Next I tore out a face from the DWM Collage Paper Faces Pack and added to the page using a matte gel medium. I use a silicone brush to apply the gel to the surface, lay down the image and then use the silicone brush to smooth some more gel medium over the top. 


I wasn't 100% happy with the salt crystal effect so I tore up some papers from the DWM Collage Collective Book and applied to the pages using the same matte gel medium. Oh and also a strip torn from the DWM Collage Paper Backgrounds Pack. I then set it aside to dry. (To be honest I was too impatient to wait for it to dry so I sped things up with my heat gun taking care not to heat too long or too close in the one spot or the papers will bubble.)


Next I grabbed my DWM Scribble Sticks and coloured in some hair across the pages. I used a large soft wet paintbrush to activate and blend the crayons and set aside to dry. (You can see on the face that I started experimenting with the next step too)


Time to start adding colour to the face! I used the beautiful Soft Neutral PRIMA Watercolour Pencils to add some skin tones to the face just by scribbling on the colour; darker colours in the shadow areas and light where the sun hits the face.


I activated the pencil using the same paintbrush and then set aside to dry. (Or impatiently dried CAREFULLY with the heat gun again).


She needed a bit more colour so I added some more using the Scribble Sticks again and then activated and blended with the paintbrush.


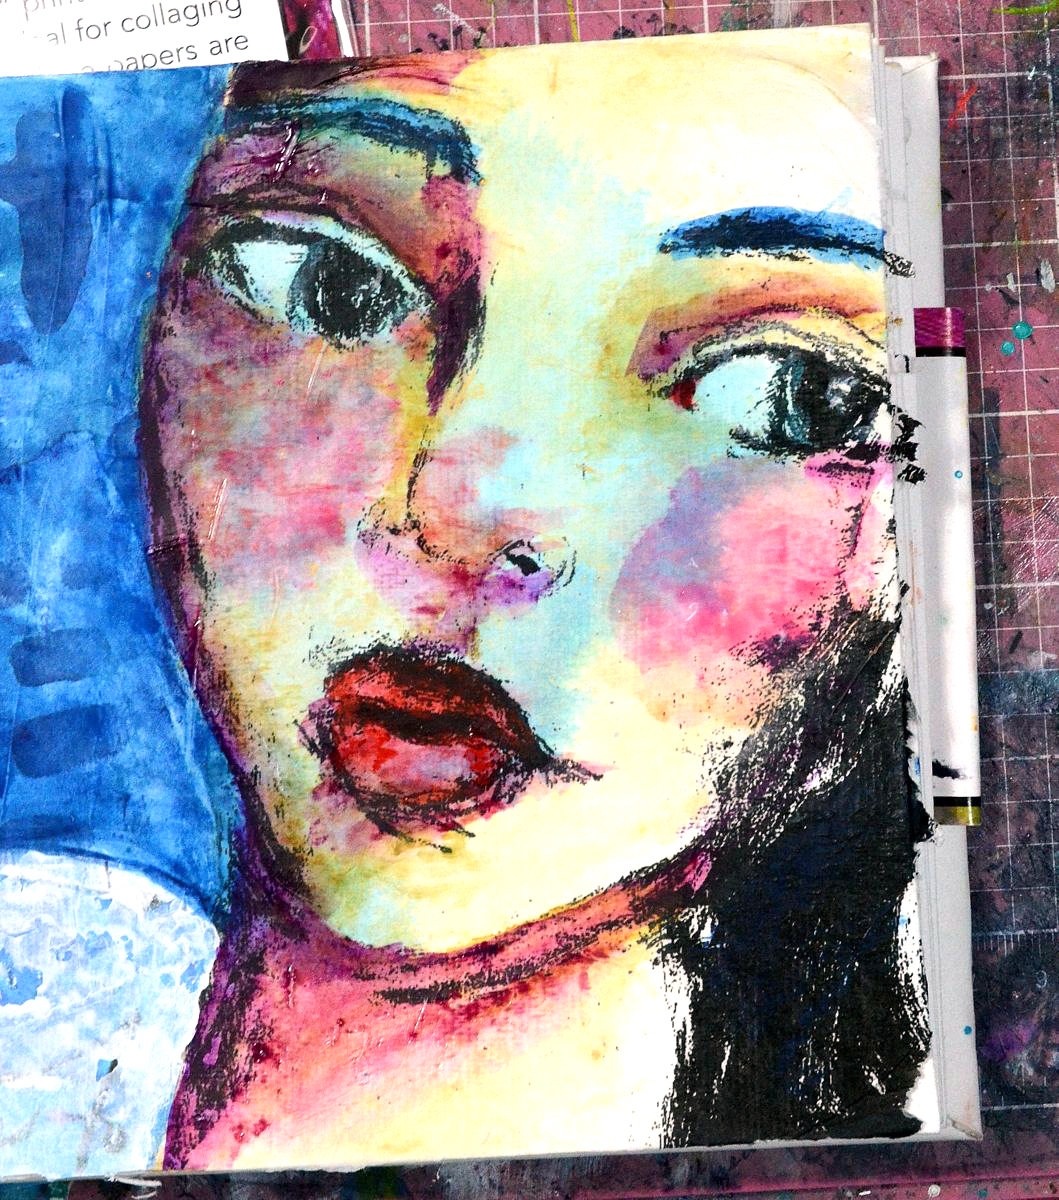
Time for some detail now! My go to pens for adding final details are Posca Paint Pens and also the new Pilot Pintor Paint Pens. I used white and black Poscas as well as the Light Blue Pilot Pintor Pen for the eyes.


Next I added some stencilling using a KAISERCRAFT Mini Stencil with heavy white gesso. I added a quote torn from the DWM Collage Papers using the gel medium. I added some circles using the DWM Mini Boulders 6x6 Template and Scribble Sticks.


I finished by adding some more stencilling and doodling with the black Posca Pen. I added the title too by stamping onto plain tissue paper using the HEIDI SWAPP Old School Alphabet Clear Stamps and RANGER Archival Ink in Aquamarine and Jet Black.


Thanks so much for stopping by the blog today. I hope you are feeling inspired to have a play with your Scrapping Clearly goodies too or check out some of the awesome stuff in store now.

Cheers
Belinda