Showing posts with label Pilot. Show all posts

Wednesday, 17 November 2021

Delivery, by Amanda Hartmann

Happy Wednesday friends!

Some paint, paint pens and big bunny... what is not to love?!?

I had a fun photo of my daughter with an ice-cream delivery for her birthday. And she was wearing her Oodie. The Oodie had rabbits, so I decided... let's add a rabbit! It is kinda bigger than I imagined.. but let's run with it.


I started with some smooth heavy white cardstock. And using a credit card, I swiped some acrylic paint on the background. I combined Dina Wakley Paint in Blackberry with some plain white gesso.

Before it dried, I laid the  Kaisercraft – 12 x 12 Stencil – Bubbles over the paint and wiped back some paint with a baby wipe.

Next I drew the bunny, copying the pattern from the Oodie. I started with pencil before first colouring in with a white paint pen. I added pink paint pen highlights. I finished with black paint pen - thick for the outlines and thin for some small details.

And of course.... Let's talk paint pens.... Scrapping Clearly has you covered!

Check out these pens:


I added some chipboard arts and a wood veneer ice-cream - all coloured with paint pens.


I added some random stamping and doodling, journaling and a title.


And that's it... but quirky and fun page with a rabbit! Why not I say?!

Amanda


Friday, 26 March 2021

Adore You with Belinda Spencer

 Hello Scrapping Clearly fans!!

It's Belinda here today to share my latest layout created using lots of awesome supplies from Scrapping Clearly.


I started the layout by cropping some Heidi Swapp patterned paper and mounting on heavyweight Marshmallow cardstock. For this project I have used both the Artwalk and Storyline Chapters 12 x 12 Project Pads. I painted a thin layer of Dina Wakley Media Clear Gesso over the whole page.

Next I added some Art Philosophy Concentrated Watercolours. I could not love this product more!! The colours are so vibrant and they are so easy to work with. I spritzed my page with water first and then dropped the colours into the wet area. I love watching the watercoloour bloom in the water. I find it so mesmerizing and relaxing. Once the watercolour had done it's thing I then started manipulating the colour with a large soft wet paintbrush to push it where I wanted it. I spritzed with water and played around with tilting the page too. Basically anything goes to get that colour where you want it! I flicked some of the colour over the page too.


I managed to get my inky hands on the NEW Aall & Create Take Flight Clear Stamp Set. (Lucky me!!) It is a stunning stamp set and I was super impressed with the size of the stamps especially the huge gorgeous wings. Here I have used the long grungy strip stamp down the middle of my page as well as the chevrons stamp. I applied the stamps using Ranger Rose Madder Archival Ink.


Next I added some stencilling using the Kaisercraft Bubbles 12 x 12 Template and the fabulous Prima Art Extravagance Vintage Gold Icing Paste.


Here's an angle shot to show how gorgeously gold that icing paste is.


Next I tore a strip of Heidi Swapp patterned paper and attached some Tim Holtz Terminology Tissue Wrap and paper doilies to the back of it. Once everything was attached I added the whole lot to the page.


I stamped a couple of small wings from the Take Flight Set onto vellum using Jet Black Archival Ink. If you haven't had the 'pleasure' of stamping on vellum before, it may take a few goes (speaking from experience)!! The ink slips on the vellum and it can be tricky to get a crisp image. Persistance pays off though. I fussy cut the wings and added them to a fussy cut photo of my daughter in her fairy costume. I am sure my daughter would like me to add that this photo was taken many years ago and she is way too cool to wear a fairy costume now.

Here's my completed layout.


As you can see I added 'fairy' Hayley to the layout along with a chopped up piece of Heidi Swapp die cut paper and some butterflies. For the butterflies I used a brand new stamp from Darkroom Door and applied it onto the same patterned paper that I tore the big strip from. Any butterflies would work for this though.

I added a little bit more stamping using a Technique Tuesday Stamp Set and shook a gold Pintor Pen over the layout (covering up my photo) to add some gold drops. I finished with my title.


Here's what I used:
HEIDI SWAPP Storyline Chapters 12 x 12 Project Pad
HEIDI SWAPP 6 X 6 Die Cut Papers
TECHNIQUE TUESDAY Random Thoughts Clear Stamps
AMERICAN CRAFTS Vellum
KAISERCRAFT Lucky Dip Gold Foil Doilies
DARKROOM DOOR Spread Your Wings Rubber Stamp Set

Thanks so much for stopping by the blog today.

Cheers
Belinda


Friday, 23 October 2020

'Brave' Art Journal by Belinda Spencer

 Hello Scrapping Clearly fans!!


It's Belinda here with you again today and I have my latest art journal spread to share with you using lots of awesome product available in the Scrapping Clearly store.


'BRAVE' Art Journal


To start with I laid down some colour in my DINA WAKLEY MEDIA 6x6 White Journal using PRIMA Art Philosophy Concentrated Watercolour in Peacock and Truth. I spritzed the pages with a LOT of  water first and then just dropped the colour on. I picked up the journal and played around with the colour letting it swish this way and that.


Next I added some salt crystals and set aside to dry completely.


The salt crystals didn't really work as well as they normally do so I ended up covering most of this up! I think they didn't like such a textured surface. Lesson learnt!!


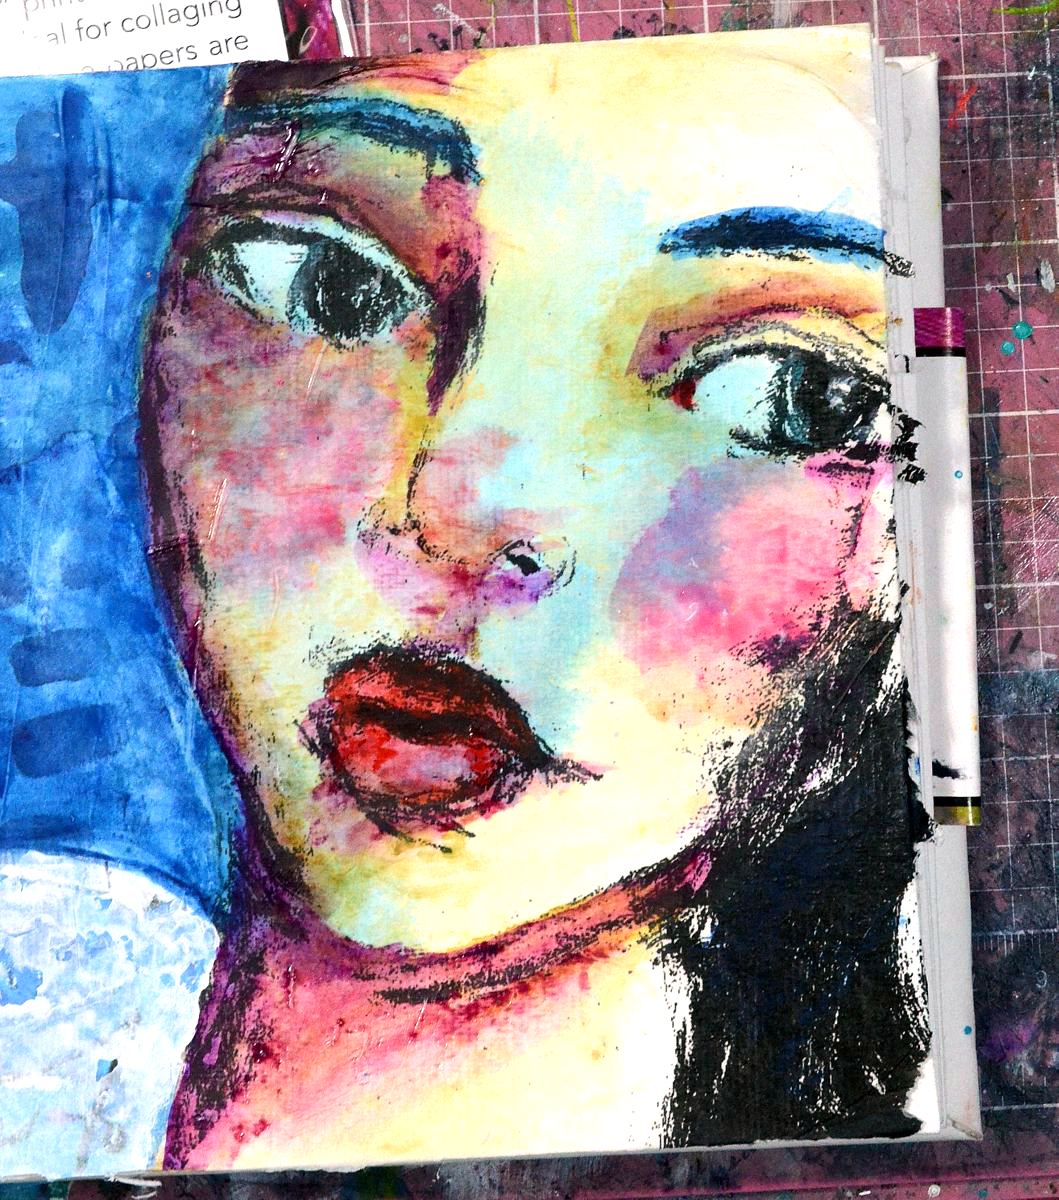
Next I tore out a face from the DWM Collage Paper Faces Pack and added to the page using a matte gel medium. I use a silicone brush to apply the gel to the surface, lay down the image and then use the silicone brush to smooth some more gel medium over the top. 


I wasn't 100% happy with the salt crystal effect so I tore up some papers from the DWM Collage Collective Book and applied to the pages using the same matte gel medium. Oh and also a strip torn from the DWM Collage Paper Backgrounds Pack. I then set it aside to dry. (To be honest I was too impatient to wait for it to dry so I sped things up with my heat gun taking care not to heat too long or too close in the one spot or the papers will bubble.)


Next I grabbed my DWM Scribble Sticks and coloured in some hair across the pages. I used a large soft wet paintbrush to activate and blend the crayons and set aside to dry. (You can see on the face that I started experimenting with the next step too)


Time to start adding colour to the face! I used the beautiful Soft Neutral PRIMA Watercolour Pencils to add some skin tones to the face just by scribbling on the colour; darker colours in the shadow areas and light where the sun hits the face.


I activated the pencil using the same paintbrush and then set aside to dry. (Or impatiently dried CAREFULLY with the heat gun again).


She needed a bit more colour so I added some more using the Scribble Sticks again and then activated and blended with the paintbrush.


Time for some detail now! My go to pens for adding final details are Posca Paint Pens and also the new Pilot Pintor Paint Pens. I used white and black Poscas as well as the Light Blue Pilot Pintor Pen for the eyes.


Next I added some stencilling using a KAISERCRAFT Mini Stencil with heavy white gesso. I added a quote torn from the DWM Collage Papers using the gel medium. I added some circles using the DWM Mini Boulders 6x6 Template and Scribble Sticks.


I finished by adding some more stencilling and doodling with the black Posca Pen. I added the title too by stamping onto plain tissue paper using the HEIDI SWAPP Old School Alphabet Clear Stamps and RANGER Archival Ink in Aquamarine and Jet Black.


Thanks so much for stopping by the blog today. I hope you are feeling inspired to have a play with your Scrapping Clearly goodies too or check out some of the awesome stuff in store now.

Cheers
Belinda


Friday, 9 October 2020

Rebel Heart with Belinda Spencer

 Hello Scrapping Clearly peeps!!


It's Belinda here today to share my latest project inspired by the gorgeous October Mood Board Challenge. Today I am sharing an art journal spread using lots of fabulous products available in the Scrapping Clearly shop.


'REBEL HEART' ART JOURNAL SPREAD


Here's another peek at the mood board.


I began my art journal spread by tearing some pieces of scrapbook papers and Dina Wakley Collage Collective papers in the colours of the mood board. as well as some book paper I then added them to the 6x6 White Dina Wakley Media Journal using Liquitex Matte Gel.


Next I used a palette knife to scrape some heavy white gesso over the pages.


Once the pages were completely dry, I diluted some Dylusions Paints in Blue Hawaiian, Blue Lagoon and Vibrant Turquoise with water. I spritzed the pages with water and then used a large soft paintbrush to drop the colour onto the pages. I moved the journal around a little to let the paint go where it wanted to.


I let the pages dry completely once again and then added the face and the quote using some Dina Wakley Collage paper and the Matte Gel.


When this stage once dry, I used the Dina Wakley Mini Boulders 6x6 Template with two blue Scribble Sticks to add some scribbly circles over the pages. I used the large soft paintbrush again to blend the crayon scribbles. I carefully dried the pages with a heat gun (not too close or the collage pieces will bubble) and then used a fine black Posca Pen to draw my own lines around the circles just like the quote says.


Next I tore off a strip of Dina Wakley Media Tape and lightly stuck it onto a piece of plastic (so that it can be removed after). I stamped the title using the Heidi Swapp Old School Clear Stamps. Iused Mermaid Lagoon Archival Distress Ink for the solid colour letter stamp and Jet Black Archival Ink for the outline letter stamp. Once the ink was dry (well it was almost dry and I paid the price of being too impatient when I smudged the first letter. D'oh!) I removed the tape from the plastic and added it to my pages.


And just because I am loving this stamp set so much right now, I had to add some mandalas around the edges using the Art By Marlene Mandala Tapestry Clear Stamps with the Jet Black Archival Ink. I coloured parts of the mandalas using Prima Art Philosophy Peacock Liquid Watercolour and also added some highlights using a white Posca Pen. I used the Pilot Pintor Pen in a lovely shade of blue to add some more lines in the large 'boulders'. I added a few more 'mini boulders' using the stencil and the white Posca Pen and drew some messy outlines around them with the black Posca.


To finish, I used a wet water brush pen to add some Pthalo Blue Shade Pan Pastel around the edge. This is such a gorgeous deep shade of blue. I love it! I also used a Darkroom Door stamp set to add a few stamped words.


Here's what I used:
DINA WAKLEY Collage Papers:
- Faces
DINA WAKLEY Media Collage Collective
ART BY MARLENE Mandala Tapestry Clear Stamps
DARKROOM DOOR Artist Rubber Stamp Set
RANGER Distress Archival Ink Mermaid Lagoon
DYLUSIONS Paints:
- Blue Hawaiian
- Blue Lagoon
- Vibrant Turquoise

I hope you are feeling inspired to have a play with the mood board now too! Thanks so much for stopping by the blog.

Cheers
Belinda Spencer