Showing posts with label Lauren Hender. Show all posts

Sunday, 31 December 2017

Merry Christmas & Happy New Year by Lauren Hender

Hello Everyone! 

Welcome back to the Scrapping Clearly blog. 
I have mixed feelings about this blog post. On one hand I am happy and the other I am sad.
The reason for this is that this is the last blog post will have as part of the Scrapping Clearly team. 

I recently made the VERY hard decision to step down from this team and another
to allow me to have some extra time for me in 2018.
I found this past year I took on too much which left me feeling stressed and exhausted.
So part of my 2018 year is all about slowing down and not saying yes to too many things
even if I really really want to. 

So today I want to share with you a Christmas layout using the beautiful Pink Fresh collection
‘Oh Joy’ with a little of the Teresa Collins range ‘Something Wonderful’. 


This layout is of part of my family on Christmas Day just before
we were about to dig into our yummy Christmas lunch. 


Have you made any New Year resolutions?
I have decided on a crafty one which is to put into an album every layout once it has been completed. The reason for this is that recently I spent half a day sorting through and putting into albums 2.5 years of layouts.
By the end of it I was just exhausted and made a vow to myself that it will never happen again. 

How do you store your completed layouts? 


So lets go shopping: 


So I just want to take this moment to thank Kylie and the Scrapping Clearly team
for this incredible journey I have been on.
It has truly been one of the most inspiring and supportive teams. 


I encourage you all to continue to support Kylie so that we can see her business grow
and we, as Scrappers, can continue to have access to this superior store. 

Blessings for your 2018. 

Lauren xo

Wednesday, 13 December 2017

December Story by Lauren Hender

Hello Everyone and a big welcome back to the Scrapping Clearly blog. 

Today I am sharing with you a layout celebrating my December
and letting me reflect a little on the year that has been. 


In this layout I have used the stunning Oh Joy collection from Pink Fresh Studio. 
This beautiful festive collection can be found HERE in the Scrapping Clearly store. 


As you can see one of the key features I have used in this layout is this folk Christmas tree cut file
by Paige Evans. Having a large element like this on you layout can sometimes take over
but since it's Christmas, and since it's a Christmas tree, why not let it take over lol.
I did try and balance it a little though by triple mounting my photo
and placing it right next to the tree, and not at the bottom of it. 


In this collection there is a great set of Studio Puff Stickers.
They are adorable and add that something special to your layout. 


As you can see there is really not much to this layout.
It's clean and there has been no fancy technique applied.
I think that is the really great thing about Pink Fresh Studio collections.
They all have a clean classic look to them that make traditional scrapbooking easy. 
Check out the other Pink Fresh goodies in the Scrapping Clearly Store HERE.

I wish you all a Merry Christmas and I will see you back here
on New Years Eve to share something a little special. 
Blessings 
Lauren xo

Saturday, 2 December 2017

Summer Days by Lauren Hender

Hello Everyone and BIG welcome to DECEMBER! 

Oh my goodness, this time of year is so hectic but I LOVE IT! 

I love everything about Christmas. The music, the food, the family, the shopping and even a little bubbles every now and then. 

Are you are lover of Christmas or do you dread this time? 

As the months are getting warmer and warmer here in Australia I thought I would share a layout with using the beautiful Endless Summer collection by Cocoa Vanilla Studio found HERE in the Scrapping Clearly store. 


I just love this collection.. and I have to say I think it's one of my Cocoa Vanilla Studio favs. 
Which is your favourite element above? 

If you would like to see how this layout has come together I have created a process video. This shows  you the ins and outs, the ups and downs of how this layout came together. 

I promise you also.. although it appears to have lots of elements its was super quick and easy to come together. 


So lets do some shopping


Here are some close up of the layout. 


I hope my layout has inspired you to get creative. 
Have a fabulous December. 
Lauren xoxox 

Saturday, 25 November 2017

Keep It Simple by Lauren Hender

Hello Everyone!!
Welcome back to the Scrapping Clearly blog. 
I'm a little bit excited to share with you my layout today as it isn't my usual style. 

Recently I have had to have a think about my life and where I can maximise time. At first I thought this was an impossible task and feel that I am a really efficient person in general (don't as the hubby! lol)
But I decided to have a think about it and came up with a few ideas. 
In relation to scrapbooking and craft my idea was to make it simple! 
So here it is my first super quick and easy layout... 


One surprise I found was that I got the same amount of joy out of this layout as I did with any of my usual more detailed layouts. 
So my new focus going into 2018 when scrapbooking is don't not do it because you don't have enough time but just keep it simple! 
KEEP IT SIMPLE


This Escape the Ordinary collection by Pink Fresh helped me enormously with this beautiful background piece and sticker accents. I just love it and it is perfect for scrapping our boys. 

Escape the Ordinary can be found HERE in the Scrapping Clearly store. 


The quick and easy part involves these few steps: 
1. Layer your photo
2. Back with tags
3.Add title & stickers
4. Add Journaling
5. Add ink splats
DONE! 

Wahoo! Loving that... lol


What do you think of the We R Memory Keepers hole reinforcer punch?
Found HERE in the Scrapping Clearly store. 

Not only does it create a great effect as an embellishment it is also a wonderful tool to have in planner goodies box. 


Thanks for stopping by. Any questions leave in the comments and I will pop back and answer them. 
Hope you week is wonderful. 

Lauren xo 


Sunday, 8 October 2017

Dreamy Heart by Lauren Hender

Hello Everyone

Welcome back to the Scrapping Clearly blog. 
Today I am sharing with you a beautiful layout using the stunning Moonstruck collection by Pink Paislee and the exciting thing I also get to share with you is a process video of how this layout came together. 


This is a simple quick and easy layout. The fussy bit is all in the cutting of the flowers, but definitely worth the outcome. 

In this layout I used Moonstruck cardstock, puffy stickers, and ephemera, a little gesso and some thickers phrase stickers titled Dream. 


I just love this photo of my little girl and our puppy. It's a magical photo that I've had for almost a year to scrapbook but was waiting for the collection that would help to make it as magical as I thought it was.  


Using a foam sponge and some gesso I created the effect of clouds. I loved how it turned out as it really softened the transition between the mail cluster and the page. 


Now you will have to hang in there for the process video as I have only done a few and I'm just getting the hang of it. But I have a great time doing it so I hope you enjoy it and it helps to see how this layout all came together. 


All the products that I have used you can find in the Scrapping Clearly store. 

Click the link below and check out this amazing shop. 


I hope you enjoyed this layout and the process video. 
If you have any questions please don't hesitate to PM me through Facebook if you have any questions at all. 

Lauren xoxo


Monday, 21 August 2017

Art Journal Fun by Lauren Hender

Hello Everyone.
Welcome back to the Scrapping Clearly blog.
Today I am sharing with you a mixed media piece I created in my art journal.
I don't often create in my journal but when I do a just love it. To be honest I get a little nervous about making it all come together. But in the end I am always pleasantly surprised by the end result.


The journal I create in is the Dylusions Creative Journal.
These journals have high quality artist pages allowing you to add mediums and texture to you pages without transfer.


To build this layout I began by adding some tissue paper to the background and some fussy cut butterflys to add some texture. I then painted over them with white gesso, and dried it off with a heat gun.


I then had some fun spraying, spritzing and flicking Dylusions everywhere and letting it run down the page.


Then using some stamps and some black staz on ink I play around adding some stronger stamps in the centre and highlighting butterflys throughout. This is truly the fun part and my advice is not to over think it.. just stamp.


I then stamped and fussy cut some smaller butterfly's and using the new Dina Wakely scribble sticks I coloured the butterflys. I then played around with some washi tape and finished off with adding the title and splashing white ink everywhere.


Lets go shopping:


Have a fabulous and creative week.
Lauren xo
Saturday, 5 August 2017

A bit of this and a bit of that with Lauren Hender


Hello and a big welcome back to the Scrapping Clearly blog.

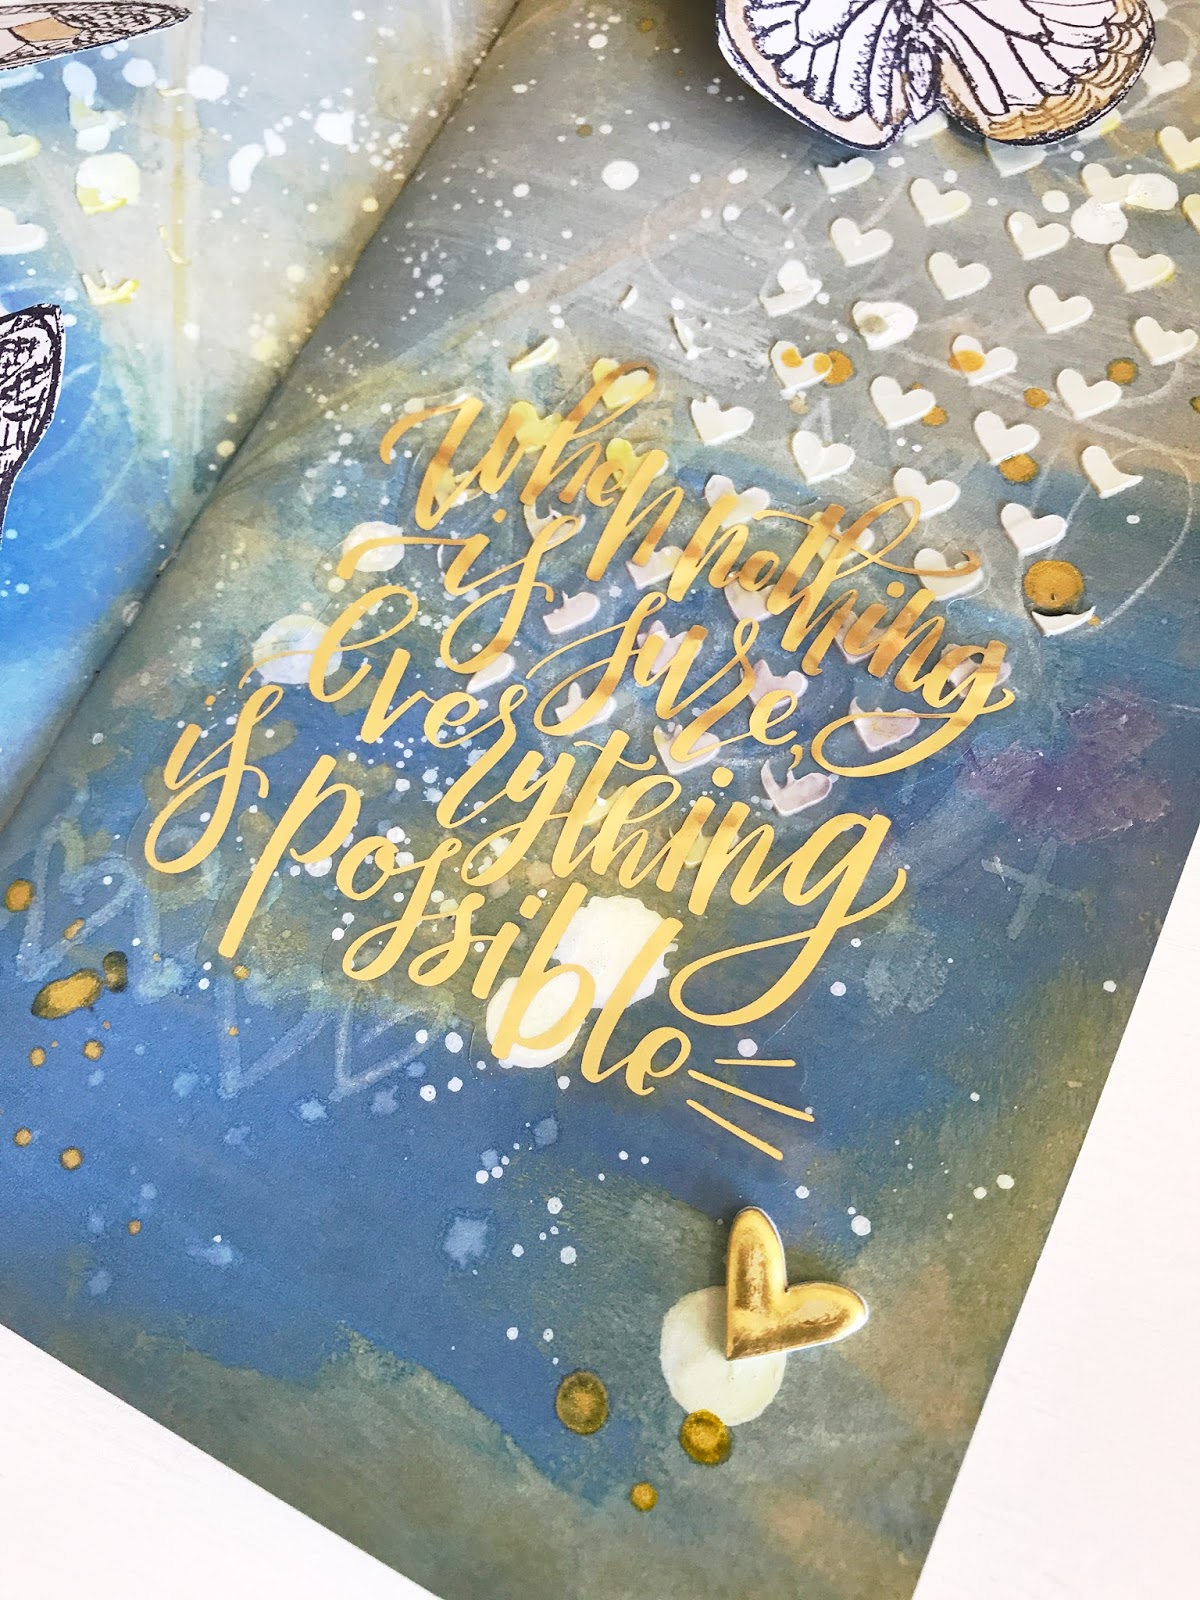
Today I am sharing a mixed media layout in my travellers notebook.

This TN travels with me in a my beautiful Websters Pages Color Crush TN planner from the Scrapping Clearly Store..


When making this I was having the most wonderful mixed media fun..


This was a fun because it was my first play with the Tim Holtz DISTRESS OXIDES. This product is amazing as you can add layer upon layer of product and it just keeps creating more depth in your work.


Other must products I used to create this project was


 Using the Staz On Ink I stamped some butterflies and painted them with gold Heidi color shine. I then added some texture paste hearts, drew some subtle hearts with a white pencil and finished off the base with some splashes and flicks of white ink. I then added a gold sticker statement and a puffy gold heart
So my advice is have some fun by trying a new product. Be daring and brave and whatever the outcome it does not matter, it's the process I want you to enjoy.

Lauren xo

Wednesday, 26 July 2017

Love at Lanach by Lauren Hender

Hi Everyone!
Welcome back to the Scrapping Clearly blog.
I hope your week has been fabulous and are ready to be inspired by some beautiful products.
In this layout I used a photo of myself and my husband on a night away from the kids. We stayed in a beautiful castle called Lanach castle just outside Dunedin, New Zealand. It was so lovely just to have some time together is a beautiful location.


 In this layout I have used the beautiful Pink Paislee Moonstruck Collection
This collection is stunning with deep pinks, navy and gold.


I began this layout by cutting down the pink base sheet and adhering it to the navy moon cardstock. I then bent up the edges of the top pink sheet and adhered some of the reverse side of the left over strips to the sides of the layout. 


I then mounted my photo and built the photo cluster you see above. I also fussy cut a couple of butterflies from the navy butterflies cardstock.


I then added some cute embellishment clusters above and below the photo, and finished this side with some splashes of gold Heidi Swapp color shine.


 I then created a moonstruck cluster on the left hand side of the page. This is kind of my featured title and I think it looks great all clustered tightly together.


I hope my layout has inspired you to get creative with the moonstruck collection available in the Scrapping Clearly store.

Lauren xo


Wednesday, 28 June 2017

Dream by Lauren Hender


Hello!
Welcome back to the Scrapping Clearly blog.
Today I have a beautiful easy to create layout to share with you using some stunning products from the.... Scrapping Clearly store.


To build this layout I have used three large pieces of patterned cardstock to build the background. This was the pink floral, the black and white crossed and the teal with pink flower.
Just placing these pieces into place I knew this layout would come together easily.


I then layered up my photo, fussy cut some frames from the cardstock and using foam adhesive layered my cluster with a doily.


The frame cardstock is just wonderful - definitely a fun feature that is a very cost effective feature on the layout.

Tip: When purchasing your patterned cardstock have a think what you may fussy cut. It may mean that you will end up purchasing the same sheet twice but it will add an extra layer or a cost effective embellishment.


Now it's the time to add all the pretties.. this is the fun part. When adding the details I was absolutely blown away with how fabulous the cork embellishments looked. I have to admit when I saw them in their packet I thought I wasn't going to be able to use them.


See! It looks great..

So let's go shopping.


I hope my layout has inspired you to get creative.

Happy Scrappin

Lauren xo


Wednesday, 8 February 2017

Gallery Wall Arrow by Lauren Hender

Welcome back to the Scrapping Clearly blog.

Today I have a fabulous beyond the page project to share with you.
I had a great time putting it all together and although it looks a bit tricky each step is actually simple to do.


Heidi Swapp is the feature product designer of this project.
See below are some the main products I used to create this project.
How stunning is the screen stencil!  


Step 1 is to paint your arrow with a base colour. The paints that I have chosen to use are the Annie Sloan chalk paint. Any acrylic paint will do provided it does not have a high gloss finish.
If you are in the US Heidi herself promotes a company that produces chalk paint, so stop by her Instagram account and see if you can track them down.


Step 2 is to dry off using a heat gun. You will want your project to be really dry before applying the next coat.

Surprise surprise, step 3 is to apply the top coat.


Next step (4) is to sand off the edges to let some of the base coat through. This gives a nice rustic feel. The sandpaper I use is quite fine. I find it works best and takes off just the right amount of top coat.


 Now the fun begins.. Step 5! Using the screen ink stencil and some Heidi Swapp screen ink paint. Apply the paint. To do this I did the top of the arrow and the bottom of the arrow, left it to dry before doing the centre. This meant that I was smudging the wet ink in that I had already completed. I used the minc screen ink as that is all I have but I know that there are a range of colours available to choose from.


Step 6: Once the ink is dry sand of the edges again, dust off with a cloth and apply a top coat. I have used some wax featured below but a sealer of some type will do the trick. Remember to give it a buff to achieve a nice professional finish.


Step 7: Using the HS clips and chains set I measured out along the arrow where I wanted to set my hooks. I then cut the chain to my desired length.


Step 8: I thought I would have been strong enough to screw in by hand the hooks but I should have known the HS timber is top quality and hard, so therefore I had to call the hubby to help create the holes for the hooks.


Step 9: I then fired up the minc and foiled the centre piece for the project. This is one of the HS Minc products available to purchase. It comes in a set with others and I assure you, you will love them all.


Step 10: Sit back, peal off the foil, do a happy dance because it's just like magic and soo pretty!


Step 11: Using some sheer white ribbon a made two holes in either side of page and poked the ends of the ribbon through. I tied a knot to secure it and tied the two other ends of the ribbon into a bow which will sit over the centre hook.


Step 12: Aww so pretty lol


Step 13: I then clipped my two photos on and put the chains on the hooks.
I was so pleased how it turned out.

So lets go shopping for all you need..


Hope my beyond the page project has inspired you to get a little messy.

Lauren xo