Showing posts with label gold. Show all posts

Wednesday, 29 December 2021

Precious Bond, by Amanda Hartmann

Hello SC fans!

Welcome to my December gold page! Last days to get your entry in!

I used these products to create the gold:
Liquitex Ink – Iridescent Bright Gold 0234 30ml - painted touches and splatters


Used some cardboard, die cuts and wood veneers to finish the page!

Some close ups!


Stamping with : AALL & CREATE – Scrappingclearly Pty Ltd and Tim Holtz Tiny Text stamp.


Thanks for looking today!
Amanda 


Saturday, 11 November 2017

Still life of an abstract duck

Good morning Scrappingclearly family,

Today I would like to share with you a painting that I recently completed using the amazing Windsor and Newton and Liquitex Acrylic Paints which are stocked in store at Scrappingclearly.


Did you know that you can use acrylic paints just like watercolour paints, yes that's correct, they retain the pigment colour better than watercolours, all you have to do is use lots of water and blend the acrylic paint, as you will see in the following photos.   

I started out with an A2 size piece of mixed media paper one thing I will share with you about the paper it does pay to buy the best you can this paper is a French paper with linen in it and, oh wow, it works a treat.

 I started to sketch my duck in pencil. I always use an F lead as it is softer and leaves no damage when erased. Once I had my sketch completed I mixed my colours up and started to paint the duck in.

As you can see you won't need heaps of colour.


As I started to fill in the duck using a large watercolour brush, you can see how similar the paint looks to watercolour. 


As more detail is added


The colours of the watered down paint are brilliant as can be seen from the head details.
If using acrylics as watercolour you need to remember they don't blend with each other as readily as watercolour and they do dry more quickly. 

  
When I had my duck to the stage I thought it was complete, I then added a layer of Iridescent Bright Gold from the Liquitex range, watered down to a wash, over the body of the duck and applied a layer of glad wrap over that and allowed it to dry. What that does is leave texture lines in the paint adding depth to the image.

Just look at the sheen from the Iridescent Bright Gold paint isn't it awesome.

      
Then I just added some splatters to the page to finish it. And now it is at the framers waiting to be framed. As you can see I have used a board and masking tape to secure my image (washi tapes will work here too as they are low tack), I have also given my paper a water bath on the board prior to using, to allow it to stretch and shrink back to a flat surface which prevents the paper buckling when the paint is added. 


I hope you have all enjoyed seeing the creation of my duck painting and will now have more inspirations in using your acrylic paints in your creations, these steps can also be used on your scrapbooking layouts and art journaling.

Until next time, happy creating, Kim.


Saturday, 5 August 2017

A bit of this and a bit of that with Lauren Hender


Hello and a big welcome back to the Scrapping Clearly blog.

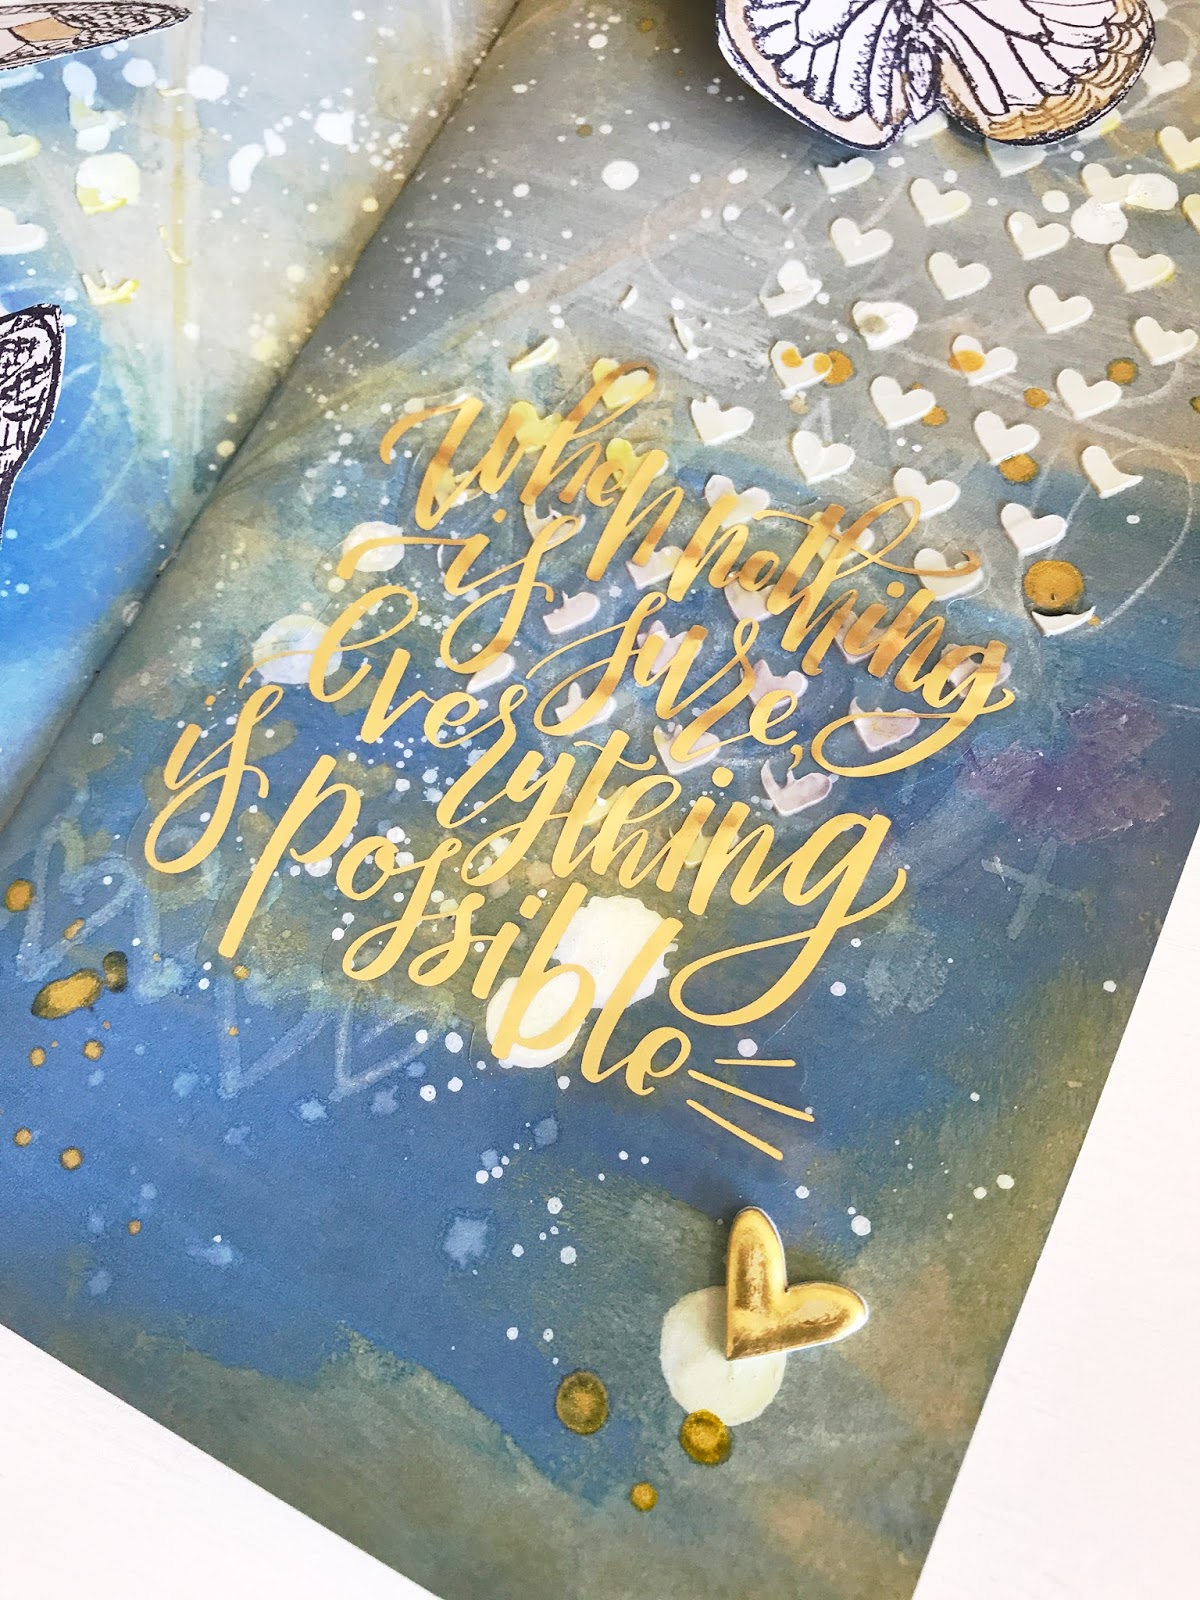
Today I am sharing a mixed media layout in my travellers notebook.

This TN travels with me in a my beautiful Websters Pages Color Crush TN planner from the Scrapping Clearly Store..


When making this I was having the most wonderful mixed media fun..


This was a fun because it was my first play with the Tim Holtz DISTRESS OXIDES. This product is amazing as you can add layer upon layer of product and it just keeps creating more depth in your work.


Other must products I used to create this project was


 Using the Staz On Ink I stamped some butterflies and painted them with gold Heidi color shine. I then added some texture paste hearts, drew some subtle hearts with a white pencil and finished off the base with some splashes and flicks of white ink. I then added a gold sticker statement and a puffy gold heart
So my advice is have some fun by trying a new product. Be daring and brave and whatever the outcome it does not matter, it's the process I want you to enjoy.

Lauren xo

Monday, 20 February 2017

Bottoms up by Amy Prior - February Mood Board Challenge example

Hi everyone! Amy Prior back with you all again today, this time sharing my take on the February mood challenge which was designed by the amazing Peg Hewitt! Here is the current mood board and you can view the full details by clicking here


Here is my take on the mood board. I was inspired by the pretty flowers as well as the gorgeous colours and hearts!


I added lots of gold to this layout also because I just love this fabulous patterned paper from the My Minds Eye - My Story Collection - Patterned Paper. The gold is so hard to photograph successfully sorry but in real life this is so breathtaking!


Among the gorgeous layers of My Minds Eye - My Story Collection - Patterned Paper, I have also added various stickers from the My Minds Eye - My Story Collection - Paper Goods Stickers and My Minds Eye - My Story Collection - Story Stickers. I have inked the edges of all the papers, stickers and flowers to bring more black into the layers using Ranger Archival Ink Pad - Black and a Mini Ink Blending Tool.


I had so much fun playing with the Heidi Swapp - Wanderlust - Gold Alphas Foil sticker kit. It was so easy to use and I have added extra texture to the gold letters by squishing them down a little with my fingers. If you just want to keep the smooth gold finish, all you have to do is press the foil onto each letter. It is just so easy, I definitely recommend giving it a go! To help the letters pop off the background a little better i have doodled around the edges using a black archival pen.


Once all the layers were stuck down, I have splattered some Colour Blast - Shimmer Spray - Lipstick around the background however this step could be done first if you are afraid of splattering the photograph.

A few flowers from my stash finished this layout off perfectly.

Complete product list for this layout includes...
My Minds Eye - My Story Collection - Patterned Paper
My Minds Eye - My Story Collection - Paper Goods Stickers
My Minds Eye - My Story Collection - Story Stickers
Heidi Swapp - Wanderlust - Gold Alphas Foil sticker kit
Colour Blast - Shimmer Spray - Lipstick
Ranger Archival Ink Pad - Black
Mini Ink Blending Tool

Well that is it from me today, thanks so much for stopping by and until next time, happy scrapping!

Amy Prior xx

Thursday, 2 February 2017

Smile with Amy Prior

Hi there Scrapping Clearly fans! Amy Prior back with you all again today, this time sharing a quick layout that I created using the gorgeous My Minds Eye On Trend 2 Collection to showcase a photo of my mum and step-dad during their recent joint surprise 60th birthday party. 


This layout came together super quick thanks to fantastic coordinating products! To start this layout off, I have smeared some Colour Blast - Colour Paste - Bling over a piece of My Minds Eye - On Trend 2 Collection - Patterned Paper. As you can see, there is no real method to this you just need to quickly smear the paste where you want it to show and be sure to work quickly to avoid the look of trying too hard to be perfect.


Checkout the difference in colour when that gorgeous colour paste is dry. It is important to know that all Colour Blast colour pastes dry much darker then they appear in the jar. The best idea is to make yourself a swatch so that you can easily colour match when creating. 


There is so much gorgeous gold on this page that it was so hard to photograph unfortunately. Gold makes me so happy and I hope my mum and step-dad love this layout as much as I do.


Full product list for this layout includes...


Well that is it from me today, thanks so much for stopping by and until next time, happy scrapping!
Amy Prior xx