
Last weekend was the Scrappingclearly Virtual Cyber Crop. We are all so very blessed to have Kylie Tout organise this event for us all. The design team, teachers & members getting on-board and having an amazing creative hub to learn, chat & create. We all came together as one. The amazing artists who came and shared their time, knowledge, love of Art , the journey they have taken and the journey that we are all in now. Thank you - my cup is full & overflowing. We will get through these hard and sometimes upsetting times with each other and Art.
This past week we have been having an awesome carry on effect as there were 6 fantastic challenges with prizes up for grabs & lots of amazing art being created from very creative and amazing people in our community. If you haven't checked it out it is a must and you still have time to enter.
Today I wanted to share with you one of my project shares for the weekend - Ticky Tacky houses. There is a Live feed video over on the site with me creating one and this is a little step by step as I put the original two together.


Measuring - I worked on a 6.5cm square for the body of the house x 4. A tab added on one end of the side and one tab added to the base. The base was added @ 6.5cm and the tab was added also to this piece. I worked out the peak of the roof I wanted by measuring to the middle of the square and putting a point and drawing back to the corners of the side - which then gave me the pitch. Only two pointed sections needed to be added and then the pitch measurement was taken and 2 rectangle sections were drawn with one having a tab - as this will be what keeps the roof closed. The tabs on the peak pieces were also drawn in. I allowed half an inch for the tab sections. ( sorry if i go from cm's to inches... It's just how I work... half an inch is a little bit bigger than 1cm)

After all was drawn up I cut, folded and scored all lines.

I ripped up some music paper and adhered with Liquitex Matte Gel. I then added some Dina Wakley & Tim Holtz tissue paper. Part of challenge 2 was also to added pattern paper. I added some Heidi Swapp Emerson Lane paper.


Time to add some more layers. I have used Dina Wakley paints in fuchsia & marine with a Kinder Kreations stencil. I painted the paint on and then placed the stencil on and rubbed off some excess.
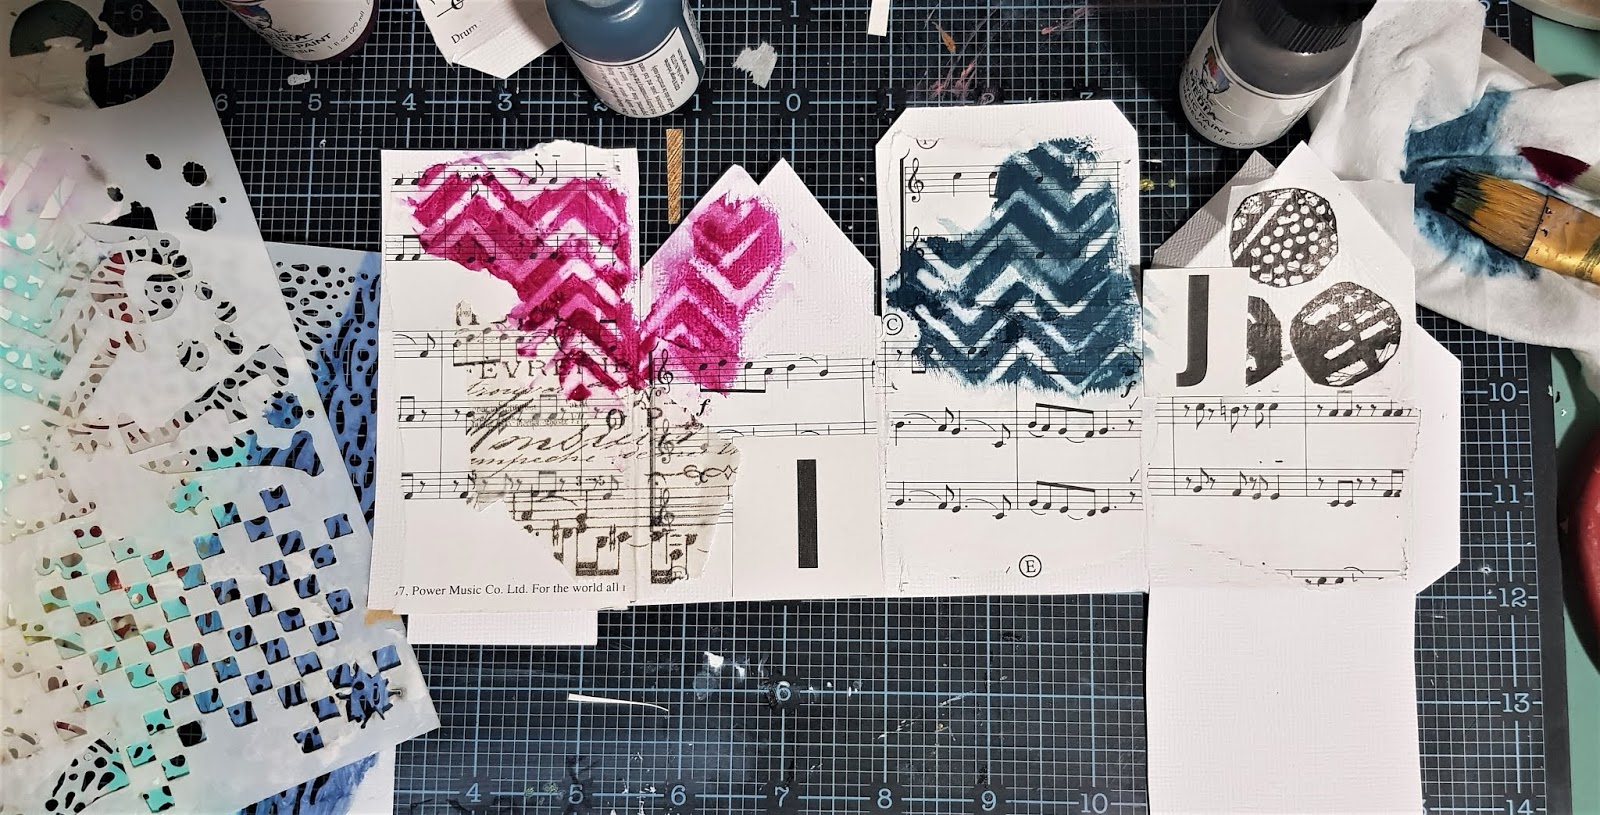
I added Liquitex modelling paste through a TCW stencil - mini sea bubbles each 'wet stage' I used my heat gun to dry the layers ready for the next step.

I painted some Dina Wakley paint in medieval onto some baking paper (tissue paper). After it dried I then pleated the paper and then stitched on the pleated lines. I then cut this into sections and used it on the house in varying spots. I also added some black stitching with my sewing machine after all the paper elements were added.


I pre-stamped onto some tissue paper and fussy cut around them ready to adhere them with Liquitex Matte Gel medium.


I added some extra cotton thread and some metal embellishments. I tend to glue and hand sew most of my metal embellishments. The black cotton tends to blend well with the overall look of the piece. I had some hinges also that I added with brads. I wanted a little more black also so I added some black muslin to the side of the house with machine stitching.


Last thing was to add double sided tape and a little glue to join it all together.

I hope you have enjoyed this little project. I had fun putting it all together and was inspired by the lovely Leanne Jago whom I had the pleasure of spending some time at a retreat with in February.
Chat with you all over on the Facebook group - Scrappingclearly share & inspire group
till next time - be safe, be kind & create ART
Enjoy each and every moment.

tracey
I wish all houses look like these! Awesome project on my to-do list <3
ReplyDelete