Showing posts with label distress crayons. Show all posts

Thursday, 23 November 2023

'Remember' by Emma Zappone plus Video

Hello Hello!
Em with you all today. Hope your week has been kind to you so far.
 I'm sharing an Art Journal page in my altered book. It features a little from this months board but then it strays a little and takes on other colours.
Plus I had fun creating another VIDEO for you all to watch.
 
Watch the VIDEO here.....


My Page consists of lots of pieces I have collected from Kylies magical shop. My base is a piece of Rice paper from the 'Golden Age' Foundations pack and a Stamperia 'Owl Alchemy' Rice paper.
I just love mix and matching things.


I used some Tim Holtz Idea-ology Salvaged Tags and some 'Assemblage' tags from the Foundations range.
Tags bring me joy.


In amongst the tag layers and behind this gorgeous image (a download from LemoncreationArt) are circles punched out from some left over tags. This is a great way to create your own embellishments.


The colours are mostly Distress crayons with some liquid acrylics to darken areas.
Lots of random stamping complimented all the layers.


I really enjoyed putting this page together, and I do hope you enjoy watching it come together in my short Video.

Have a great Thursday and I will catch you again soon.
Em xx


Thursday, 2 March 2023

'Perfectly Imperfect' by Emma Zappone

Hi all,
Emma with you today. A new month means a new affirmation board.
To start the month off I chose to create an Art Journal. And a new video for you to enjoy too.


Here is the board for inspo.


Such gorgeous colours this month. 
I played with some 49&Market washi and the Rice paper from the Reverie Foundations pack for the collage of the page.


I then added some details with a Finnabair stencil and some white texture paste.
The colour was created with some liquid acrylics and Distress Crayons.


The flowers around the cut image are 49&Market rub-ons, transferred onto acetate sheeting and fussy cut. This makes for such easy embellishments.
If you would like to see this page come together, you can check out my video here.


A little stamping, using an Aall & Create set.


To finish it all off I used some white ink to splash over the page.

I enjoyed putting this one together, and I hope it gives you some inspo to join in this month.

Catch you all soon, Em xx


Tuesday, 17 January 2023

Making time for what matters by Tracey B

 Hi everyone

It's been a bit of an emotional week in our household as Del's Ouma headed home to South Africa.   Even after an extended stay there's lots of 'last things' to do.

I think this is the first time I've started a LO inspired by an embellishment pack but this was the case here.

I did a bit of stash busting by using some chipboard frames as my base.


I added a little colour using Dina Wakley paint (Turquoise, Sky and Magenta) and a brayer.


I painted a frame with gesso then scrapped through some Light & Fluffy through a stencil and coloured it with Distress Crayons and Art Alchemy wax (Peacock)


I coloured some muslin with Lindy's Stamp Gang Color Shot Tibetan Poppy Teal and added a bit more colour to the background using Lindy's Stamp Gang Flat Shot Frenchy's Pink Pouf and Dina Wakley Gloss Spray (Carnation).


I finished the layout with lots of chipboard from the American Crafts Wildflower and Honey pack and some diamantes I received from Ouma.


here's the finished page


TFL
cheers
Tracey


Thursday, 13 October 2022

'Adventure is Worthwhile' by Emma Zappone

Hello there.
Em with you today, and today's share is an Art Journal page which was created with all Tim Holtz products. It was fun to create with layered stamps and rub on transfers.
And the great thing is you can see it all in my YouTube video.


I used some older stamps I have in my stash that are a ticket style to style my background and then a cling stamp which features a flower to add another layer.

Check out the video here....


I then used a few Remnant Rubs amongst the stamped layers. This was cool as it added another shade of black into the background mix.


The image is from a set of Idea-ology Snapshot cards that I fussy cut and then layered with ephemera from Idea-ology pack 102.  This pack is full of tickets and envelopes and more. 


For the colour in the background, I chose to use Distress Crayons on an acetate sheet to add just subtle colour. the colours also were chosen to compliment the ephemera pieces.


The quotes are from  a small talk pad and are such easy ways to add quotes and phrases to any page.


Finally once everything was stuck down, I added a splash of Black Liquitex ink.

A simple yet effective page. Check out the video to see each layer come together.


Thanks for joining me today, and I hope I have inspired you to create with some older products in your stash along with some new ones.
See you all again soon.
Em xx


Thursday, 21 April 2022

'Live Everyday with Intention' - by Emma Zappone

Hello to you all this fine Thursday.
Today I am sharing a project that I made last year sometime and have yet to share it with you.
It was a fairly simple page, with techniques that we all like to play with. Plus I found the video of it being created too....bonus!!


It is an A4 layout created on heavy white cardstock. I started by using an image transfer by Dress my Craft and then a coat of clear gesso to seal that and the page together. I would love you to check out the video to see the process as it probably would explain the process much better than I could 😂😂😂


I used some great products on this page including the awesome Aall & create stamp Lotus Clusters, which I stamped onto the background with emboss ink and then using White emboss powder heat set it. I also stamped the same flowers onto white card this time with black ink and then added colour in a watercolour type technique.


The colours used where a combination of Izink pigment inks and Distress Crayons. I used the same colours on the background as well as on the stamped flowers. With the stamped flowers I incorporated a little pink too. The additional stamps on the back ground were from Tim Holtz Field Notes set and I used permanent ink to stamp these and add some more vibrancy to the page.
Beats using Black all the time.


I kept my embellishments simple, so the colours really made the statement. I did manage to use an awesome Finnabair Metal flower amongst the flower cluster. 
I hope you enjoy the process video and I will see you all again soon.


Stay crafty, Em xx


Thursday, 14 April 2022

'Take the Scenic Route' by Emma Zappone

 Hi there. 
Today I am sharing a very quick and easy Art Journal page with you that I also made a video of.
I based this page on this months mood/sketch colours. 


This page was created in my 5x7 Art by Marlene journal. I prepped my page with white gesso first as it had some marks and paint from a previous page.
Then I used Finnabair stencil Mind Games as an interest on the base with modeling paste.


Once the paste was dry, I started adding colour with Distress Crayons. I applied the colour like a watercolour over the background. making sure the colours met but didn't mix.
Once these were dry, I etched a black border and drew some loose lines amongst the pattern of the paste. This added a little more depth to the background. I also added a little light stamping using Framework Elements stamp by Aall & Create.


Popping that aside for a minute, I grabbed a couple of Naturalist Rub-ons by 49 and Market. I transferred one of the bright butterflies onto a piece of cardstock and then fussy cut it out. I also used some of the stitching lines amongst my drawn border. 


These colours work so nicely together. The quote used is from Tim Holtz Idea-ology quote chips and finally finished it all off with some black & white ink flick.

Please enjoy this page coming to life here....


Have a great week everyone and will see you again soon.
Em xx


Thursday, 20 January 2022

The Story - TN Thursday with Emma

 It's Thursday, and that means it's TN Thursday here at Scrapping Clearly.
I decided to bite the TN bullet and join in the prompt this week.
This weeks prompt is Transfer. I love a transfer. So I played.


I went with a vintage retro vibe. I used some beautiful 'Dress my Craft' Transfers over layers of book paper and a mix of Tim Holtz  design tape and Prima decorative tapes.
These were all adhered down with a Matte Gel medium. You can see this all come together in my video.


The colours in the background are made with a mix of different Distress Crayons, and I also used a gorgeous stencil from Tim Holtz with some Finnabair Jewel paste in Sparkling Onyx. It added to the vintage feel.


I used another transfer that I made into a couple of tags to feature on the left page of the journal. And again added a little colour to the tags with the crayons. 


It was so cool to play with transfers that really blended into the background and looked like the pages of a vintage book. Kylie has a great variety of styles too.

I hope you enjoy the process video.


And I can't wait to see all your journals with this weeks prompt.

See you all soon, stay safe, Em xx


Sunday, 2 January 2022

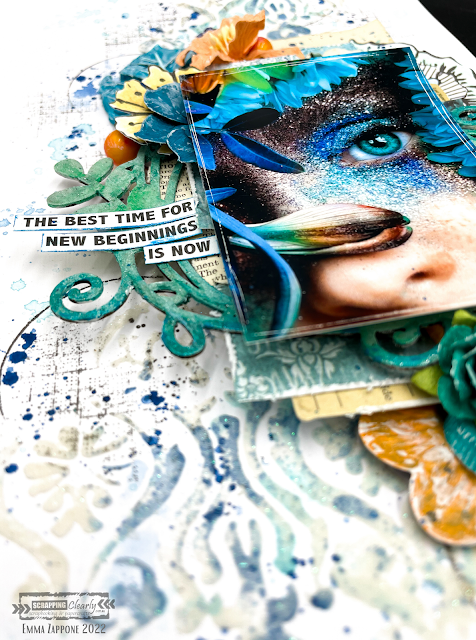
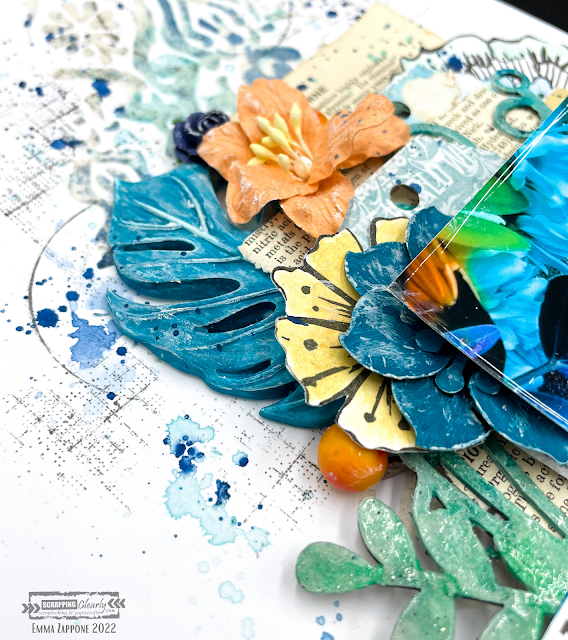
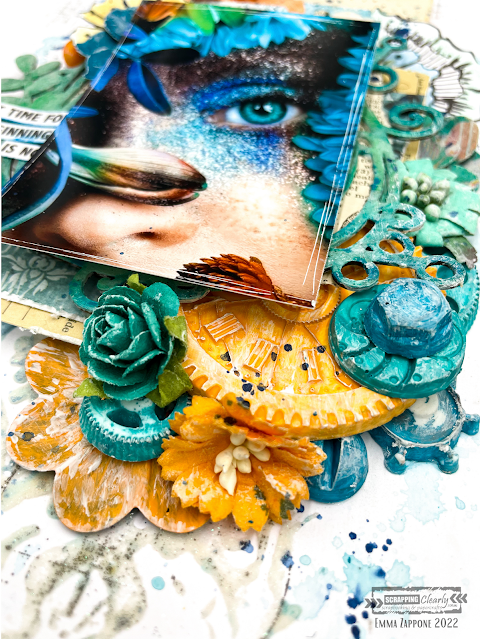
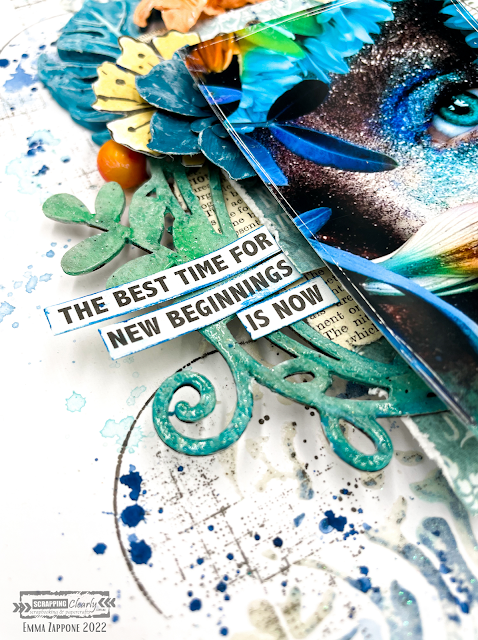
New Beginnings - with Emma Zappone

 Welcome to 2022!!
ScrappingClearly has got some awesome things planned for everyone this year.
And today I'm sharing with you an A4 layout and a Video that has been created using inspiration from the absolutely awesome NEW mood/sketch for January. The colours scream summer and fun!
Here is what I was inspired to create......


Here is the mood/sketch...


Super cool right???
I decided to focus on the mood part of this board, and save the sketch for later in the month.

I used lots of products in my stash but also available in the SC shop. Firstly the stencil I used is a Finnabair stencil Oriental wall used with snowflake paste. Soft and glittery which was a great base to start with. Then I smooshed colour. I chose to use 2 colours for the background work. First is an Izink pigment in celestial and then a Distress crayon in Peacock Feathers.
These worked so well in with the paste.


Ok, so I LOVE moulds and this page incorporates plenty. I used a variety of different ones, but love the big palm leaf and of course the machine parts one. These are painted with Dylusion paints in a mix of Squeezed orange & Polished Jade. The metal Finnabair mechanical flowers were primed with white gesso first and then painted with the coloured acrylic also. 


I added a little stamping onto the background to add more layers using the Tim Holtz Glitch1 set. It's grungy but goes with just about everything. I love the texture it brings.


The chipboard frame is one I have in my stash and I primed it with white gesso first and then with complimentary Distress crayons 'coloured' it in. Then sprayed with water and painted out the crayon, which created this cool blended watercolour effect. Then it was clear embossed.


In the video you will see me use a flower stamp by Art by Marlene and then coloured with more Distress crayons and then cut out to help build my layers. I absolutely love the dimension of this layout.
The papers that mat my image are what I have in my stash, and I love adding book paper for that slight reference to vintage style that I love.

I hope you are inspired by this project and the amazing board that is available for you to play with NOW!
I hope you enjoy watching this project coming together too...watch now with a cuppa....


I will see you all very soon.
Stay crafty friends, Emma. xx


Sunday, 8 August 2021

My Darling with Emma Zappone

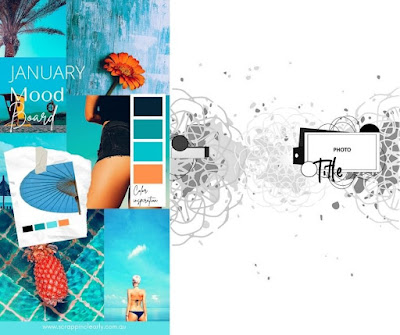
Happy Sunday all! Emma here with you today sharing a page inspired by this months glorious moodboard. It has the warmest shades of mauve, purple and grape. Colours that usually would have me running, but this time I decided to really embrace them and make them my own.

Here is the moodboard.....


To achieve the different shades of purple, I used a variety of different products. But lets start from the base sheet up. I primed by paper with a clear gesso and allowed to dry. Then with a couple of different stencils added a white crackle paste and again allowed to dry. Once dry I then used a Distress Crayon - seedless preserves and a touch of Dylusions crushed grape ink to create a dramatic effect on the crackle paste.


To add a little warmth I watered down a small amount of Art Alchemy Metallique romance pink acrylic  with a fine brush, dotted in amongst the other shades of purple.


I used a number of scrap pieces of paper from all sorts of brands to achieve my layers behind my image. The chipboard is painted with the Romance pink acrylic, I primed all my resin pieces with black gesso and then brushed Prima waxes once dry. these were a combination of Heather Hills and Amethyst magic. It created such an awesome finish. 


Once all my embellishments and flowers were in place I dry brushed a little white gesso over a lot of the elements, this allowed me to then add a touch of wax over the art pebbles and other embellishments.

Lastly a few Finnabair micro beads and Prima pearls to add a soft touch. I watered down a little of the Distress crayon used on the background and flicked this around my layout to tie it all together.


I hope this page inspires you a little to try a colour that may not be your first choice or one that you play with often, but that's what makes a challenge like this so much fun.

Catch you all again soon, Em xx