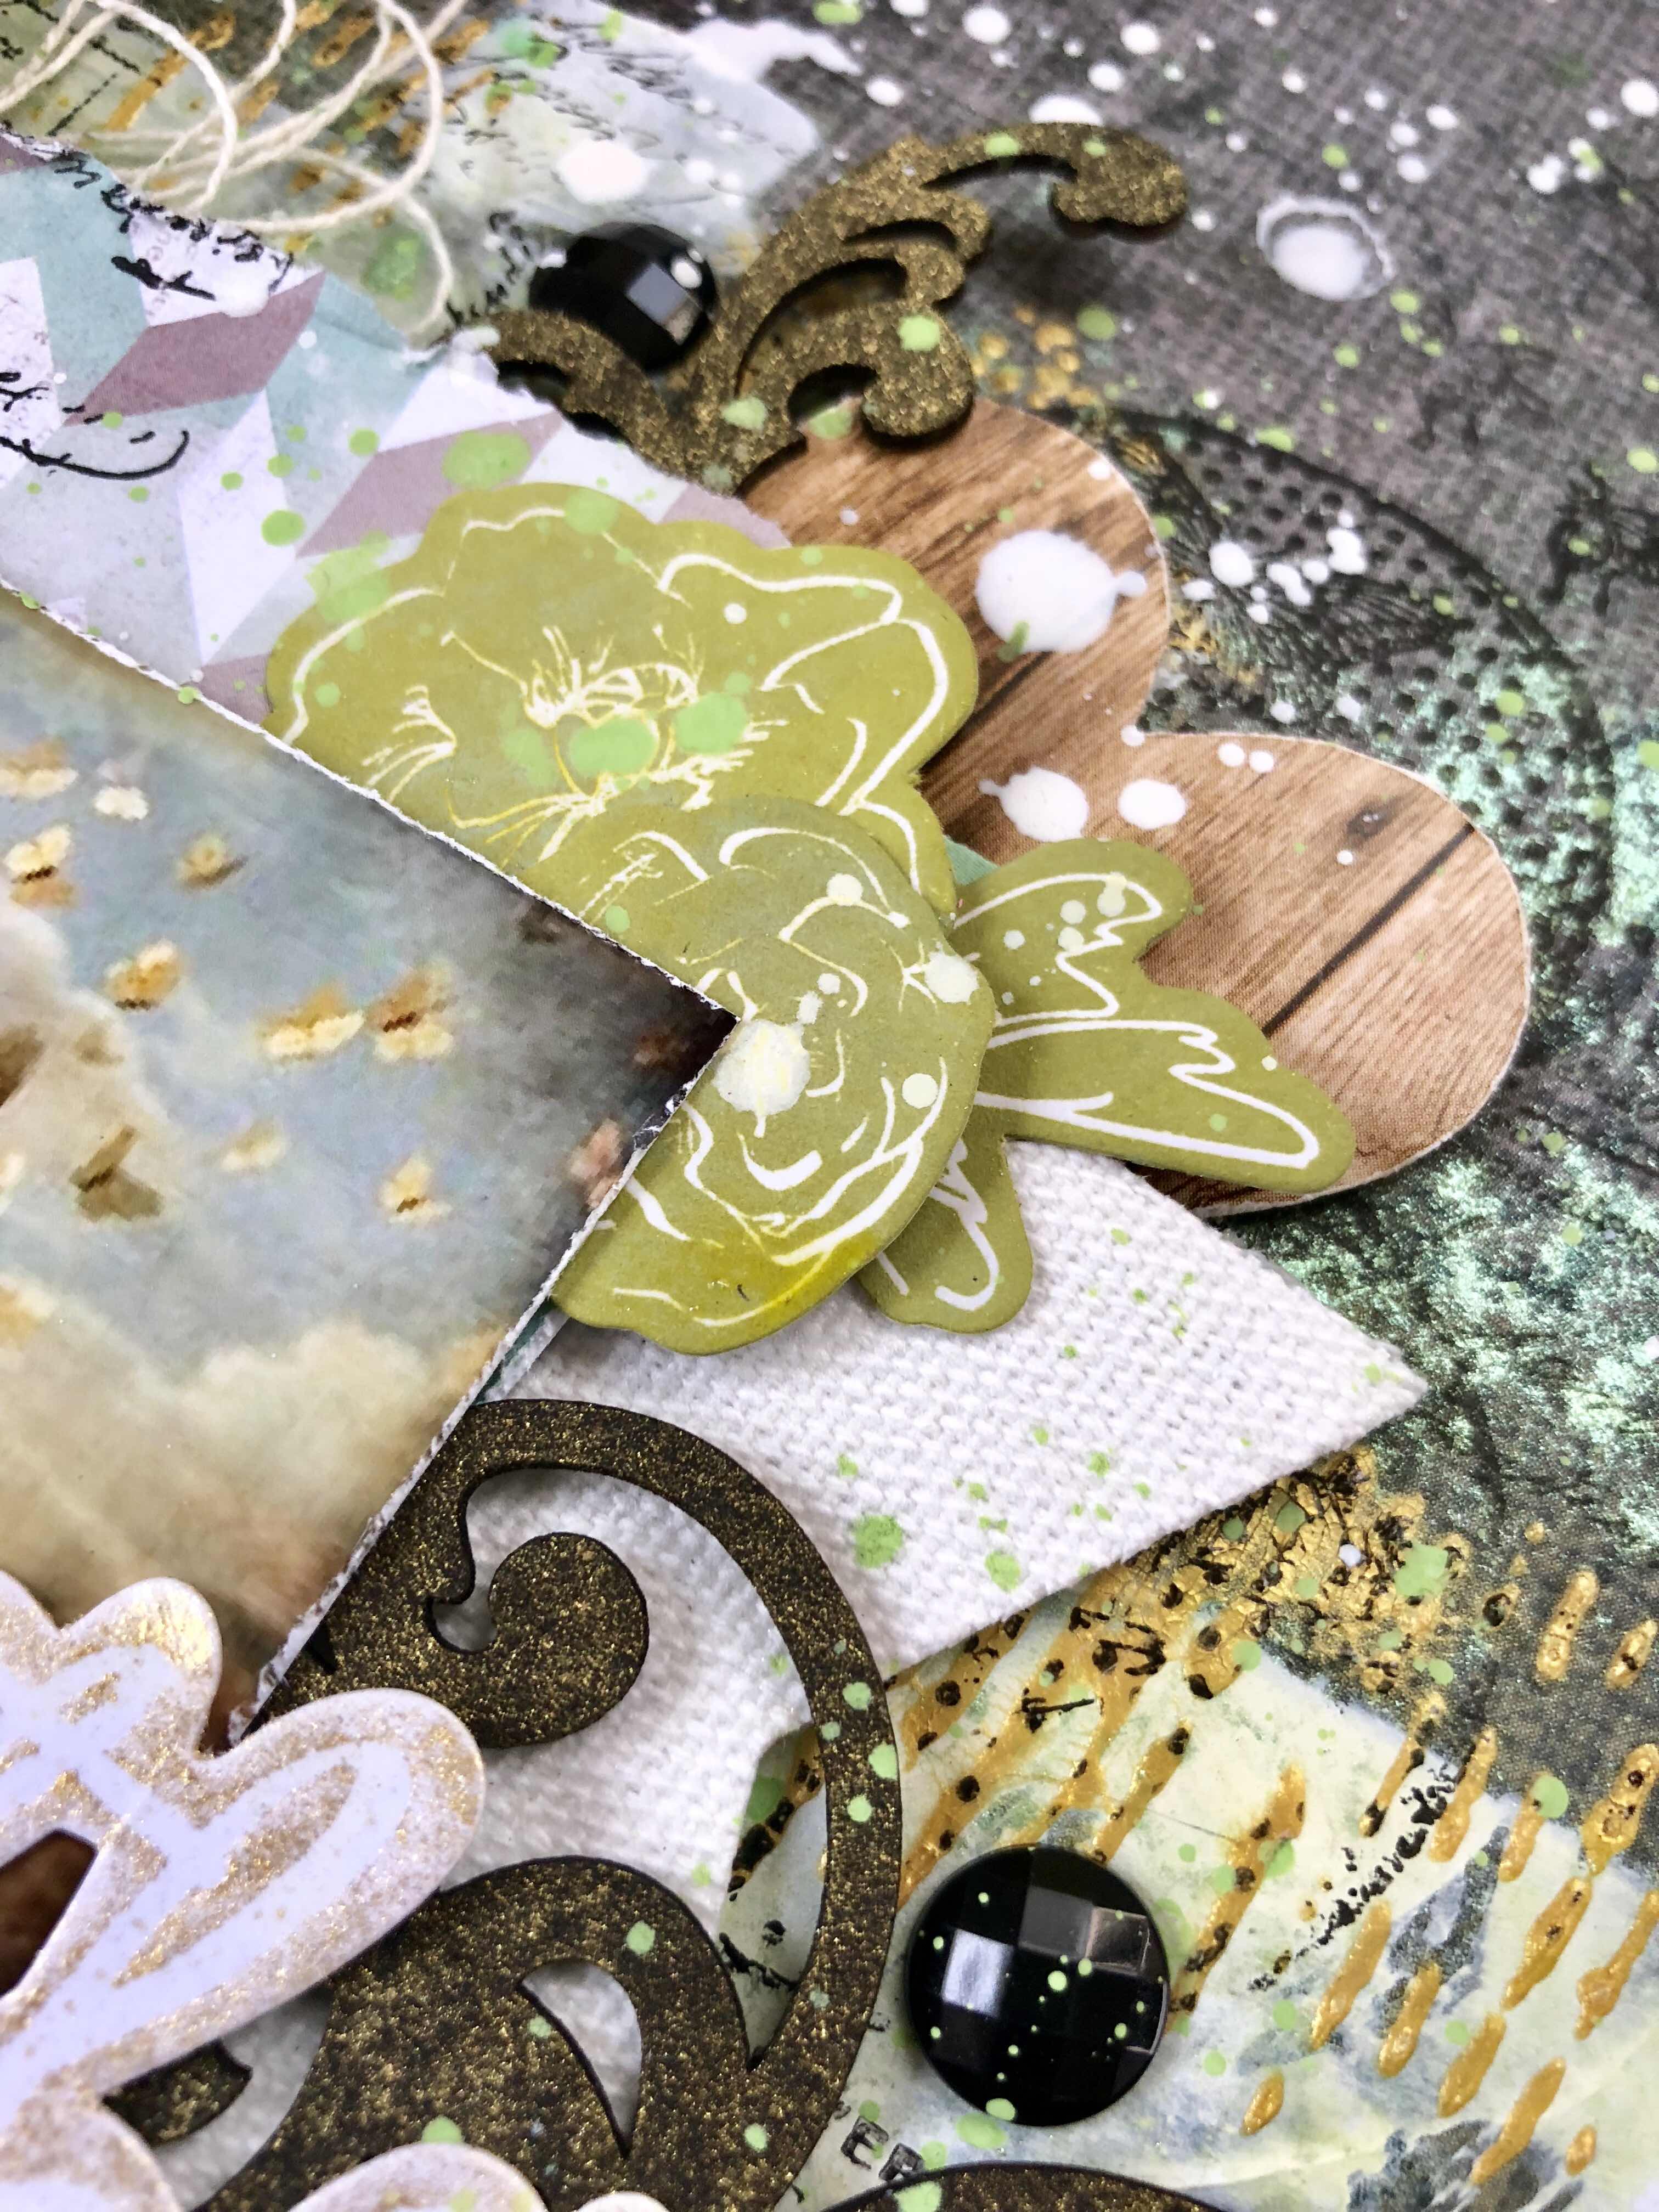
Recently I pulled them out of my stash and started mucking around with them again. The reason being I came across a paper called YUPOand I wanted to have a play and see how it reacted with the inks.
This layout was inspired/scraplifted from one I seen from Elisa Ablett. (check out her blog)
Take a piece of your Yupo paper and a selection of inks. The beauty with alcohol inks is you can do your warm and cool colours together. BUT I still do them cool first let dry then warm. I add white and or black accents last if needed.
After you have added your drops of colour to the paper add drops of blending solution and watch the magic. This will form different cells and mixes.
Once you are happy with your colours take your archival black ink, and it must be archival not staz on as staz on is solution based and will strip the colour from your inks. Great if you want a ghosting effect but not for what we are doing today.
Your favourite stamps, pick ones that are easy to fussy cut, stamp onto your yupo/ink paper then cut them out.
I smudged some Dina Wakley Heavy Body Paint in Night around the outside of the layout using a baby wipe. I matted the photo using Marshmellow cardstock and wrote my journalling using a Pilot Permaball Black Marker. If you haven't tried these amazing markers - they work well on art journalling pages, layouts and don't smuge - do yourself a favour and buy one or two from our shop!
I hope you will join in our May challenge - you could win a $30 voucher to spend in SC Shop!
Morning Bloggers, Lisa here with a Friday mixed media update.
I was M.I.A last week , down with a cold as well as catching up with Peg in Sydney,
for a theater adventure to see Book Of Mormon.
Today I'm sharing with you a couple of pieces inspired by the incredible Gedane on Instagram.
Yep, Instagram stalking again for inspiration.
Definitely check out her amazing stuff and I'm sure you will be as inspired by her as I am.
When I seek inspiration elsewhere I interpret the style and techniques my own way.
Using the tools I have on hand, those mediums that I work best with,to attempt an interpretation.
One of the best things about this style of creative goodness is that it requires very little in the way of product, and most people will actually have these items in their stash right now.
Its really just a combination of acrylic paints, one could use acrylic inks for a more watery look,
I started all of my cards with a white cardstock base (14.3cm x 10.5cm when folded). Then I selected a range of papers from the CVS Bohemian Dreams 6x6 paper pad that I matted to the front of each card. I then die-cut "happy" and "birthday" from more papers to use on the cards. Each card was finished with one of the "birthday" die cuts, as well as CVS Bohemain Dreams die-cuts, and enamel dots.
Hello ScrappingClearly friends!! Today I am here once again sharing some more Minc inspiration!
Here is my page front
This is an insert in our 2018 Project Life album and I am super happy with how it came out. I mean, what better reason to use beautiful pink foil on all the things than when you are documenting a My Little Pony themed Birthday Party, right?!
I've used the 6x6 Minc Paper Pad paired with the pink foil for the bases of almost all of my cards for this spread but I also pulled a 3x4 card cut from the Teresa Collins "Alpha" 12x12 paper from the Urban Market collection.
For both the front and the back of the spread I have used quiet a range of different things including my foiled 6x6 papers (all in pink foil), some Cocoa Vanilla Studios "You Rock" Rubber Charms, a puffy sticker from this pack by Heidi Swapp, an ephemera piece from the Pink Fresh Studio "Boys Fort" ephemera pack, a mini Insta frame by Heidi Swapp and most of the rest of my pack of chipboard heart stickers by Studio Calico.
Like I said, quiet a range, quiet a mix but I am really happy with the end result! Oh, and I almost forgot, I added in a few of the Pink Fresh Studio "Boys Fort" Phrase stickers. I love the little pops of black throughout the spread!
My boy had done alot of the writing on the invites himself so I had an extra (perhaps an intentional "error" ;) ) and wanted to include that also to see just what his almost 8 year old writing looked like.
I'm not loving that washi tape - it covers up the writing and is way too bold for what I wanted - I will find something else and fix it up ;)
And that, my friends is another page in our 2018 album - I think the total is now like 5 or something lol - but it is another in there!!
I do have a short process video of this coming together if you'd like to see! Just click here and enjoy!