Showing posts with label enamel dot. Show all posts

Wednesday, 5 September 2018

Scrapping a Sunset Photograph


Hello Leonie back with you today.  I have a page to share with you today featuring a Sunset.
I tend to take quite a few photo's of Sunrises and Sunsets especially when we're on holidays.
However I often find the intense colours in sunsets and sunrises are hard to
transfer onto a scrapbook page.
I know orange isn't everyone's favourite colour so this can also add to the dilemma of scrapping a sunset photograph.
I think I managed to find a harmonious compromise here by adding some
neutral tones and just a few pops of orange by using the
Heidi Swapp No Limits papers.


I received the Heidi Swapp No Limits 6x6" patterned papers in my latest Scrapping Clearly DT package and most of the papers are neutral colours like navy blue, kraft, white and just a few contained pops of orange.
I thought these would make a good match for this photo of my daughter and her cousin I captured while we were holidaying together last December. I found the papers were a great match for the strong silhouetted image in the photo neither detracting nor competing with the photo.


Typically on a scrapbook page about a sunset or sunrise I would add orange and yellows to my base page but for this page I added some stencilling with Cracked Pistachio Distress Oxide and an older Prima Stencil in my stash.
I love how the colours all came together on this page.

I added a flower cluster of the fun to play with Heidi Swapp September Skies Color Magic Die cuts.
I used Distress inks and Distress Oxides to colour these and reveal the resist images.


Lastly I added some wood veneer from my stash and my title also from alpha stickers in my stash. 


Thanks for stopping by today, happy crafting.
Why not stop by our Facebook Group and check out our September Challenge.
It's a beauty!
Cheers, Leonie Neal-Dawson.


Tuesday, 6 March 2018

Strong a Layout by Emma

Hi there,

It’s Tuesday, which means it’s my turn to share a creation with you all.
For this layout I was inspired by some of the colours in this months moodboard. Particularly the green and black image in the bottom corner. 


I was also inspired by 2 words in the quote, strong and woman. Hence my title and a selfie.
Most days I’m far from strong, but I’m a work in progress, so it’s something I try for. 


My background consists of lots of SC goodies, starting with stencils and modeling paste in opaque matte and
Jo Sonja’s texture paste in black. For my greens I used a couple of water colours from
I also smeared some Dylusions Lemon Zest paint around with a palette knife.
You can see this process in more detail in my video at the end of this post. 


For my layers behind my photo I used a couple of sheets from a Pink Paislee 6x6 paper pad I tore this up and layered with a WRMK Typecast tag.


My title letters are from a Heidi Swapp alphabet

I did also tuck in a flair from Heidi Swapp flair and button embellishment set. 


The couple of enamel dots used are from the Heidi Swapp stickers set. 


I painted all my chipboard with the same Oxide inks as my background.


Lastly, as on all my layouts or creations, I flicked Liquitex carbon Artist ink around to pull the whole project together. 

I really hope this inspires you to join in with this months challenge. 

And I hope you enjoy my video too. 

I’ll catch you all soon. Enjoy your week. 


Em. Xx

Sunday, 19 March 2017

Beautiful Sketch Challenge sample by Amy Prior

Hi there Scrapping Clearly fans! Amy Prior back again with you today, this time sharing my take on the Sketch Challenge for March 2017 which was created by the fabulous Peg Hewitt! Here is the sketch and you can checkout the challenge details here.


Here is my layout example for this sketch...


I have a full step-by-step tutorial for you on how I created this layout...


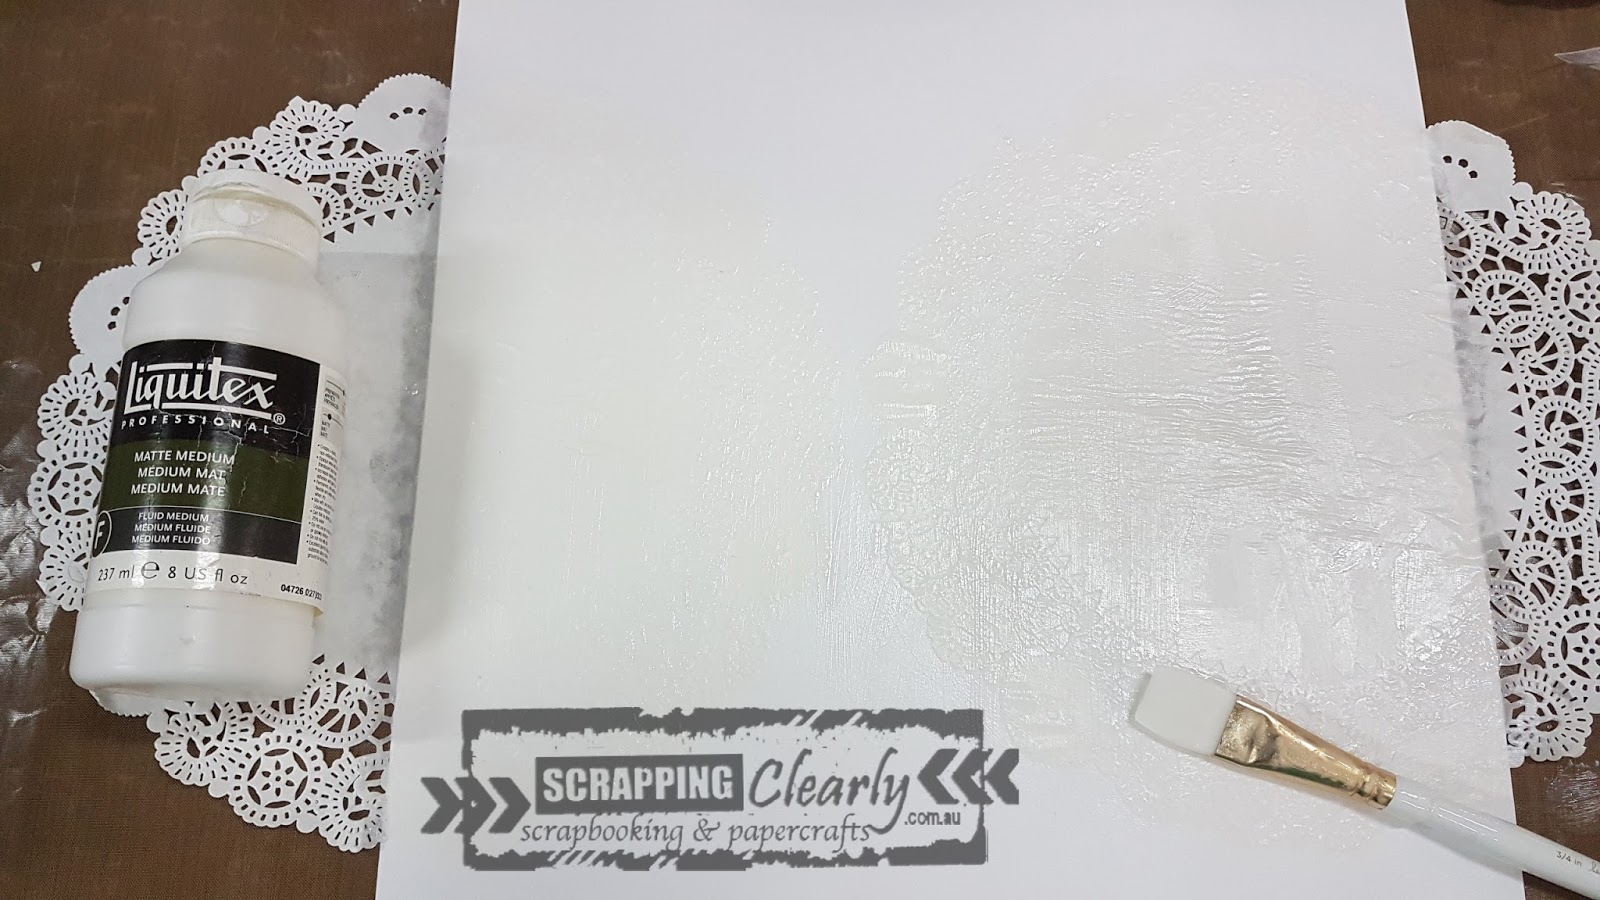
Step 1: Using a Heidi Swapp - Minc Collection - Brushes, adhere some paper doilies onto a piece of American Crafts 12x12 Double Thick White Cardstock with Liquitex - Matte Medium. Paint the matte medium over the top also to seal the paper doily.


Step 2: When the Liquitex - Matte Medium is completely dry, sprinkle some Colour Blast - Colour Shimmer Dust - Navy over the background in the shape that you want to see the colour.


Step 3: Spray some water over the top of the Colour Blast - Colour Shimmer Dust - Navy until you get the desired effect of colour. You can sprinkle more Shimmer Dust if the intensity of colour is not enough or you can dab some excess colour with paper towel etc. if the colour it too much.


Step 5: Sprinkle some Colour Blast - Colour Shimmer Dust - Lollipop over the top of the gessoed wood veneer title.


Step 6: Spray a little bit of water over the top of of the Colour Blast - Colour Shimmer Dust - Lollipop to activate but not too much so you get this fun mottled effect.


Step 7: When the Colour Blast - Colour Shimmer Dust - Lollipop is dry, cover with Ranger Inkssentials - Glossy Accents and allow to dry.


Step 8: Using a Uni Posca PC - 3M Poster Marker doodle around the edges of the wood veneer title to help it pop off the page then set it aside to dry.


Step 9: Cut various pieces of Cocoa Vanilla Studio - Wild at Heart - Patterned Papers and then ink the edges using a Ranger - Mini Ink Blending Tool and some Ranger Black Archival Ink Pad.


Step 10: Using a Prima - Finnabair - Art Basics - 2 inch Mixed Media Silicone Brush, scrape some Colour Blast - Colour Paste - Lipstick through The Crafter's Workshop - 12x12 template - Cherry Blossoms. To get the effect i have here, use different parts of the stencil on either side rather than using the stencil as normal straight in the middle of the page. This gives the effect that the cherry blossom branches are coming in from the edges of the page rather than just sitting in the centre.


Step 11: When the Colour Paste is dry completely, doodle around the edges of the flowers with a Fude Ball Pen 1.5 Black and then put some Simple Stories - Life in Color Collection - Enamel Dots in the centres. I have also added some My Minds Eye - On Trend 2 Collection - Enamel Shapes around the background randomly which I also doodled around with a Fude Ball Pen 1.5 Black.


Step 12: Layer the pieces of  Cocoa Vanilla Studio - Wild at Heart - Patterned Papers underneath your photographs then adhere to the background paper using a good quality adhesive. Double-sided tape does not adhere very well to the Colour Blast pastes when dry.


Here is the total product list for this project:
Well that's it from me today, thanks so much for stopping by and until next time, happy scrapping!

Amy Prior xx