
Hi there, Melinda here with you today sharing the acrylic album I put together!
So, as I shared in my last 2 posts I was feeling intimidated by the Time Machine collection by Kaisercraft, add in my house shaped acrylic album and yikes, intimidated doesn't begin to cover it! I don't really do mini's and the pages are CLEAR!! Haha! But, when I finally found my big girl pants I dived into it and LOVE the finished album! Like, seriously, love!
I will start by sharing the completed album then take you through page by page, grab a cuppa and I hope you enjoy!
The idea I had for my album was showing the growth of my little family from when hubby and I got married in 2008 up until the present, hence the title "Love makes a house a home."
Here is the album in all its completed glory

And a close up of the detail of the cover.

I started this page with a stencil and texture paste from stash which I simply added some teal colourshine to. I left that to dry and when it was I started pulling pieces from my offcuts, the collectables pack and the sticker sheet. The "love" was cut using my big shot and a die from my stash and I added a coat of glossy accents just as a little extra finishing touch.
The first page is, of course, hubby and I. About a year after we got married, about a month before we found out we were going to be a family of 3.

For this page I just went with the stencilling from the previous page as my base, added a rub on from the kaisercraft journal spots rub ons, a couple of scraps of papers, some die cuts and stickers. I used a coat of glossy accents on the "two" tile stickers as well.
Next is the 1st addition to our family, our 1st fur baby, Zeus.
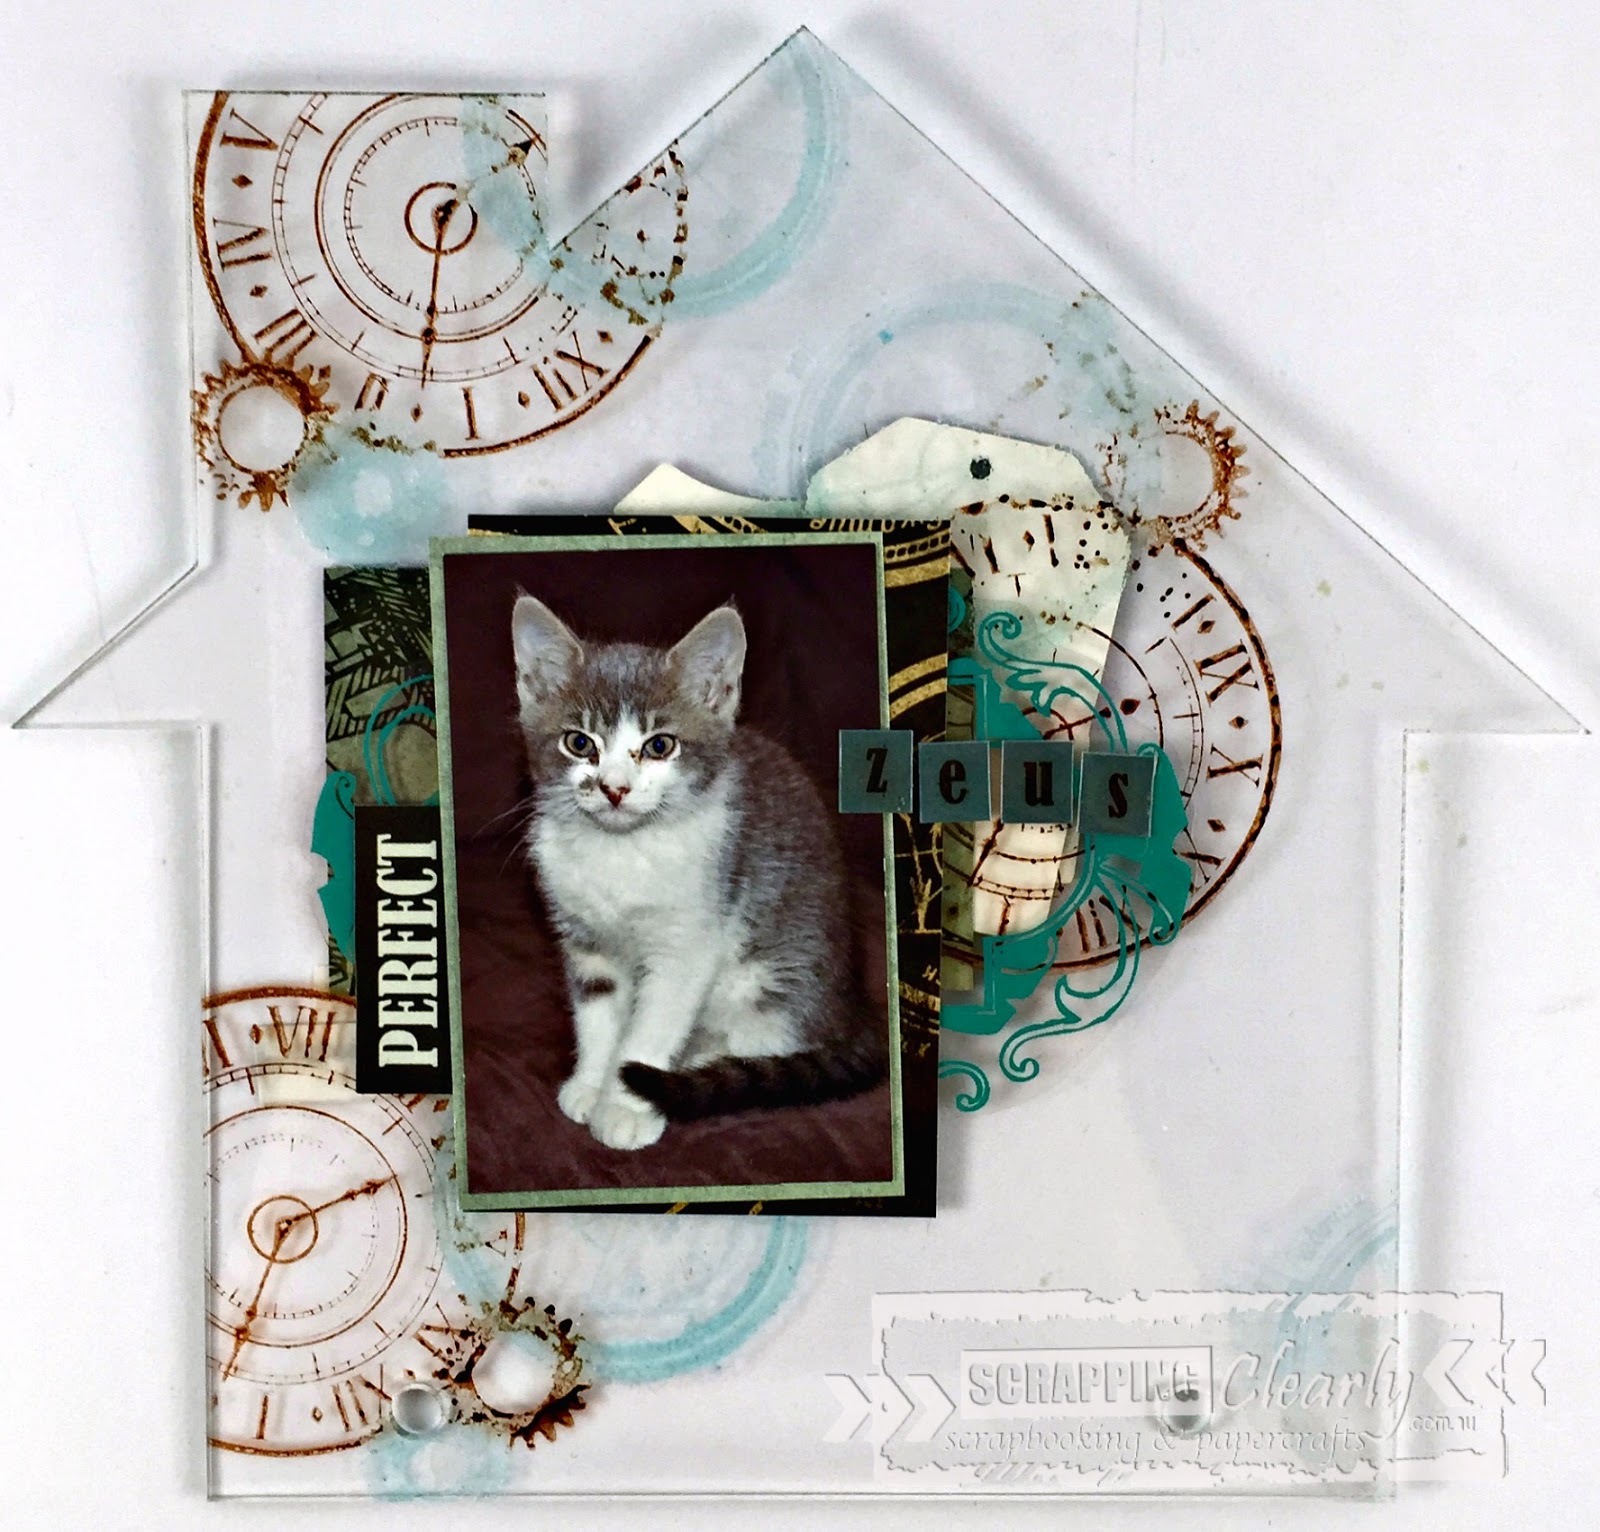
For the base of this page I used the Time Machine stamp set with both teal and brown permanent inks. I got impatient, I was FINALLY in the groove of making this album, so used some clear embossing powder and my heat tool to set the ink so I could keep working!! More paper layers, die cuts and stickers. I have also fussy cut a frame from this Hambly screen prints page and tucked that behind the layers. And to keep the flow I added some glossy accents again to the tile letters.
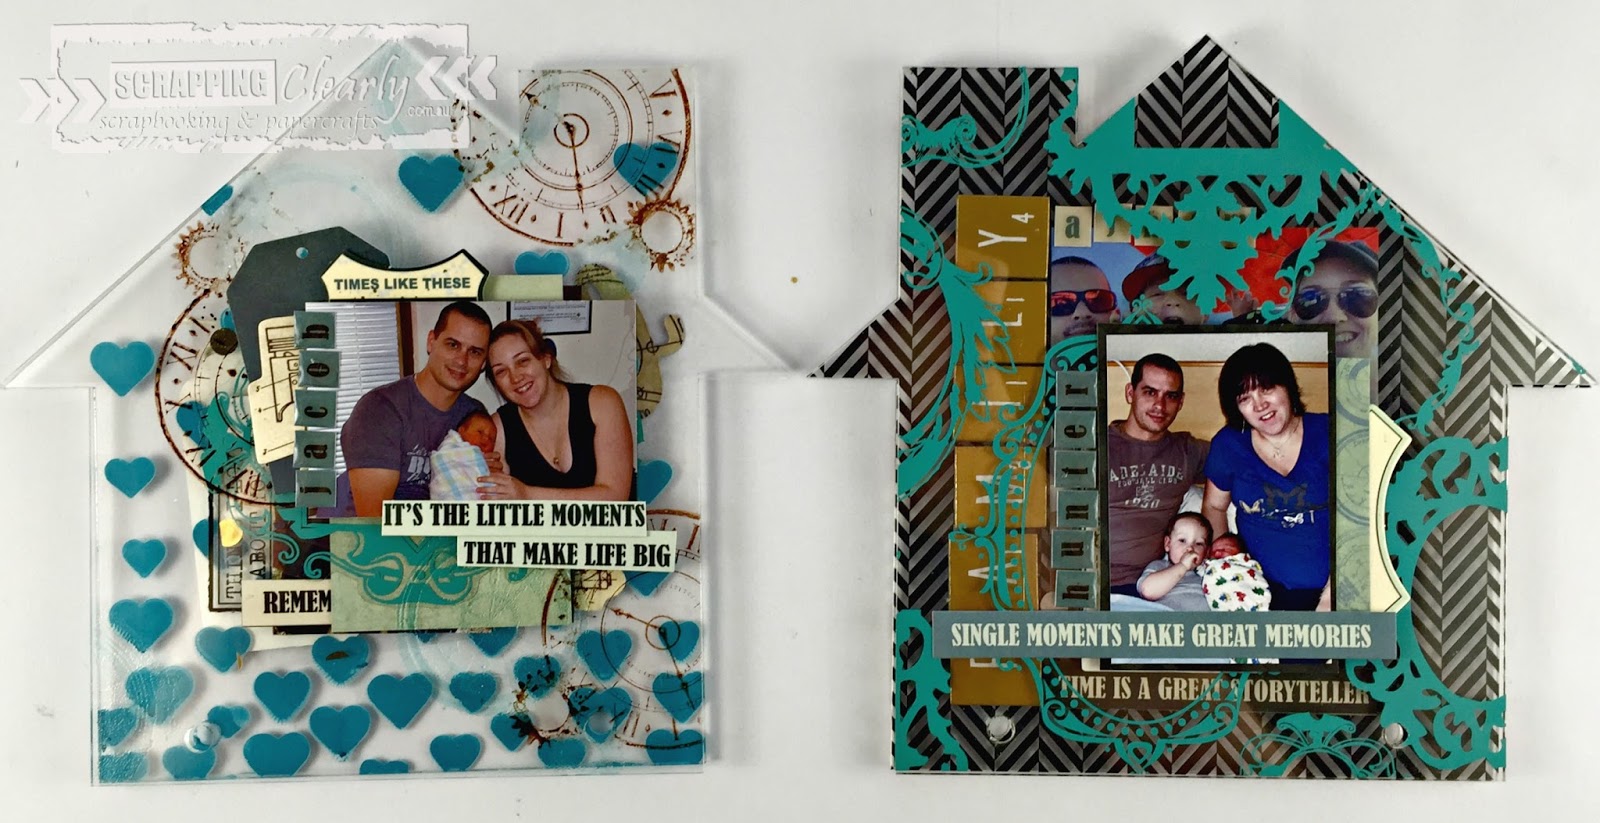
And here are the 2 pages side by side, I really love how you can see all the bits and pieces peeking through!

The next page is our very 1st photo of the 3 of us as a family. Not the most flattering but I love this photo and all it represents to me.

Again, I started with the front design on the page, I was really loving the see through element by now!! More paper layers, die cuts and stickers. And glossy accents on tile alphas!
The next page is the addition of our youngest child. Again, not the most flattering photo but it's the 1st of us as a family of 4 and I love it!

This time I started with that same Hambly print but this time cut to the whole house shape. I adhered all my layers to the screen print so when it came time to stick I knew where I'd be able to hide the adhesive. I did the same steps again with this page, die cuts, papers, stickers and glossy accents.
And here are the 2 pages side by side.
The next page is the addition of our 2nd fur baby, Olaf the Bunny.

The screen print is of course where I started and I knew roughly where I needed to place my layers to cover the adhesive from the front. Firstly, another rub on from the Kaiser journal spots rub ons and then more die cuts, stickers, paper layers and glossy accents completed the page.
And the last page! I started this page with this gorgeous screen print piece cut down from a 12x12 sheet. This is us currently, all 6 of us!

This page doesn't have many layers to it at all! The gold tile thickers, the 2 photos and the sentiment sticker. Oh, and the tiny tile alphas :)
And the last 2 pages next to each other.

This takes us onto the back cover. Nice and simple!

A couple of tags, some of this acetate sheet and that pretty gold tile thicker.
And here is the view of the entire album from the back.

I hope I have inspired you to try something new and perhaps out of your comfort zone. You never know, you may end up with a treasured piece of work!
Head over here to see the full range of fun acrylic albums and stay tuned for a couple of more shares of other acrylic albums!!
Mel
Just love your album Melinda!!! Love the subject, what a beautiful keepsake!
ReplyDeleteGorgeous album, you rocked those Hambly transparencies!
ReplyDeleteWhat a precious album!! Love it :)
ReplyDelete