Tuesday, 18 January 2022

Seriously?! yeah nah! by Tracey B


Hi everyone and happy crafting Tuesday

What do you think of this year’s new colour?


I love green and bluein all their various shades.   Red, pink and yellow are ok too and I can do orange if I must.   But purple is such a struggle.   Because of this I don’t have much in my stash that actually is purple.   So after turning the craft room inside out and upside down, I found a few markers.   

Ok I thought, I can make that work with a stencil.


Then I tried to create my own Very Peri by mixing Prima Confections water colour paints (Amsterdam, London & Calgary) until I had a shade I was happy with and added to the page with the packaging technique.   Love these paints!


I then grabbed a few wood veneer arrows (similar to these)  and gave them a coat of black Posca (I would have used black gesso but the new puppy found it and managed to get the lid off – I can’t tell you the mess she made on the carpet, couch and quilt )  


I covered some wood veneer chevrons with some washi tape and cut off the excess with my craft knife.


A few stickers from my stash and some Kaisercraft alphas to finish my title.


Very limited supplies and super quick to do but I'm Very Peri happy,

TFL

cheers

Trace


Saturday, 15 January 2022

Smiler created by Tracey Thorne

 Welcome back to another weekend blog upload from me.

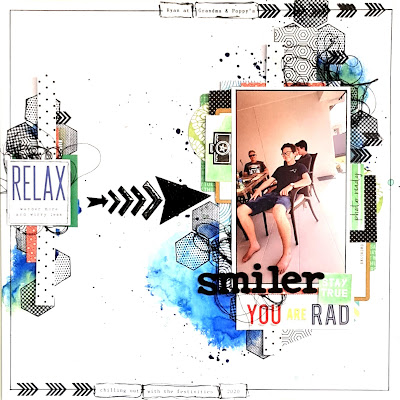
 I hope this week has been kind to you all and you have found a place in your week to create Art. I am trying to clear the enormous amount of ephemera from different packs that I have collected over the years and that is how this layout has come about. 

It was a quick process to pop this one together. I have used a base of white cardstock and to that I have sprayed a little water and then added watercolour paint. I have used Prima art Anthology-Truth and Avery Elle - Celery.  I have blocked my photo on to Vicki Boutin Colour study printed paper - Spheres. Strips of leftover Heidi Swapp Pineapple Crush - South beach were placed at the top and bottom of this photo stack under the photo.


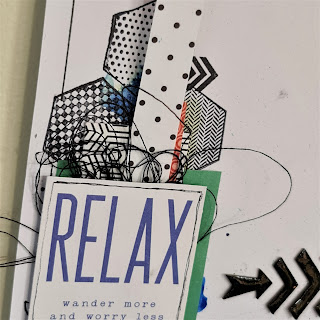
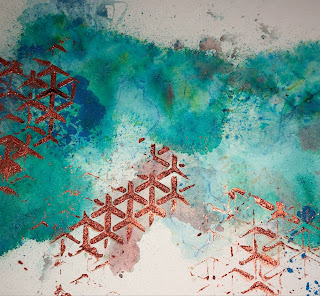
I found a stamp in my stash that had hexagons, this was placed in varying places on the layout. I have then added an arrow stamp from the same pack on a few of the hexagons. You can achieve a similar look by using the All & Create stencil and inking the shape on to your page. Similarly arrows can be created this way or you could find something that will suit your needs in the shop.


American Crafts foam thickers were used to create the 'smiler' title. I gathered a few arrows in chipboard and coloured them with a black marker. These were then coated in Glossy Accents and left to dry before adhering them to the page with Tombow glue.


I have used a ruler & fudeball pen to create the outer border. I have then used the arrow stamp to add more features and typed out my journaling and added it to the top and bottom of the page.


Thanks for popping and checking out the process. I wish you a fantastic weekend of creativity to fill your cup. 


tracey


Thursday, 13 January 2022

Room for the Unimaginable - with Emma Zappone

 Hello SC friends.
Emma with you all today. I have been loving the projects coming through featuring this months mood/sketch. Amazing!! Loving all the Travellers Notebooks too. I'm hoping to start this weeks prompt today. Today's share though is featuring the sketch part of the mood board. I chose to pull the orange tone out of the moodboard also. This Layout is made as an 8"x8".


I used some great products to play along with the sketch, let's just refresh our minds of this months mood/sketch..........


Oh and I flipped the sketch! 
And I decided to place my title at the top of my design for reasons I will mention later in my blog.
Right now lets talk about what product is found on this mini layout.


After I had layered some rubons from my stash, I grabbed the beautiful  'Elegance' stencil by Aall & Create and with a makeup sponge dabbed Dina Wakley's Buff acrylic paint through it. This created a beautiful soft shadow over the patterns on the page. I did this both top and bottom of the page.


I then took one of the little script stamps by Aall & Create and with Stazon 'Spiced Chai', stamped rhythmically over the same area as the stencil. The stamping was also blended out through the page.


My paper elements needed to be small to match the image and the size of the overall project. So I tore some book paper to mount my image on and then chose a few pieces from an Ephemera Pack of Tim Holtz's. These are full of different shapes and make for great tucking and layering.


This stunning Mould that Kylie sent me is painted with another one of Dina Wakley's paints this time in 'Elephant'. Once dry I rubbed Metallique Wax - 'Bronze Age' very lightly to only pick up the raised parts of the mould. This is why I chose to move my title as I really wanted this mould to shine on it's own. I finished the page with a few more elements from my stash and then flicked watered down 'Dried Marigold' Distress Crayon and Dylusions Ink Spray 'Ground Coffee' to bring all the elements together.

I hope this has inspired you to have a go of the months sketch and make it your own.

Have fun creating everyone. I will see you all next week.

Stay safe, Em xx


Wednesday, 12 January 2022

"Moments" by Amanda Hartmann

Hello SC fans!

Who else enjoyed their December advent calendar in 2021? I loved it! And I especially loved that it threw some new and different products my way.

For example, I got some new purple products to work with:

 I thought it called for a purple page!


Here it is:


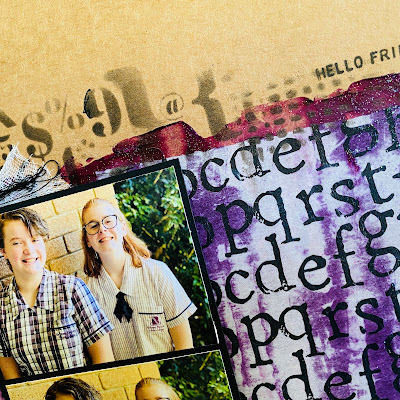
When I use purple, you need some contrasting colours - I started with a Kraft cardstock base and adding black and white.

Using an old store card, I swiped the Art Anthology Sorbet – Purple Rain paint to the background.

Then I added the new Dina Wakley Media Collage Tissue Paper [Text Collage] paper over the purple with some gel medium.

While it was still wet, I sprinkled Nuvo Collection – Pure Sheen Glitter – Violet Infusion over.

Once everything was dry, I used a blending brush to add some extra stenciling to the page.

Also added some stamping using the new Tim Holtz Cling Stamp– Tiny Text - I know these are out of stock - hopefully more will come in soon!

Finished with some muslin, black thread, a white flower (painted with Art Anthology Sorbet – Purple Rain) and my title.


Thanks for looking!
Amanda


Tuesday, 11 January 2022

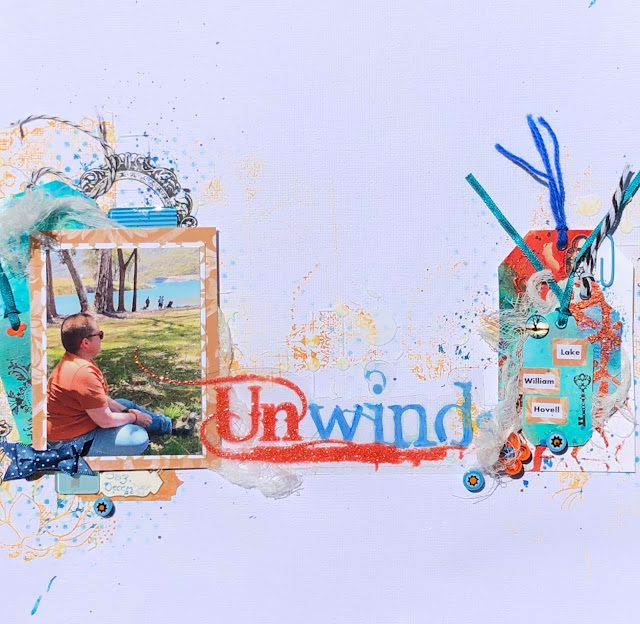
Unwind by Tracey B


Good morning everyone and welcome to a beautiful crafting Tuesday!


Sometimes things just don’t go the way you plan so when that happens to me I just say to myself (or out load sometimes too) “It’s just paper and paint” and start again.

I had an idea for my background and finished up with this..


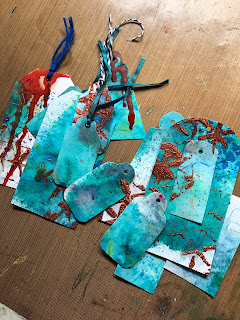
I wasn’t feeling the love so I decided to cut it up into tags as smaller can look better than bigger.   This is something I learned from Dina WAKLEY as she compared baby chubby thighs to adult chubby thighs!

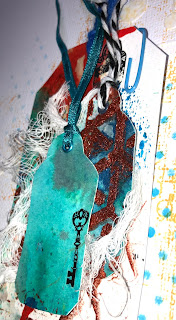
For my now tags I used Lindy’s magical shakers (Guten Tag Teal & Cowabunger Copper), 13@rts Colour Glow powder (Blue sapphire),Finnabair Jewel Effects Paste (Crushed Amber) Dylusions Ink (London Blue) and a little FW Artists ink (Scarlet).


 I then started again…

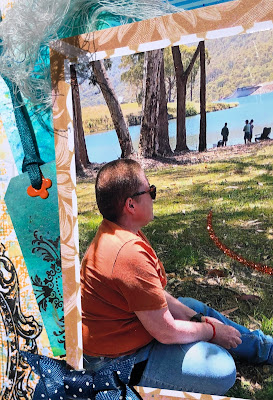
I flipped the sketch from this month's moodsketch to suit my photo.

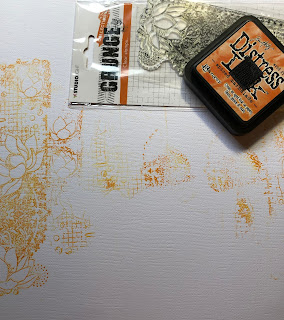
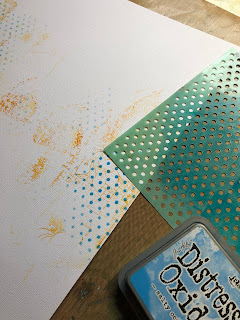
Some Distress Ink (Spiced Marmalade) and a Studio Lightstamp, then some Distress Oxide (Salty Ocean) sponged through a Heidi Swapp stencil and some Light & Fluffy modelling paste scrapped through a Dusty Attic stencil.


I backed my photo with some Heidi Swapp Honey & Spice patterned paper.


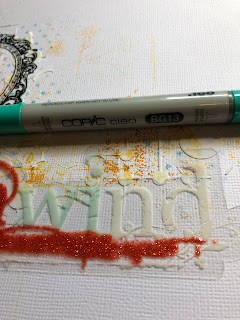
I had an acetate word from my stash that I wanted to use but the white word didn’t show up on my background so I used a couple of Copic markers on the reverse side to add some colour – very happy with the result.  

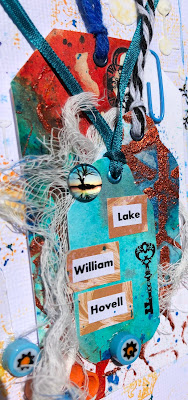
Other products from my stash include, eyelets, ribbons and twine, muslin, a quilled flower, beads, bow and acrylic shapes which have been in my stash for at least 15 years!

Here’s a couple of close ups and the finished product.

TFL

cheers

Trace


Saturday, 8 January 2022

Enjoy the Now created by Tracey Thorne


Welcome to my first blog post of 2022 - and wow what a great Moodsketch to get it started. I am crushing on the colours of the moodboard this month and with the added Sketch my thinking has been taken care of - products and photos are all I need to worry about to put together a new memory to my albums. So lets get started with my new 12x12 'Enjoy the Now'.

 I have taken the colours and the sketch to create with - I didn't go for bright popping colours for this one - more warm & subdued tones for the.


I have used white 12x12 cardstock as my base. To that I have used Dylusions Calypso Teal spray & Heidi Swapp colourshine in Teal. I have used the kiss method to apply this to the page. 


I have then chosen a TCW stencil out of my stash of stencils - this may not be available anymore but there are a great range of circular, mandala type ones available in the shop. I have used Liquitex light modelling paste on both sides of the page in conjunction with the stencil. I have also used a stencil lightly in the middle of the page.


I have then worked out placement of my photo before beginning to stamp with some Ranger black ink. I have used the Stampers Anonymous- Tim Holtz stamp - Fragments. I have also used a couple of my older stamps-  a small dotty stamp by kaisercraft and a writing stamp by Prima. The stamping was kept primarily on the edges of the page and tapered back to the center.


With a stabilo pencil I have drawn a box where my photo will go and have then wet it down to add shadow. I have then sewn around this box and also to the left of the page where other embellishments will go.


I have used a range of embellishments to build up the photo and help tell the story of the photo.


I love to incorporate frames wherever I can and the Tim Holtz ideaology metal frames are a favourite for helping me find that extra dimension that I need. 


This is the finished layout - very moody - love this pallette to work with as I can really get into using my Distress Inks and blending around the outer edge of the page. I have used Scattered Straw and Tea Dye and have added a little more of the Stabilo ALLS pencil and water. 


Thanks for popping in and checking out the process of my 12x12 layout. 


Enjoy your weekend


tracey

Friday, 7 January 2022

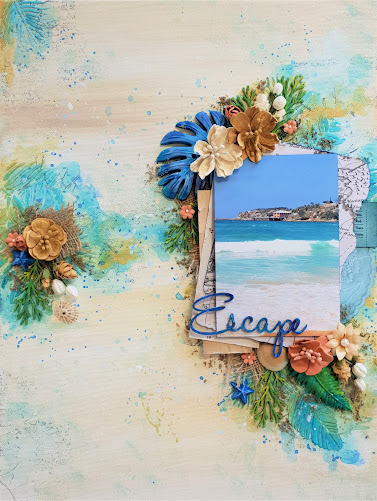
Margie joins us as January 2022 Guest Designer


Margie Jamieson is our January Guest Designer, Margie loves nothing better than being in her arty space or creating with friends.  Margie is a regular here at Scrappingclearly participating in the monthly Mood Challenges and cyber Crops .

Margie's first share wth you is this amazing altered Canvas. 


Thanks for sharing Margie can't wait to see what else you have in store during January!

IF YOU WOULD LIKE TO BECOME A MONTHLY GUEST DESIGNER  - here at Scrappingclearly email some of your creative pieces to Kylie @ kylietout@hotmail.com