Head over to the Scrappingclearly Share & Inspire FACEBOOK Group to load your entry into the VERY PERI ALBUM...... only one rule you must use the colour of the Year on your creations, enter has many times as you like for your chance to win a Golden Bag of Crafty Goodness. Winner announced in December.
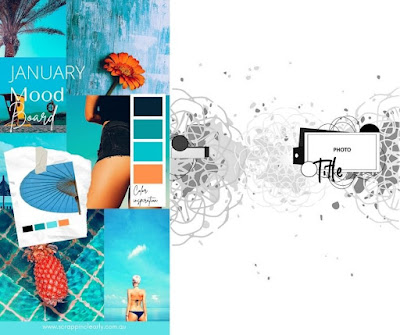
Don’t you just love the new look Moodsketch.How you interpret them is up to you – use
only the moodboard, use only the sketch or combine both.The choice is yours.
I started with some left over Finnabair Jewel Effects paste(Crushed amber) which I had used through a stencil on another layout.As I hate to waste product, I gave it a
spritz with water and cleaned it off on white cardstock – just for some subtle
colour in the background.
I gave some old chipboard from my stash a coat of gesso and
then painted on more London Blue ink.
Used a Heidi Swapp frame (here's some others) for my photo and then some Heidi
Swapp acrylic stars, some Art Walk stickers, some Cocoa Vanilla Happiness
ephemera and some Jilliebean Soup epoxy stickers.
Finished off with some Cocoa Vanilla Life is Beautiful
alphas for my title.
2022 brings us an amazing new Artist to our Creative Team we would love to officially welcome Tarrah McLean to the SC family!
Hi, my name is Tarrah McLean. I am 44, married to a very supportive husband Simon and we have 2 amazing sons – Luke who is 16 and Oliver who is 11. We live on the Central Coast of NSW, near Sydney, Australia. I have been scrapbooking/papercrafting for 16 years now, I am still obsessed and LOVE everything about it and could not imagine my life without it!
Projects that inspire and speak to me are anything with colour! I absolutely love to create scrapbook layouts in both 12’ x 12’ and 8.5’ x 11’ format and I also enjoy creating mini albums, home décor/lifestyle projects and cards occasionally too. I enjoy adding cut files to my projects, lots of embellishments but not much mixed media – I am too impatient to wait for things to dry and I don’t like getting my hands dirty!
I would define my style as clean, fresh and colourful. My style has evolved a lot over the years, I am happy with where my style has lead me over the years!
Currently I design for Teresa Collins Studio, Bella Blvd, Cocoa Vanilla Studio and CUT to YOU.
I am so honoured and excited to have been invited by Kylie to join the Scrapping Clearly design team for 2022! I hope you are inspired in some way with my project shares.
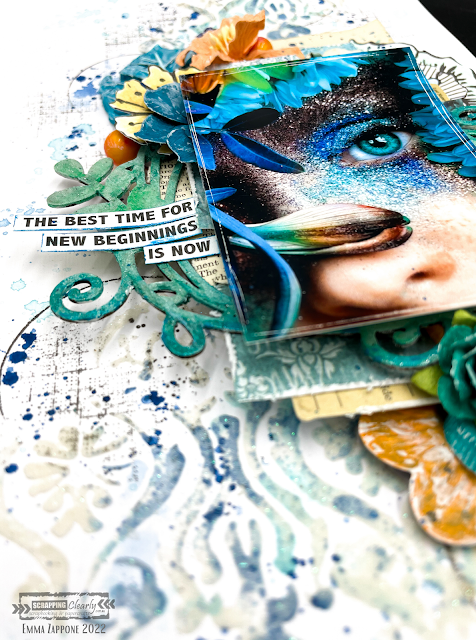
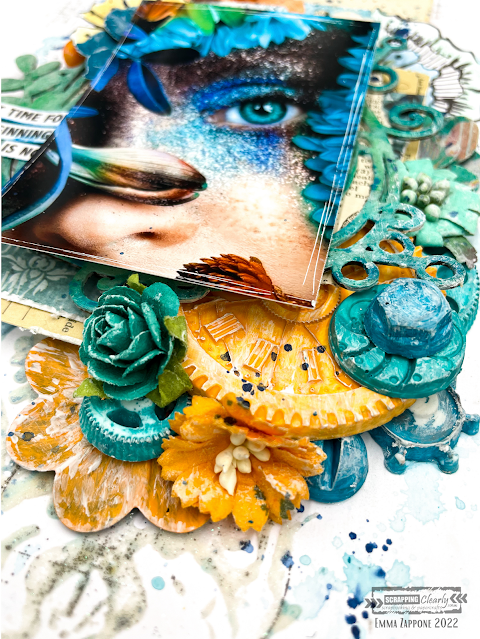
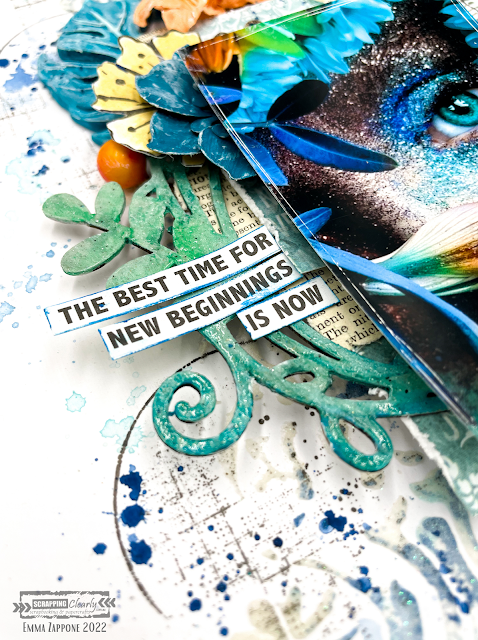
Welcome to 2022!! ScrappingClearly has got some awesome things planned for everyone this year. And today I'm sharing with you an A4 layout and a Video that has been created using inspiration from the absolutely awesome NEW mood/sketch for January. The colours scream summer and fun! Here is what I was inspired to create......
Here is the mood/sketch...
Super cool right??? I decided to focus on the mood part of this board, and save the sketch for later in the month.
I used lots of products in my stash but also available in the SC shop. Firstly the stencil I used is a Finnabair stencil Oriental wall used with snowflake paste. Soft and glittery which was a great base to start with. Then I smooshed colour. I chose to use 2 colours for the background work. First is an Izink pigment in celestial and then a Distress crayon in Peacock Feathers. These worked so well in with the paste.
I added a little stamping onto the background to add more layers using the Tim Holtz Glitch1 set. It's grungy but goes with just about everything. I love the texture it brings.
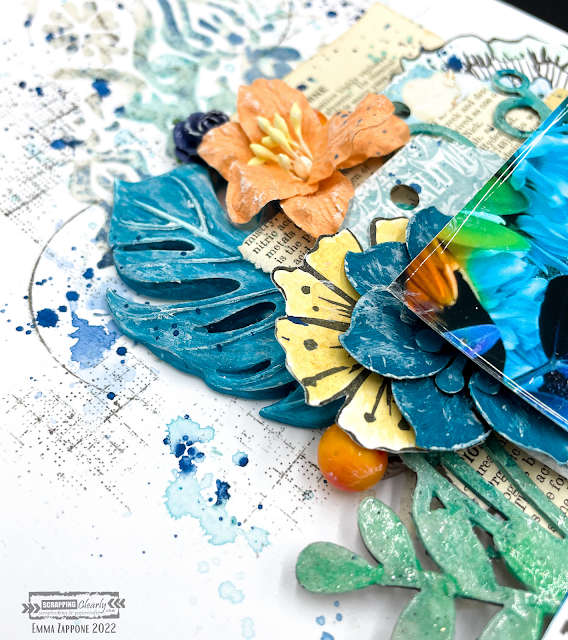
The chipboard frame is one I have in my stash and I primed it with white gesso first and then with complimentary Distress crayons 'coloured' it in. Then sprayed with water and painted out the crayon, which created this cool blended watercolour effect. Then it was clear embossed.
In the video you will see me use a flower stamp by Art by Marlene and then coloured with more Distress crayons and then cut out to help build my layers. I absolutely love the dimension of this layout. The papers that mat my image are what I have in my stash, and I love adding book paper for that slight reference to vintage style that I love.
I hope you are inspired by this project and the amazing board that is available for you to play with NOW! I hope you enjoy watching this project coming together too...watch now with a cuppa....
I will see you all very soon. Stay crafty friends, Emma. xx
SC has an open invitation for you all to apply for a Guest Creative spot @ Scrappingclearly!
We love meeting new scrapbookers (either new to scrapbooking or just new to us).
So, please send Kylie @ kylietout@hotmail.com some of your arty creations. We are open and accepting of everyone and the excitement of a guest on our team is fun for us! Even if you’ve guested with us in the past, if you’d like another shot, please send your work in again. After reviewing creations with the team, I will get back to you and let you know if we’d like you to come and be our guest for a month.
Here it is our very first Moodboard/Sketch for the Month. Can't wait to see what you all create with this, don't forget to load to the January Album for your chance to win a golden bag full of crafty goodness.