Showing posts with label brayer. Show all posts

Tuesday, 20 August 2019

BRRR

Hi everyone
I've just spent the weekend at a retreat and although things didn't go entirely to plan
 (ie fell down a step and broke a bone in my foot)
I had a wonderful crafty time.   
This is one of the LOs I created.   Simple but effective I think.

I started by using my brayer and rolling on a couple of different coloured Dina Wakley acrylic paints in Turquoise with a bit of Elephant mixed in.   I then used the edge of my palette knife to add some lines with my left over paint and sponged some black paint through an old stencil.   I think this was a TCW one but this Kinder Kreations Skelton Tree stencil would be perfect as well.  
I added some stitching (machine and hand), some wood veneer snowflakes from my stash and some punched ones , then my title with some American Crafts foam thickers.    
As a finishing touch I added some more colour using a Stabilo pencil which I activated using my water brush pen.

Hope you've been inspired.
'Til next time
cheers
Tracey 

Friday, 21 December 2018

Be you. Be Strong.

Hi all! I am here with my last post for the year 2018!
What a year! Another year of ups and downs, growth, good times... and challenging times. 

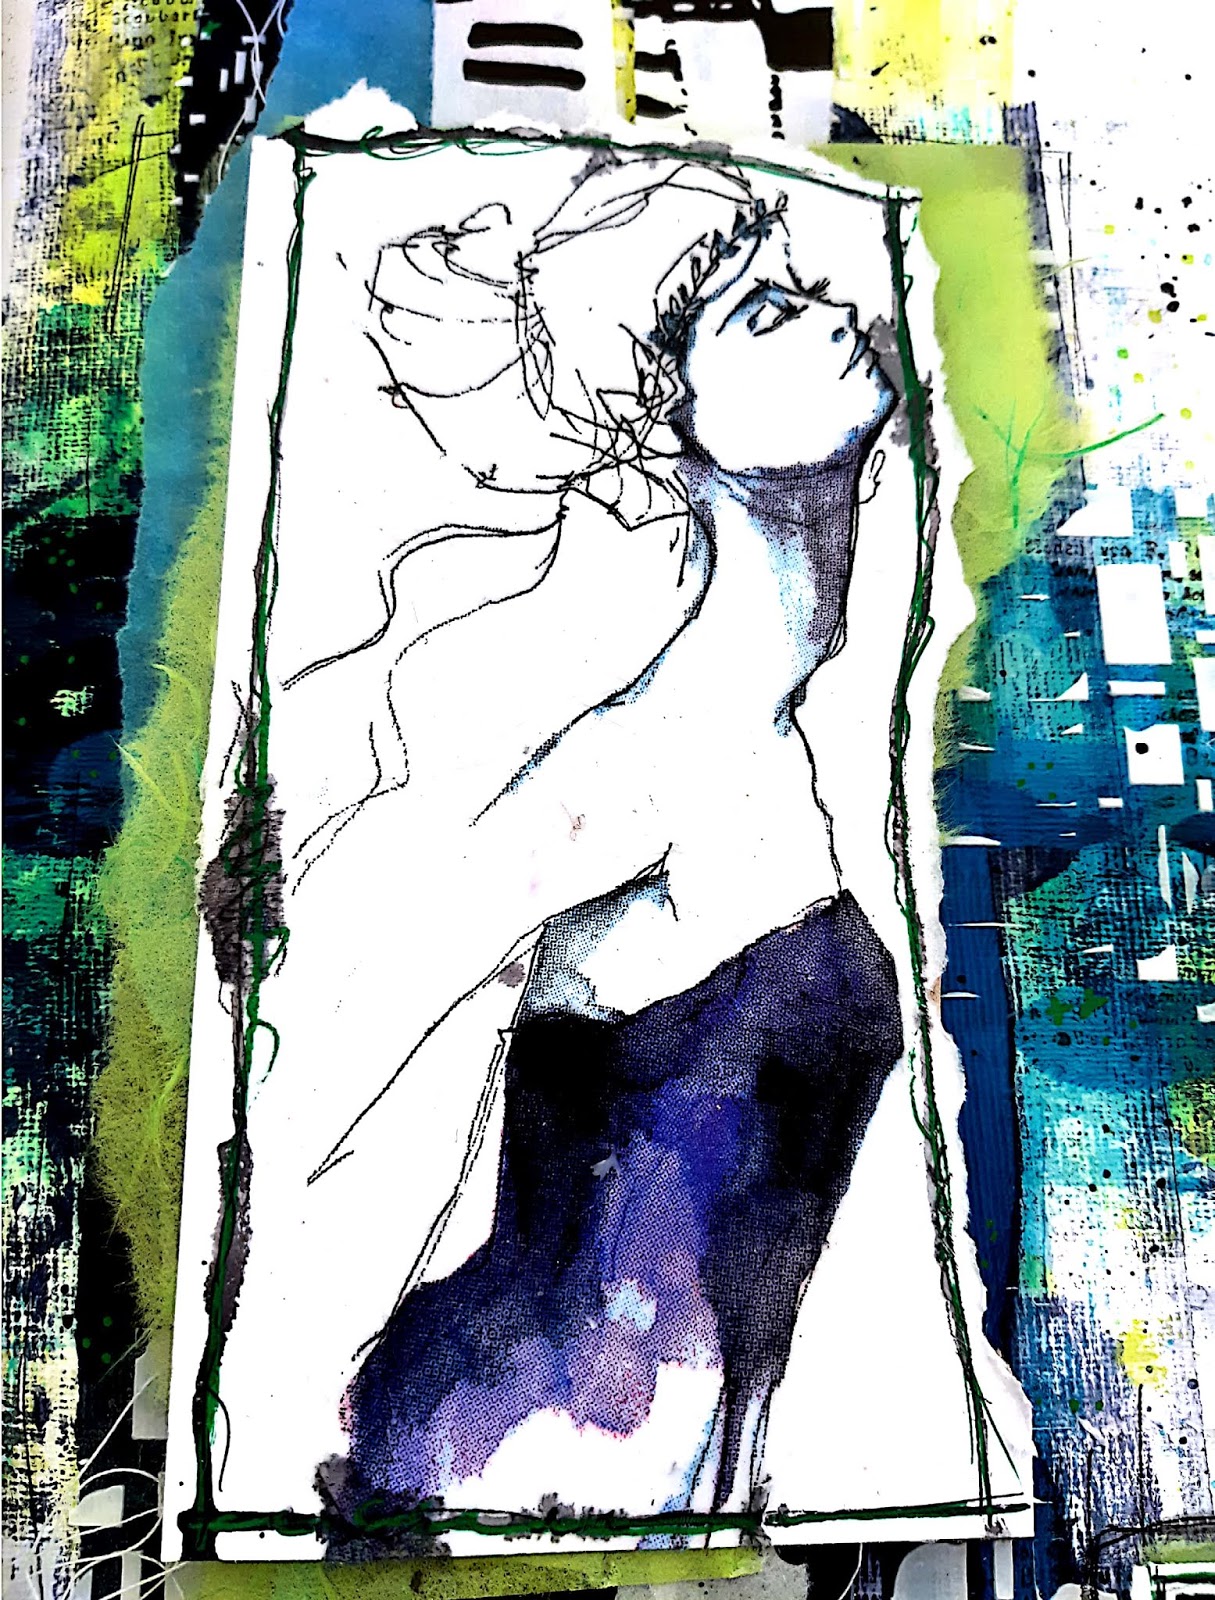
I have here an Art Journal page, which I thought would be a fitting way to summarise my personal journey.


I have used the Dina Wakley Media Journal 8" x 10". For this particular project, I elected to use the watercolour paper in this media journal.


To prepare the background, I used a small Ranger Gel Press Brayer to apply the paint. This is one of my favourite go-to tools. From the store, I used the following paints: Dina Wakley Media - Heavy Body Acrylic paint in Lime, Turquoise, Sky, and Night. 

Once dried, I randomly stamped over the coloured areas with a permanent Stazon Ink in 'Jet Black' and a Prima Finnabair - Vintage Vanity Collection stamp.

Next, to add texture to the painted areas, I applied white modelling paste over Crafter's Workshop 6x6 Doodling Template - Mini Cubist.


The image was selected from Jane Davenport Napkin Collage Paper and carefully adhered it white cardstock with gel medium from my stash. For the border, I used a Posca pen in both 'Green' and 'Black'.

I have mounted the image on top of strips of tissue paper and collage paper. I tore lengthy strips of Dina Wakley Media Collage Tissue Paper then adhered this onto the page over cotton thread from my stash. 


Finally, used Dina Wakley Media Collage Words for the title.


Once, complete, I splattered Colour Blast Colour Spray in 'Roadbase' randomly around the page. 

It was rewarding to create this page. 

I hope you all have a very happy Christmas with your friends and families.

See you next year! ... over here, on the Scrapping Clearly blog!

Amy xx

Monday, 22 October 2018

Inspired by the Mood Board Part 3 - with DT Katie Howard

Hello and welcome back for the third and final "Inspired by the Mood Board" post! I hope you have been enjoying seeing the many different ways that I take inspiration from a mood board and I also hope that it inspires you to look at them more closely and see all the varied possibilities that they can result in.
Today's post shows yet another different take on the board and a very different result from the previous two creations. First let's look at the mood board again to remind ourselves (in case you have forgotten!):

No automatic alt text available.

This time I took inspiration from the left and centre bottom images, in particular the foliage and flowers in the the forest picture and the frames on the wall in the centre picture. I also decided to go with the light and bright feel of the centre image, and this is the page that I created:


On my page you can see my frame in brown, drawing on the wood in the bedroom and the trees and path in the forest path picture, and then leaves, foliage and flowers from the forest in shades of green and a touch of deep purple/blue.


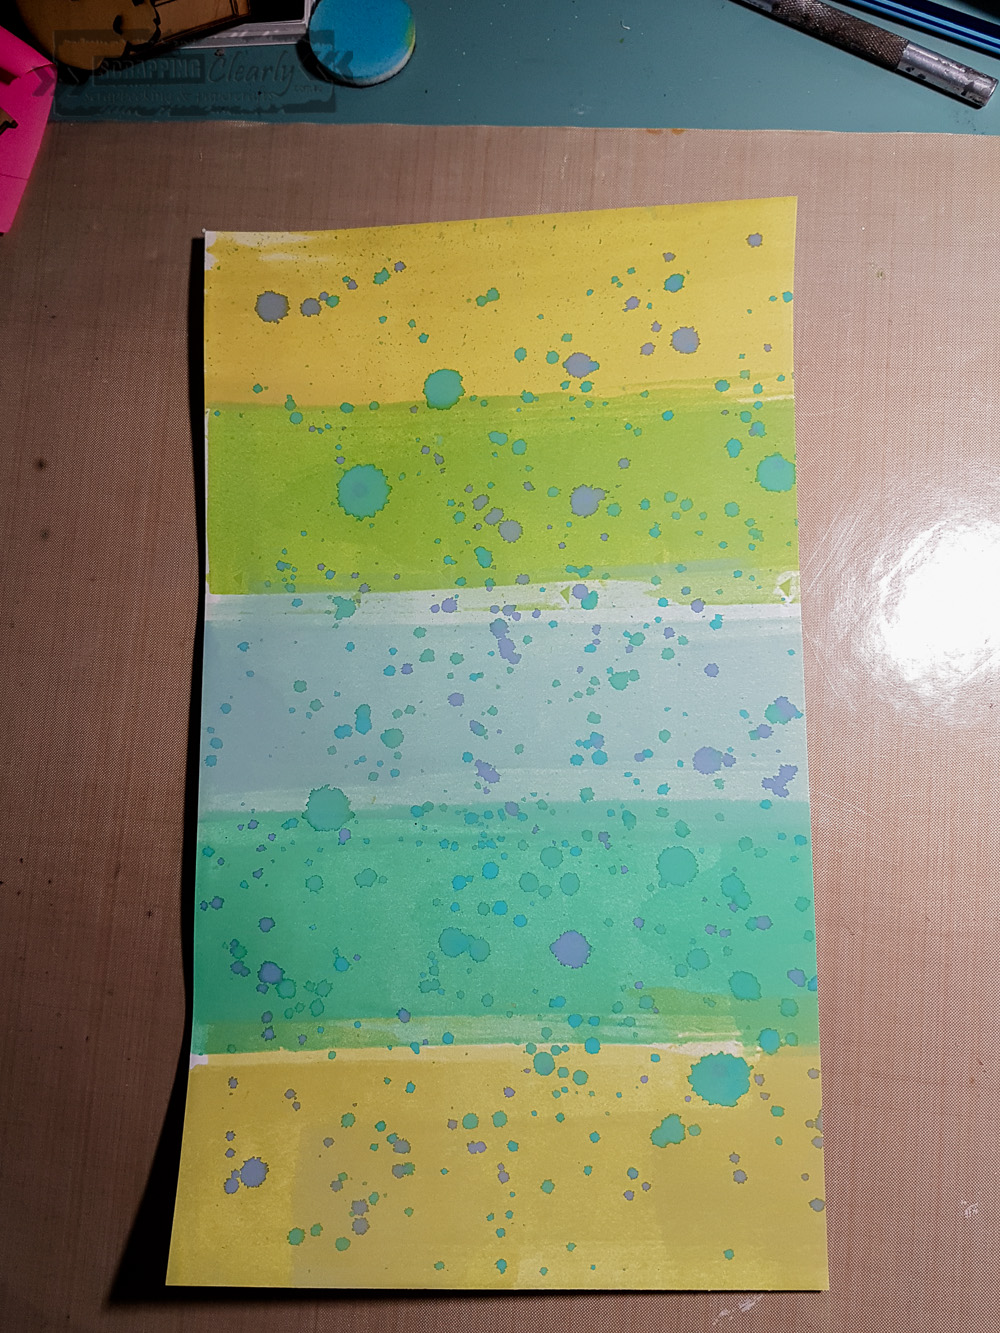
I created my own striped pattern paper using distress oxide inks and a brayer. I added some ink to my craft mat and spritzed some water to create a water colour that I then used the brayer to add to the cardstock. After I made the stripes I added some splatters using some blues and blue green inks to contrast with the shades of green already on the background. The colours that I used were: Evergreen Bough, Peeled Paint, Lucky Clover, Crushed Olive, Mowed Lawn and Peacock Feathers and Faded Jeans for the splatters. To make great splatters grab a largish round brush and pick up some of the water colour ink from your mat and simply splatter!


I decided to add some texture to my background using the Distressed Lace stencil and some white texture paste. The white on white is great for adding texture without adding distraction. To emphasize some of the detail in the pattern I grabbed some gelatos (you could use any water soluble crayon) in pale mint green and a purple and added them directly to parts of my background then used a water brush to move the colour around.

While my background was drying I cut some leaves, foliage, flowers and the frame using my electronic cutting machine and a free cut file from Scrapbook & Cards Today. There are many great free cut files around if you have a look! I used the striped background paper to cut the leaves and foliage from and love how they turned out!

Then it was just a matter of assembling the die-cuts and photos on my page. I used some of the left over striped background to finish my page.


I layered under and over the frame and the photos and didn't stick them completely down so they had more dimension where they curled up.


I finished off with a title from the Crate Paper Maggie Holmes collection Gather, using the word "loved" from the thicker set.

So, there you have it, one mood board and three different interpretations! You still have time to get in an entry for this mood board, check it out on the Facebook Group here, we would love to see your interpretation!

Until next time, thanks for stopping by,
Katie x


Monday, 12 February 2018

Art Journal Page using February Mood Board

 Hi There Arty Peeps!

Hope you had a fabulous creative weekend, I know some lucky ladies did at Hunter Valley Retreat.
I should have joined them, feel very much like I missed out.

So I took some time out from family and got to creating at home, in the air-con.
Looking for a kicking off point by browsing one of my art journals, I found this page that
reminded me of the mood board for February.


This is the mood board, and there is $30 shop credit for the winner.
We'd love you to join us by uploading your project here on Facebook.


My page was already started with Dylusions ink sprays in Bubblegum Pink, Pure Sunshine,
and Crushed Grape, with some Clear Crackle in some areas.
I chose an image from a vintage women's magazine, found a quote, and started from there, sticking them down with Matte Medium. I could probably have achieved a better finish (without wrinkles) had I used a brayer.


Needing some black to balance the image I grabbed a Kinder Kreations mandala
and scraped some Black Lava texture paste through it with a palette knife. This stuff has a finish that looks like bitumen with bits of glitter in it. It's great for adding grunge.


To tie together the black mandalas and the picture I added some Liquitex ink dribbles.
This also deliciously highlighted some of the crackle.


I added words to link the title to the picture using Sharpie markers.
Here is my completed page.


I'm loving the hope in the bright colours despite the ambiguous message of the page.
Art journalling, for me, is about getting what's in my head out onto a surface.

Well, that's my mood board challenge for the month.
Looking forward to seeing yours!

Thanks for coming by,