Showing posts with label Prima Bloom collection. Show all posts

Tuesday, 12 June 2018

June Challenge Inspiration from Leonie Neal-Dawson


Hello Scrapping Clearly followers, Leonie with you today.
Today I'm sharing my take on the June combined challenge.
Visit our Facebook group for details on how to enter, there is a shop voucher to be won.
Take a look at those cute painty fingers and rainbow colours (big hive five to that)!


I started following the sketch by rotating it anticlockwise and thats where I kind of veered off on my own creative tangent!  I did however stick with the luscious rainbow of colour with some added black and the photo's were all about some down time and relaxing with friends so I've drawn on those images from the mood board as well.


I used Dina Wakley Heavy Body Acrylic Paint to create my rainbow.  A small dob of paint and I used an old credit card to draw the paint across the page. 


The large flowers were stamped with the Floral Stamp from the Prima Bloom Collection.
I painted black Dina Wakley paint directly on to the image and then stamped on the page. 
I love the intense image that stamping with paint gives. It doesn't always turn out perfect but it certainly makes a bold statement. 
There is also some light stamping and texture paste on the background. 


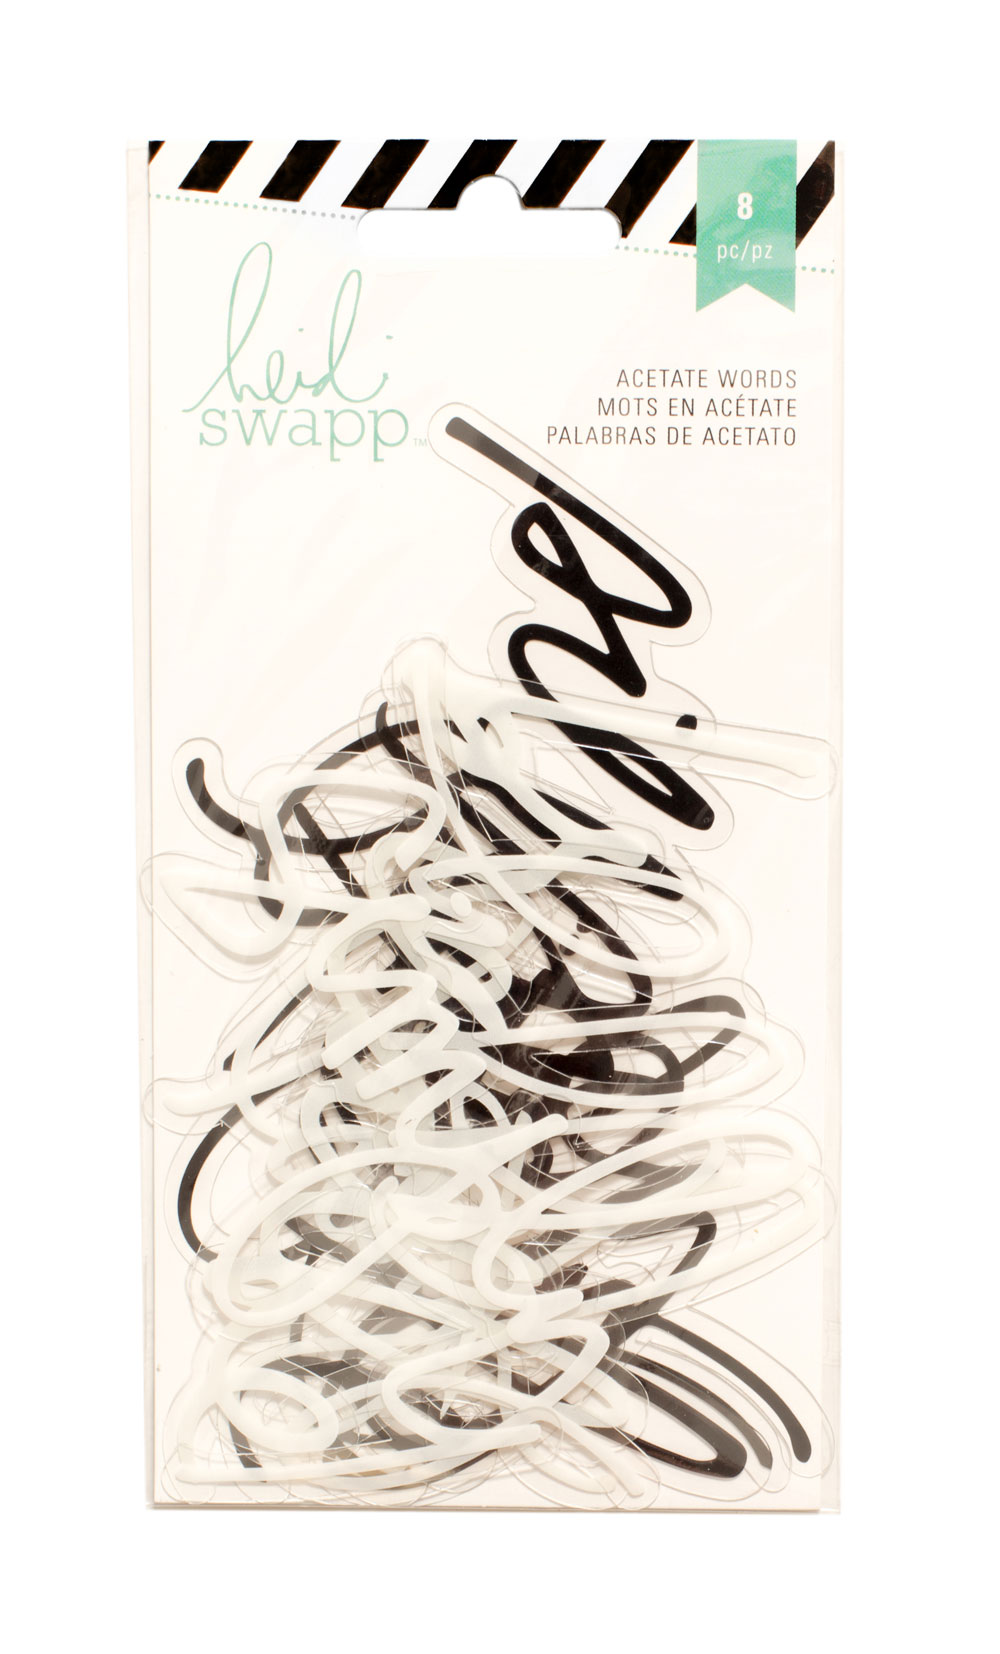
I kept my embellishment to a minimum - some glittery chipboard, a Charms Creation Heart and those lovely Heidi Swapp acetate words.  To finish off I added a doodled boarded with a Fude Ball pen and some black splats


Thanks for stopping by, we'd love you to join us in our June challenge.
Visit our Facebook Share and Inspire page for the details.
Cheers from Leonie Neal-Dawson.

Tuesday, 1 May 2018

A Farewell - My Time in Review - Peg Hewitt

Hello Arty Peeps!

It is with a little sadness that I bring you this farewell post today.
The last 2 years have been a fantastic ride, being a member of the community, and Kylie's Design Team at Scrapping Clearly. I have met so many wonderful people and am still grateful for the amazing opportunity of teaching at Gundy Scraptacular. That was a weekend I will always treasure!

From my Introduction post to now I have created some of my most favourite pages and projects for this team.
Let's have a look back...


April 2016 - A Scrapping Clearly clear mini album (these are unexpectedly awesome!)


Dec 2016 - Christmas layout using Dylusions Ink Sprays and Archival Inks


April 2017 - Distress Oxides (and so begins my love affair with these ink pads!)


May 2017 - And still more Distress Oxides!


June 2017 - A messy mat clean up background


And this year I am playing with art journalling because I have run out of photos.


And that's just some of it!

Thank you so much Kylie, for such a fantastic experience,
I have had a blast. I'm looking forward to spending more time with my family, and more time on my art.
Also hanging around as a community member and playing with the occasional challenge.

Much love

Sunday, 29 April 2018

Two from One, 6 x 12 Layouts by Marelle

Hi everyone,
Marelle here!

Do you have any old photos that are not quite in focus? 
Are you time poor and want to create a quick layout in less than 30 minutes?
If the answer to both questions is YES then I have the perfect quick layout for you!

I started off with a piece of Marshmallow Cardstock and dribbled Dylusions Spray Ink in Dirty Martini onto the page then sprayed some water over it to make it drip down the page. I dried it using a heat gun and then cut the cardstock in half. I have been creating my 6x12 pages for years - they are so quick and easy and a great mojo starter!


I used a Permaball Marker and doodled around the edges of the page then used one of my absolute favourite stamps. It comes in a set of three but there is only one set left in stock - so be quick! Lisa Oxley uses this stamp in a myriad of ways and I had to own it after seeing it on one of her paintings a while back.


I used the Tim Holtz Distress Oxide Ink in Peeled Paint and sprayed the pad with a little bit of water. I then used this to stamp the small bloom into the right-hand top corner of the page. I then used the Oxide ink again and stamped three blooms approx 2" from the bottom of the page.


I then stamped 3 blooms on a separate piece of white cardstock, fussy cut them and adhered over the three stamped blooms on the page using foam tape.


I matted my photo with a thin border of black cardstock. I adhered some green thread over the top of the blooms and stuck the matted photo over the top using glue.

I had a photo of my two daughters taken about 9 years ago, they were both in a stage performance and someone snapped this photo but it was out of focus - it is the only photo from this time and I wanted to scrap it. So I cut out the photo of one of my Daughters to 3"x3" and it did not seem so "out of focus"! The smaller photo was perfect on the 6x12 format. You can use the second 6x12 for another quick layout as your background is already created.

I hope you will give this a try soon.

Keep on creating!
It's great for the soulx

Love 

Marellexx

Monday, 29 January 2018

A Stamped Background by Leonie Neal-Dawson

Hello, Leonie here today,
and can you believe we're into the last week of January already? 
Back to school this week for my kids and I have a school-related scrapbook page to share. 
Some pictures of my daughter at her Grade 6 end of year celebrations last December.  
Like my previous two posts this month which you can see here and here, I'll be using the Fancy Pants Golden Days Collection.


I used the beautiful Floral stamp from the Prima Bloom Collection to create this stamped background on my scrapbook page.  
I used a few drops of Broken China from a Distress Oxide Reinker on a water-resistant surface (e.g. a cellophane bag) then dipped the stamp in and stamped away. Any droplets of ink that were left over on the cellophane bag I pressed on to the page as well. No wastage that way. 
Of course, you could use Distress Oxide ink pad to create a similar background but I like that each stamped image isn't exactly perfect.


The embellishments on this page are from the Fancy Pants Golden days ephemera pack and there are also some Puffy Dot Stickers from the Collection and that lovely flair button. 
I love the acetate words and Dear silhouette adding a little gold metallic goodness to my page.


My title is made with the Printed Alpha from the collection. These can be purchased as a separate package or, for better value, they are included in the collection kit along with 2 of each of the 12x12 papers and the Puffy Stickers.  To make the title stand out a little more I outlined it with a black journalling pen.


I used some of the patterned papers from the collection to matt my photos and I also layered several of the tags from the Golden Days Tags and Labels pack. I love tags that come packaged with twine already, a little bonus, because a tag just doesn't look complete to me unless it has some twine looped through the hole. 


Well, that's it for me for January, I'll be back next month with some brand new creations.

Happy crafting,
Leonie Neal-Dawson.