Thursday 31 May 2018

Using busy papers for backgrounds - Scrapbook page with DT Katie

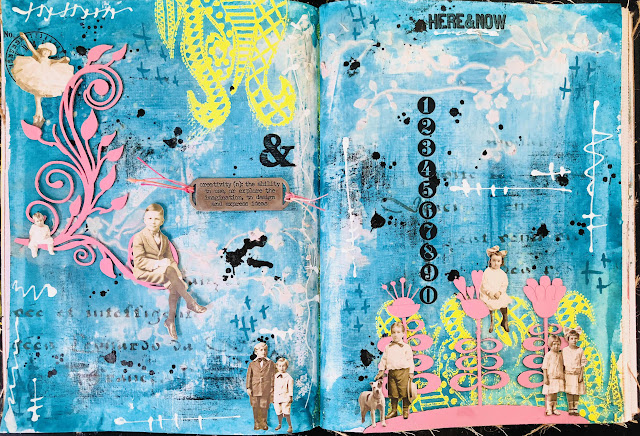
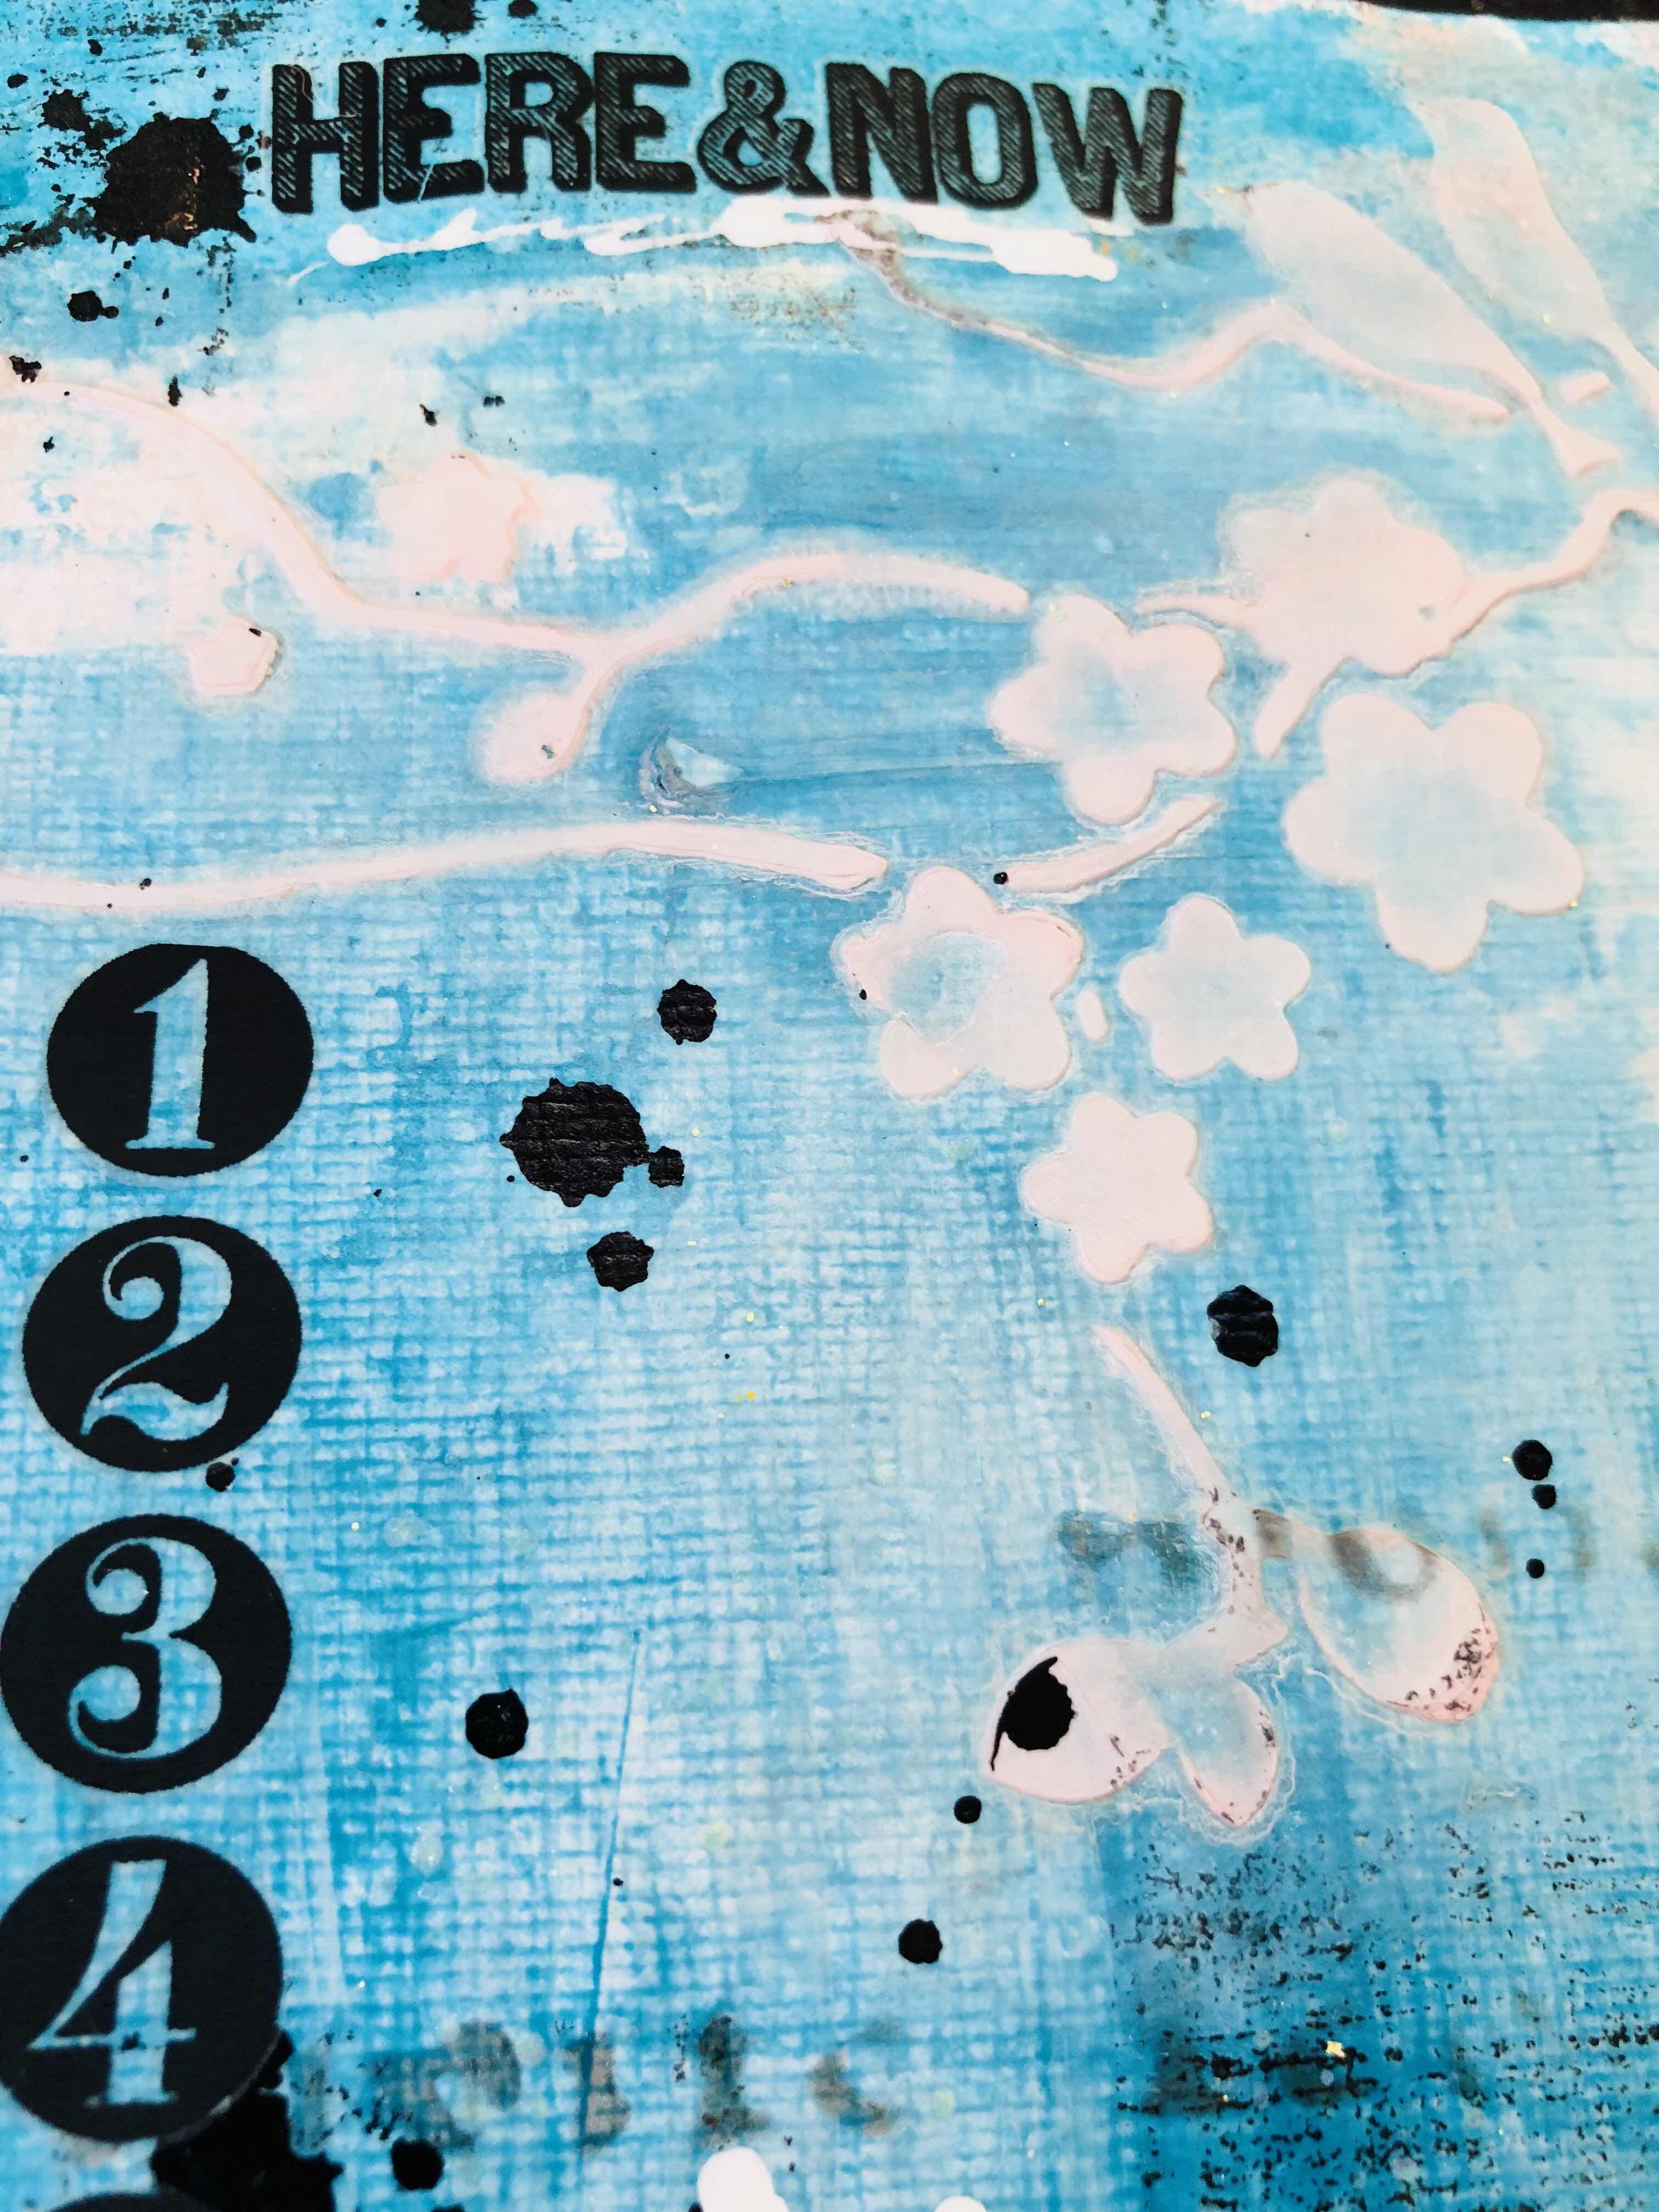
Good morning on this last day of May. Can you believe we are now about half way through this year? Crazy, crazy stuff I tell you! I am sharing a page today using the beautiful Crate Paper Maggie Holmes Chasing Dreams collection. In this collection is a beautiful piece of patterned paper called Royale, and it is like a patterned tile, too pretty to cut up, but a bit too busy to use by itself, so I came up with a solution. I found a simple repeated pattern background cut file in the Silhouette shop and cut this out of black cardstock and then used this as an overlay over the background paper. The result is you can still see and appreciate the pretty background paper but now it is toned down so the photos don't get lost on top!


The photos that I chose to use have some pinkish tones in them so worked well with the background paper. I then chose some papers to layer with, they needed to be smaller patterns, neutral or in tones to stand out. I ended up using: Delicate, Stay True, Hello Beautiful, Lovely as well as the Magical Gold Glitter acetate. Try not to be scared of patterns, especially when layering, as often you only have a small amount peeking out and the pattern is not as "intense" as it might look on a whole sheet of paper. If you want to get your hands on all of the papers you can pick up the Chasing Dreams paper pad, then you have plenty of choices!


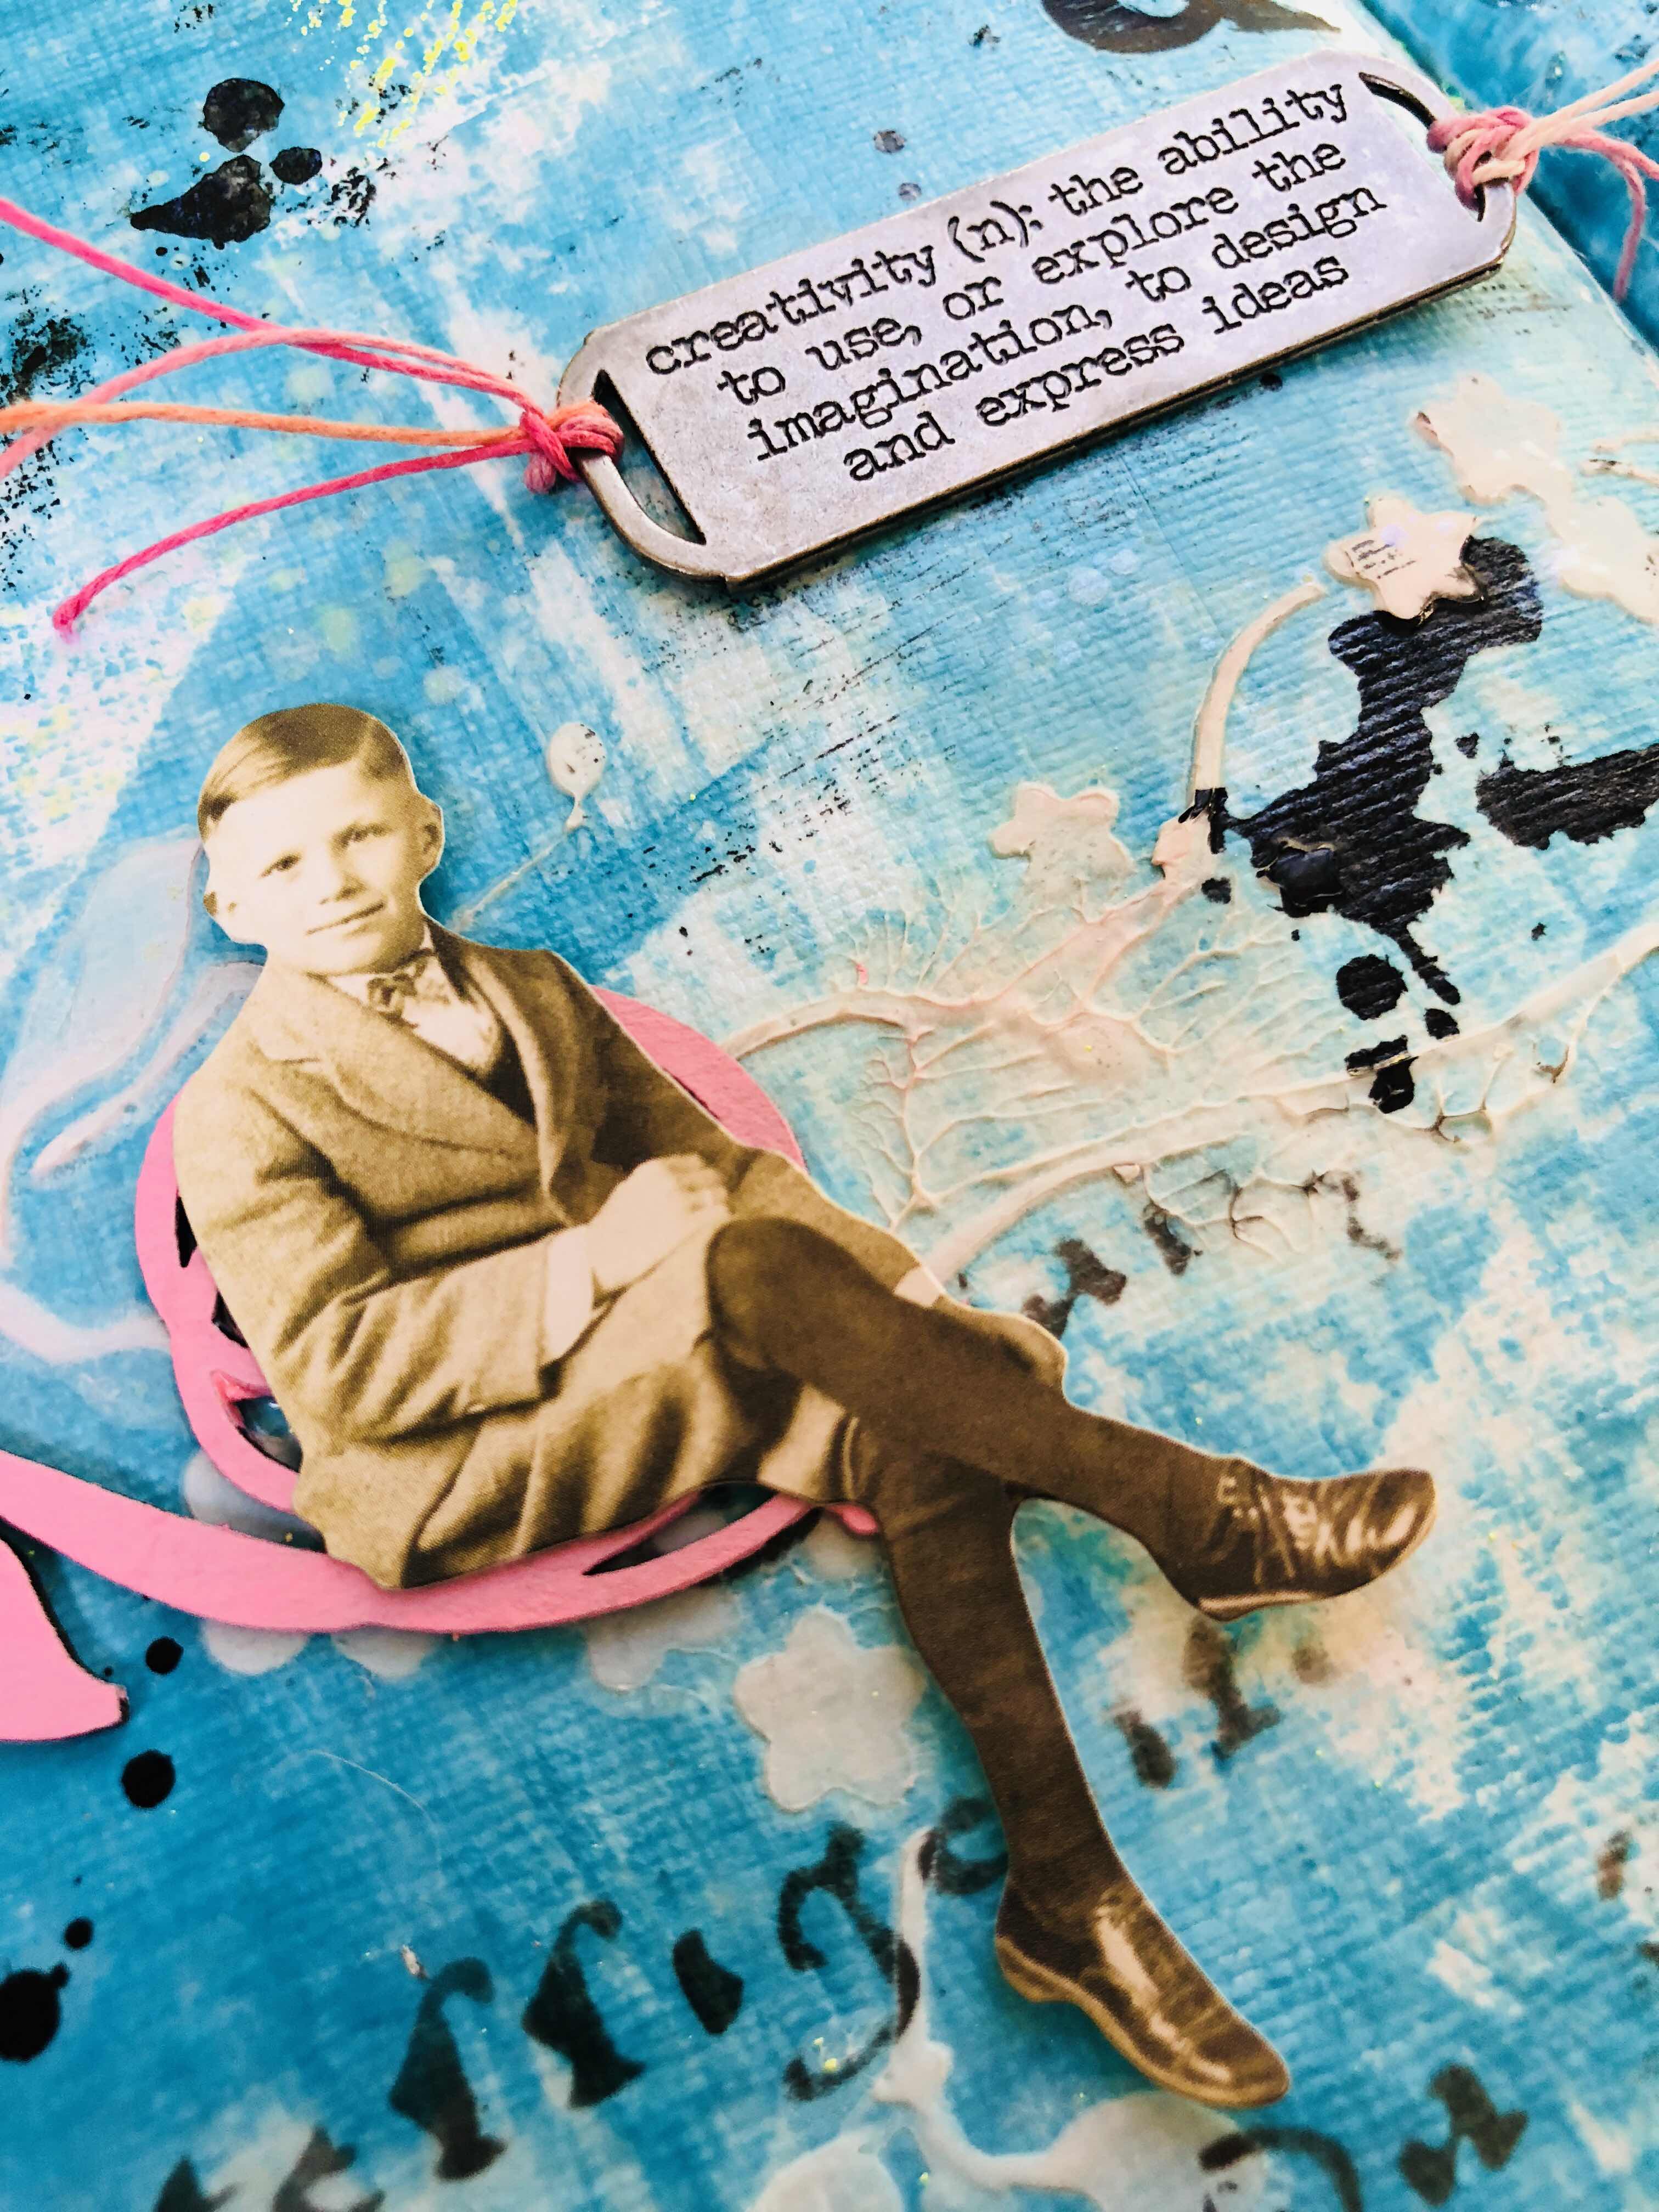
 I used one of the sticker phrases for my title and layered with thickers from the Gather Collection as well as bits from Chasing Dreams. (I love how they work together!). I also added a vintage button into the mix for a bit of solid colour and added dimension.


 In this cluster I again used a mix of elements as mentioned before. One thing to keep in mind is when you are tucking things in behind layers you can cut elements in half to give you twice the usage! I did this with the yellow sticker.


Have you played with the deco foil glue pen yet? This is a great way to add foil touches to you pages, embellishments and even wood veneer. I decided to add some gold foil to three of the hearts on the die cut overlay. The process is very simple, you simply "colour in" the section you want to foil with the glue, allow to get to almost completely dry (still slightly tacky), lay the foil pretty side up over the glue area and use something to burnish the area to get the foil to take. I use a bone scorer, you could use your fingernail or even a paddle pop stick, it is a bit like applying rub-ons. You will notice that the coverage isn't perfect, as it depends on how well you applied the glue, but that's OK, it gives a slightly distressed result.

Thanks for stopping by, I hope this inspires you to play with busy patterns or maybe have a go at foiling. Until next time,

Katie x


Wednesday 30 May 2018

New Range - Boys Rule Cocoa Vanilla Studio


Hey Ho to all our Scrapping Clearly readers, I want to know who has seen the fabulous new collection from Cocoa Vanilla Studios?
It's called 'Boys Rule' and it's a great boy range of patterned papers and embellishments suitable for the young, old or in-between men in your life and I've also used it for a girl page. So you can add versatile to its description as well.
And... its coming to the Scrapping Clearly store soon.


Cool by Leonie Neal-Dawson
My first page today uses a new product to the Cocoa Vanilla line a Large Die Cut and Backing kit. For those of us that don't have a cutting machine but like the look of cut file pages that are so popular at the moment. Here's your chance to create with one.


It sure has all the hard work done for you.  This page came together in 30 minutes.  The 12x12 paper is printed with the colour of the stars and it comes with the white die cut stars to lay over the top.  All I needed to do was stick it down and then add my photo, which is backed with layered patterned papers and embellished with some die cut labels, ephemera and a flair button.


Epic by Leonie Neal-Dawson 
My second page today also features the Boys Rule collection.  This time I created a stencilled background on white card stock using Dina Wakley Acylic Paint and various stencils.


On this page I used some of the Clear Stickers that are also a new addition to the Cocoa Vanilla Studio line.  How cool are these stickers?!


Image result for boys rule cocoa vanilla sticker


Thanks for stopping by the Scrapping Clearly blog today.
I hope you've been inspired by this little peek at this new line to the Scrapping Clearly store.

Happy crafting,
Leonie Neal-Dawson.

SaveSaveSaveSaveSaveSaveSaveSave

Tuesday 29 May 2018

Quick Easy Layouts Using Dylusions

Hi everyone
Marelle here again to share another quick and easy layout when you feel like creating but time is not on your side!


I cut down my 12x12 white cardstock to 6x12 and sprayed the three Dylusion colours and added a small amount of water, dried this then flicked some Heavy Gesso (watered down) randomly over the top.

I then stamped three stamps in the middle of my page, glued some embroidery thread in the middle, then placed my small photo (matted in black cardstock), added the title, then  doodled and journalled around the edges!

The colours I have used are : Pure Sunshine, Bubblegum Pink, Post Box Red, 

I have also used some watered down Liquitex Heavy Gesso.

Thanks for visiting our Blog!

Happy Crafting

Marellexxx


Monday 28 May 2018

Starstruck - a layout by Lisa J

Hiya Scrapping Clearly friends,

I have a layout to share today using all things Heidi Swapp.

I had a photo of my littlest guy with musician 8 Ball Aitken at the Tamworth Country Music Festival that I had been wanting to scrap so the idea of using lots of stars to create a "starstruck" layout was born.


I started by lightly tracing a circle on some white cardstock. I used Color Shine in Navy and Citron to sprinkle around the circle and then placed my acrylic stars down with a spot of glue. I stitched (very roughly) over these with black thread.


I created some layers around my photo with the 6x6 paper pad.


Now I have used a whole lotta cool Heidi Swapp stuff on this page. Here are the links for the store:

Hello Today Acrylic stars
Sequin Shapes Disco Stars
Navy Glitter Alphabet Stickers
September Skies 6x6 paper pad
Colorshine in Navy and Citron
September Skies Color Magic Diecuts


A quick reminder too that there are only a few days left to enter this month's combined Mood Board and Sketch Challenge. See the challenge here.

Happy scrapping

Lisa J


Sunday 27 May 2018


Hi everyone Happy Sunday ! 
Marelle here to show you a few of my favourite things from the shop you may not have looked at.

You may have seen Tracey's gorgeous butterflies on her recent post - she used alcohol inks and the amazing Yupo paper! 


 This paper comes in a few different sizes and works beautifully with the alcohol inks.  IF you haven't played with these amazing mediums - do yourself a huge creative favour and purchase some and try these!!


Kylie has a wide range of colours of these alcohol inks instore..

We would love you to have a try - there will be a small RAK for the first 3 people to post their work using Alcohol Inks and Yupo paper up on our facebook inspiration page!!


Have a great week and watch out for more of our DT inspiration over the coming days!

Love and keep creating!!

Marelle xx


Saturday 26 May 2018

Lots of layers - Scrapbook page with DT Katie

Good Morning, good morning! And how are we all travelling today? Personally I am recovering from injuring my back (don't ask me what I did, because I still don't know... do you have that happen?) and sitting for long periods is still a little bit difficult. But apart from that all is good in my world. Today I am popping in to share a page filled with layers of scrappy goodness using some gorgeous Crate Paper Maggie Holmes Gather collection. So let's start with my page, which shows a couple of photos of our highly amusing cat Eddie and two of my kids.


I had fun layering with chipboard, acetate, papers and ephemera, and it is so easy to do when you work with a matching collection. I started with Love for my background, this has a quote printed on it, but with careful placement of my photos and the like you wouldn't even know it was there! So keep that in mind if you find yourself with a 12x12 paper with writing on it, you don't necessarily need to see that writing!
I then proceeded to mat my photos building up patterned paper layers with: Details, Jane and Favorite.  I cut a patterned square from the gold foiled acetate sheet which gives you a 3x3 square and cut this in half so I could layer this under my photos but on top of the patterned paper. Cutting pieces into smaller bits and tucking in on two sides of a photo block is a great way to make your supplies go further, or for when you only have a small amount of something left to use. Once this base was done and secured to the background I started adding embellishments. There were some great acetate flowers in the ephemera pack as well as some tags that I tucked in behind the photo block. There is lots of great chipboard on the 12x12 chipboard sheet and in the thicker accents as well. I chose some of these pieces and created clusters, including one at the bottom left to balance the photo grouping.


I love adding the bits of gold glitter chipboard, it gives texture, dimension and sparkle!

Tags are a great thing to tuck in as layers, I cut the bottom half off to save for something else. Remember you can make your own tags quickly and easily from patterned paper too if you don't have the ephemera pack. All of the papers are at hand if you get the 12x12 paper pad.


With the bottom cluster I started with a tag added chipboard pieces and a bow from the embellishment pack and then cut out the foiled flower from the acetate sheet, which I tucked under the tag. That is another thing to remember, you can cut things out and cut things up to work with your page!

To finish I added some gold splatters using the bright gold liquitex ink, this is my go to for gold splatters, and a great substitute for HS colour shine if you are looking for a replacement! And I used the word cute from the thicker accents for my title. Why think too hard when there are so many words already available!

So that is it from me for today, thanks for stopping by.

Katie x


Friday 25 May 2018

Art Journaling Abstract Florals

Howdy folks , Lisa here with a Friday Mixed Media update .
Today I'm sharing with you a few consecutive pieces I have created for the #100daysproject.
Inspired by SurjFineArts from You Tube, these abstract floral pieces take very little time at all to create and produce such a lovely overall look.

Here is the original video I watched.


 Truly such wonderful pieces to warm up with if you have all day to create,
 or if you have just 15 mins,
either way this technique is a wonderful addition to your creative arsenal of easy prompts.

A pot of heavy thick gesso is a bonus if you have it,
 as a layer on your substrate helps the flow of the paint over the surface.
I have used a Dylusions art journal and water colour paper for these pieces.
Its then just a simple build up of cool coloured acrylic paints creates the background.
Carving lines into your paint with a palette knife to create stems and grasses,
and completing the pieces with smears of acrylic colour to represent the floral elements.
Really a very simple process.
Here are a few examples of how I interpreted the video.


Thanks for dropping by the Scrapping Clearly Blog. 
I hope you are inspired to give these a whirl, I could seriously just paint this style forever.
I'll be back next week with a new mixed media update.
Have a creative weekend.


Lisa x 

Thursday 24 May 2018

Art Journal scene and video - with Emma

Hi ScrappingClearly peeps, 
Today I’ve got an art journal page to share with you, and I must say it’s not quite what I had invisaged! 
It’s messier then I had hoped and I feel it’s not complete? 
What do you think? 


I have used lots of mixed media products on this. 
Firstly I started out my base paints. I used Art Anthology in Fiji and Silver  But then covered some of the silver with Ranger Caribbean Coast
Much happier with the colour tone then. 


I then stamped a Dark room door Stamp with Ranger Emboss ink and proceeded to emboss in yellow as a contrast to all the blues. 

As I was using the quirky paper dolls I wanted to add a couple of quirky elements, hence this particular stamp. And I used a few Rub ons by Tim Holtz instead of stamping too much. 


I then used some Prima modelling paste through a stencil, and once dry patted some Distress oxide ink in tattered rose over the stencilling to give it a hint of colour. 
You can see all this come together in my video  ðŸ˜Š 


I painted my 2Crafty chipboard in Dylusions rose quartz acrylic paint. 
Scattered my people around the place and added a Tim Holtz quote band
I finished with a bit of Liquitex ink in a fineliner to add a bit of interest. 

So what do you think?? 
I must keep playing and practicing! 
i would love you to check out my video here....


I hope it inspires you a little to try outside your comfort zone?? 

I’ll catch you all next month, and I hope you have an awesome Scrappy time until then. 
Em xx


Wednesday 23 May 2018

Farewell and Thank You with Melinda

Well, I would be lying if I didn't say that this post was a little hard to write however, the time has come for me to step away from ScrappingClearly. 

Before I go any further I firstly want to thank Kylie for the incredible opportunity she gave me when she offered me a spot on this Design Team back in February of 2016. You can see my intro post over on this link!

Over the course of my time here I have not only had so much fun but I have learnt a lot, been inspired by some incredibly talented designers on the team and oh boy, has my heart been filled with such joy seeing all of your kind comments and more importantly, learning I have inspired something in you to create!!

I am not sharing anything new with you today but sharing some of my faves from my time on this amazing team. I will link to each post so if you'd like to go back and read/see more you can and I will also link to any process video's that I have shared so grab a cuppa and come on a bit of a ride back in time with me! Oh, and these are not in any particular order ;)


First up, this is not only one of my fave layouts for this team it is one of my all time, absolute favourites layout of  EVER. My boys in their most "them" pose, a simple page with a love note of sorts tucked in behind the photo for them as they grow up. Blog post for this is here.


This PL page I designed with my very first DT kit from Kylie and I still love this range. This is our closing page in our 2015 PL album. Blog post is here.


I'm not sure what it is I love about this page but I do love it! I think because it is so soft and feminine and for me, I know that stretches my creativity. Blog post is here.


This one was around the time I stopped despising fussy cutting quiet as much as I use to! Those florals are just gorgeous and as soon as I saw them I heard them beg me to cut them out!! Blog post is here. Process video is here.


This chalkboard heart Heidi Swapp marquee piece. It still hangs on my door to my craft room. 
You can see the blog post for this one here.


A page about me. This was created in 2016 and the photo was on my 36th birthday in July. 
Blog post can be seen here. And YT process video can be seen here.


This one was for a challenge as and I really love the simplicity and colour scheme! Blog post can be seen here and process video is here.


This page was done as I was really finding my feet with mixed media. I created this page for a fun CC that we did at ScrappingClearly and it was my challenge piece - from memory - a colour challenge and I just love this page! No blog post for this one! But there is a process video here.


An art journal page! My confidence has certainly grown in mixed media and honestly, I feel most confident when I am making a mess ;) This was also done for a CC. One of the challenges was a top 10 challenge and I chose my top 10 movies and really love how this turned out! Blog post is here. And process video is here.


Another scrapbook page and this one was done this year - in fact I made it for the February challenge and I just really love the way it came out! Blog post is here and process video is here.


And last, but not least, my minc mini album. Something WAY out of my comfort zone. Something so not "my thing" but I really love how it turned out. In fact, I love it so much that perhaps (maybe!!) I may create a few more as times goes on!! These photo's of my youngest, though I have them printed at 6x6 and in his album, I have not really done anything with so I love that they now have this special little album. Blog post can be seen here and there is also a process video here.

That is it for me!

Once again, a massive thank you to not only Kylie but to all of the other girls, both past and present, on the DT, you have made my journey so much fun and the support we have all shared has been incredible! 

Also, a big thank you to all of my supporters, your kind words mean so much and I really am grateful. Though this is goodbye to the team I will still be around in the Share & Inspire group and maybe I will even play along with some future challenges!

Melinda