Tuesday 31 October 2017

BAM! by Lauren Hender


Hello Everyone! 

Welcome back to the Scrapping Clearly blog on the
spookkyyiest day of the year..
You would not believe it but as I am typing this there is a thunder storm rumbling away and the wind in the trees is making the most fabulous creepy sound. 
I guess this is what you call the 4D scrap blogging experience 
ha ha ha. 


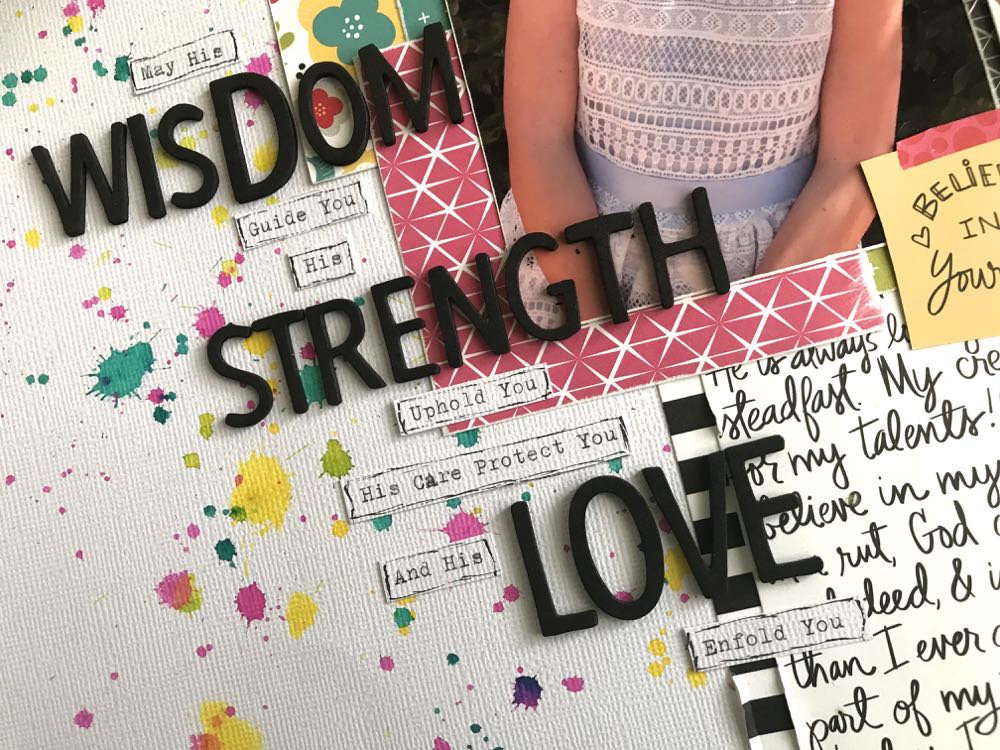
Well, storm aside I am excited to share with you a fun layout using lots of goodies from the Scrapping Clearly store. What is it about this layout that you love the most? Is it the pumpkins, the embellishment or the background. Let me know in the comments below.


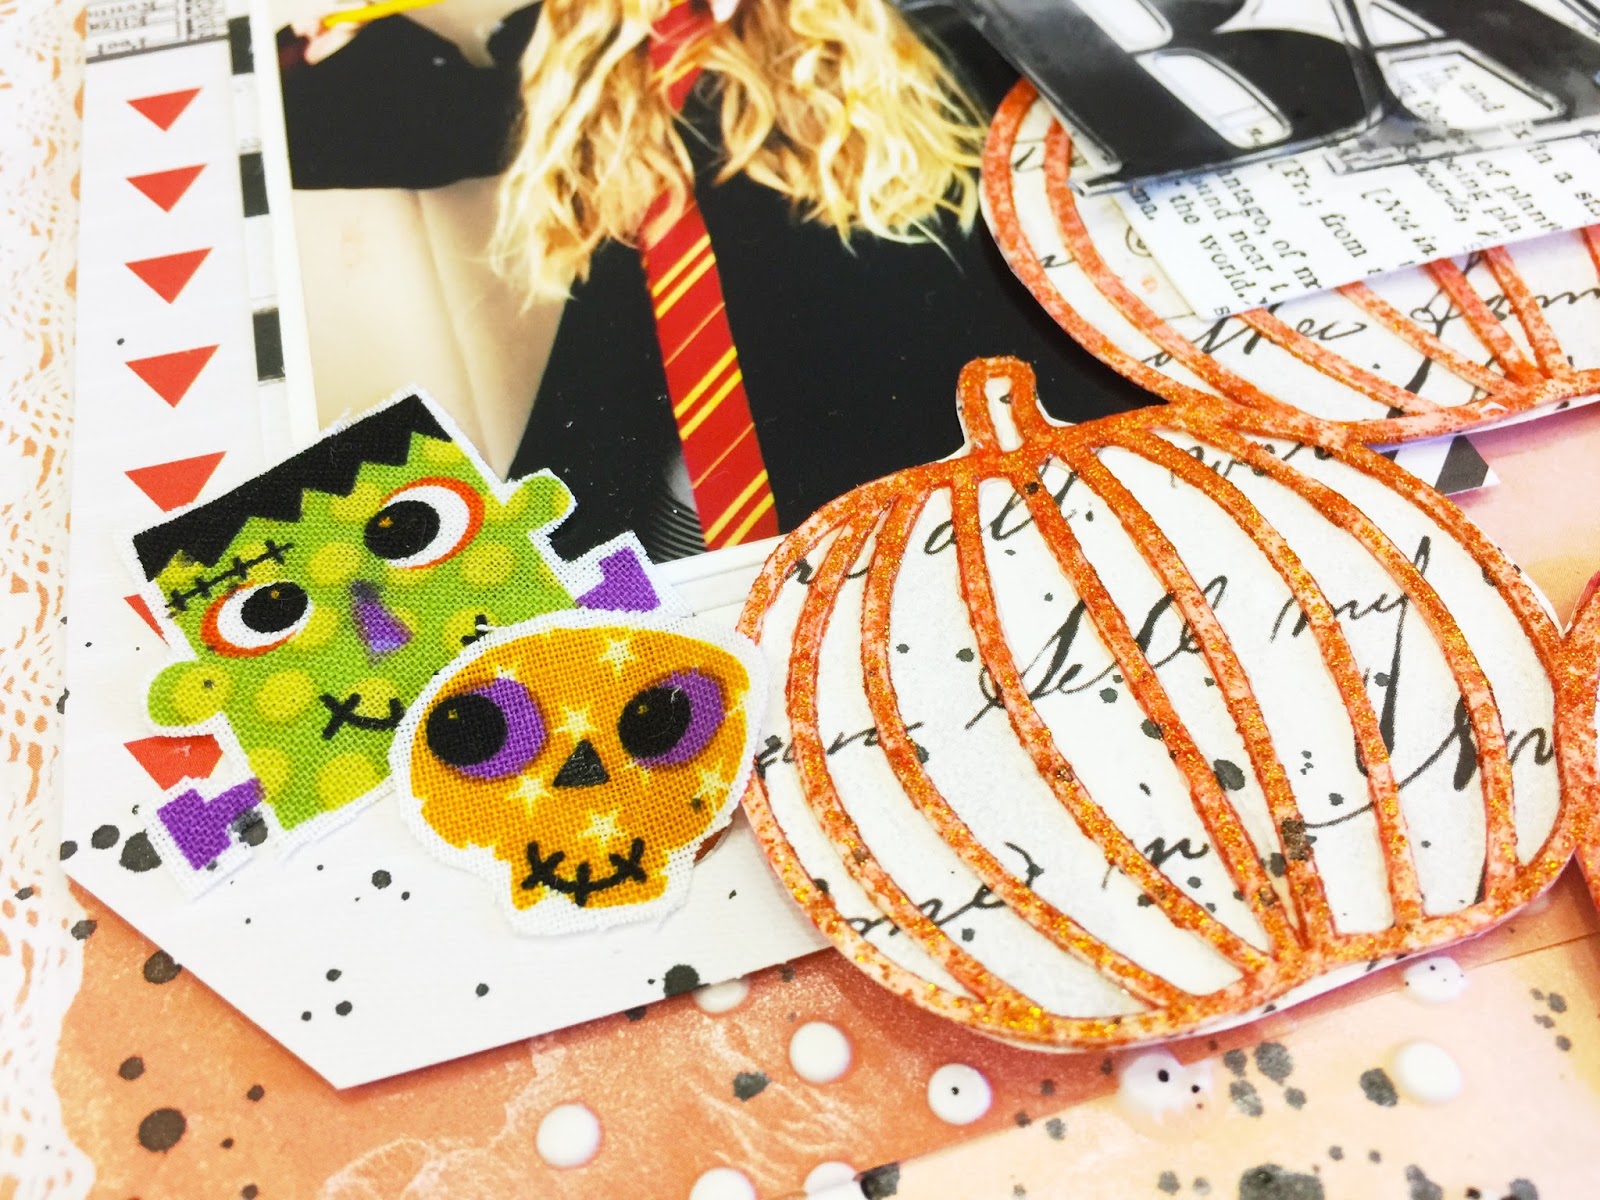
Let's talk about these bad boy pumpkins. Who loves cut files? Who loves backing them and fussy cutting all that paper behind? Not me. Oh, I have to channel some inner peace to do that job but I have to say the results are worth it!


Putting this layout together happened in a few different stages.

Firstly I painted the pumpkin cut file with the super fun BoBunny Glitter paste and sprayed over it with some Heidi Swapp Colour Shine.

Then while letting that dry I mounted my photo and created my background. The patterned papers I have used are from Kaisercraft and Pink Paislee


I then backed the cutfile and brought it all together on the background with the mounted photo and cut file.

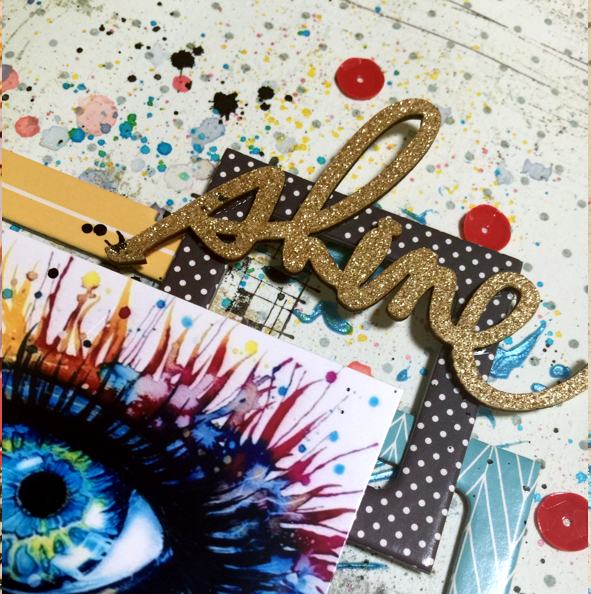
Next up I created my title and add my embellishments.

To finish it off I added some splatters of black Heidi Swapp Color Shine.

I created a process video for this layout but ran out of editing time so that will be along on a little while. 


So let's go shopping: 


Hope my layout has inspired you to be creative and
I hope that you have the most fabulous and spooky Halloween. 

Lauren xo

Monday 30 October 2017

Nap time - by Chloe

Hello there Scrapping Clearly fans!

Today, I will be sharing a page inspired by this month's mood board.


I remembered that awesome CVS paper in the YOU ROCK collection ...


and this was the starting point for my page...


How gorgeous is that pic of my little nephew!!

Loving to layer up the embellies in the mood board colours!  I added a swipe or two of red paint for an accent colour.
(More product links below.)


Products used:

You've still got until midnight tomorrow to play along,
upload mood board your entry here,
or your sketch entry here.

Happy creating! :)


Sunday 29 October 2017

WK13 2017 - with Melinda Sweetman

Hey ScrappingClearly fans, it's Melinda here with you today sharing my latest DT make!

Today's post is a relatively short and sweet Project Life share!
I've used the My Mind's Eye On Trend 2 collection and kept it fairly simple and calling it done!
(Product links at bottom of post)

Here is my title card for the week


Like I said, pretty simple but I'm really happy with how this spread came together. Everything is from the MME collection except the "WEEK 13" alphas which came from my stash.

Here is the left hand side


And the right hand side


And here are a couple of close up's of some of the cards.


I've used one of the 12x12 papers in my WRMK typewriter for all of the journalling and just trimmed it down into strips as a lot of my words would get lost on a quiet a few of those cards. Also, I wasn't convinced that I could write too successfully over the top of the gold foiling!

The blue foiled card was actually one of the 6x4 cards on the cut apart sheet and REALLY wanted to use it so I trimmed it down and it fit beautifully!

I had fun with all those brads - not something I use a lot of but they look really good!

I hope that I have inspired you to get some stories told and into an album, no matter what kind of supplies you have or "how" you scrapbook. I am struggling to keep up with my project life but happy that I am getting my stories told and in the album!

Until next time, happy scrapping!


Melinda

Products used:

MME - On Trend 2 - 12x12 Paper Elegant
MME - On Trend 2 - 12x12 Gala
MME - On Trend 2 - 12x12 Minted
MME - On Trend 2 - 12x12 Little Things
MME - On Trend 2 - Cardstock Stickers
MME - On Trend 2 - Decorative Brads
Pebbles - Spring Fling - Ephemera


Saturday 28 October 2017

How to scrap event photos in quick time with Leonie Neal-Dawson

Hello to all our Scrapping Clearly readers, Leonie with you today. 
Earlier in the week, I posted THIS page about my daughter's recent Confirmation celebration. I still had quite a few photos from that day that I wanted to document, 
so to make my life easier and get this event scrapped I did two things...

First - I used the collection kit from Bella Blvd, Illustrated Faith Bright and Brave line in the Scrapping Clearly store.  Using the one set of papers took all those hard decisions about which papers to use out of the way and ensured these pages all tied together.  Added bonus that it uses up almost all of the collection kit so no papers lying in storage in my scrap space for aeons!
Secondly - I used the same design for each of the 3 pages I have to share today.  Again this helped tie all these pages together but more importantly once I had the initial design scrapping the pages was so quick I barely had to think about it, they just came together so easily.

Here's the pagemaps sketch which I loosely based each layout on.

Image result for scrapbook sketch

So Very Proud
I punched the circles from this paper and added them to the B&W strip along with stickers from the sticker sheet in the Bright and Brave collection kit.


I punched the circles from this paper and added them to the B&W patterned paper along with stickers from the sticker sheet in the Bright and Brave collection kit.

sbc_bla-1369_0


Wisdom Strength Love
  I added some splats of Dylusions Ink sprays to this one. 


Confirmed In God
I flipped the design on this one just to mix it up a bit.  
I also added a heap of the Tabbies from the collection across the top.  
The background splashes of colour were made with Dylusions Sprays. 
I added some tags behind the photos as well and added my journalling to them. 


sbc_bla-1384_0

sbc_bla-1380_0


Unknown

What do you think?
Would this make it easier for you to scrap a heap of photos from one event?
Give it a go next time you have a pile of photos to document.
Thanks for stopping by the scrapping clearly blog
Happy Crafting. 

SaveSaveSaveSaveSaveSaveSaveSaveSaveSaveSaveSave

Friday 27 October 2017

Happiness on my mind- Details of an Art Journal Page

Howdy Folks , Lisa here with a Friday Mixed media update , 
Today I am sharing with you how I bring a little more detail and fine tuning to an art journal piece.
For this example I'm using a piece that I started at my friend's place last week, and I didn't get too far with it on the day, so yesterday I got to revisit and pimp my page.
I'm using a small Dylusions journal, I do have to say, that I used to see people using the smaller journal
and question, why exactly one would want a smaller journal rather than a bigger one. Now, truth be told, I am slightly addicted to this size atm, I can take it anywhere and less size means using less, and quicker results.


 The Background is really just a few rubbed through stencils to create some easy marks in black and then I added scallops and circles of pink neon Golden paint, a Dina Wakley scribbly face stencil as the focal point,
some Jade Prima Impasto, and a paintbrush from the new Kinder Kreations Art Stash stencil,
(ask Kylie to order it if you want it - I am addicted to mine atm
* also featuring in next weeks blog post.)


 I have used the Dina face stencil as a guide line, and cut the face shorter (so it wasn't as long) by adding extra jade impasto. I then added a little more detail and colour into the face with white Liquitex gesso, and a magic pencil-(Stabilo black Aquarelle), a blue posca for the eye, and a white sharpie for the catch light,
also a little pink paint for the lips.


 I added a little more detail around the page by imposing more marks on freshly painted Prima apple green impasto, and then detailed it with a black Fude Ball pen when it was dry.


 I also added an extra row of scallops, a little detail on and down the side of the brush, and a touch on her lips, in impasto pumpkin, to bring more colour and layering into the piece.
At this point, I added the journaling down the side and the title "Happiness on my mind".


 A little more pen detail around the face and eyes, eyelashes etc... and I am happy with the results.


Thanks for dropping by the blog,
 I'll be back next week with a new mixed media update.
Big Birthday Cheer to SC's owner and all-round wonderful creative, Kylie.
Will see you next week to celebrate together.... Wooo hoo bring on the 
GUNDI SCRAPTACULAR 2017

Thursday 26 October 2017

You Rock - With Karyn Schultz!

Hi Scrapping Clearly Lovelies!!! 

It's Karyn here and today I have a scrapbook page to share with you made using the Cocoa Vanilla Studio "You Rock" collection available in the  Scrapping Clearly Store.
For the background paper I chose this CVS patterned paper that has lots of mixed media elements as the pattern. I wanted to add to this but not in an obtrusive way, so I gently sprayed and splattered Deep Water shimmer spray across the patterned paper - concentrating it under my photo placement and in the bottom right corner.


Then I matted lots of different papers under my photo - different sizes, shapes and patterns and even some torn edges for a difference. I also added washi strips in the top left and bottom right corners - I love the different patterns and lengths of the washi! 


I added some twisted sewing thread under this embellishment cluster, as well as a flair, some word stickers, wood veneer and enamel shapes. 


These large wood veneer words are perfect for titles for your page - a few flowers softens the page for a feminine vibe :) 


Scrapping Clearly products I've used include 

Cocoa Vanilla Studio "You Rock" collection (12x12 papers, washi strips, flair, wood veneer, sticker sheet, enamel shapes, rubber charms) 
Colour Blast shimmer spray (Deep water)   

Thanks so much for stopping by
Crafty Hugs xx

Karyn

Tuesday 24 October 2017

Shine - with Emma

Happy hump day everyone.
Today on the Scrappingclearly blog
I'm sharing a layout that is inspired by the 'spring word', shown in the mood board challenge we have this month.
Now I must admit I wasn't sure how to tackle this moodboard, as there is much to choose from.

So the shiny bling word and a few of the colours is what I went with. ☺️ 


Ok so I know the word is the only good bling I have but the colours also reflect some of those in the board too 😜


It was fun to create this one and rather easy.
I started with a few assorted mists and some of the amazing oxide inks!
I also used a Colour blast paste through a stencil to give it texture and then
I then layered a few of the smaller frames from the Simple Stories Carpe Diem range.


After this I layered a Heidi Swapp canvas tag under my photo.


Using just a couple of letters from Studio Calico gold stickers I placed the
B and the U to show we can express ourselves.
And then I used a few sequins to pull it all together. 


And lastly I used the very gold blinged Heidi Swapp 'shine' word
to create my title.

I really enjoyed getting a little artsy with this page.

And I must credit this image to an artist on Pinterest. 
The link to follow is  
   here

I also made a video of this layout being created and
would love you to check it out 😊


What do you see in this months moodboard?
Can't wait to see how you interprete it.
Till next time, Em. 😘