Monday 29 July 2019

Fun with Alcohol Inks

I love making alchol ink back grounds, stamping on them, fussy cutting and constructing a fun, vibrant layout.


First you need some yupo paper, which essentially is plastic based paper.

A favourite stamp. For this layout I have used Art by Marlene 2.0 stamps. A selection of my fav colours in alcohol inks.
I put 3 or 4 drops of different colours down on my non stick mat and I dragged the yupo paper through them. I did warm colours for the flowers and the cool for the leaves.

I also used two of Tim Holtz's stencils and some distress paint on the background first. Picket fence through the lattice stencil and wild honey through the rose stencils.

I used achival black ink for the stamped images, as staz on, lifts the colour off the yupo paper.

The chipboard title is from Kinderkreation.KK1793

Thanks for looking
Have fun crafting.

Saturday 27 July 2019

Playing catch up

I am guilty of scrapping too many pics of one child than the other but I honestly try to find a balance.  I must admit she is a little easier to scrap for than he is but I love them both equally. So this week I decided I best start playing catch up with the boychild's albums. 

I have had a couple of sheets of PinkFresh cardstock -  Escape the ordinary Search  & Wander in my stash for a few months and found this cool pic that fit perfect. I wanted to challenge myself to use the two sheets up on this one layout. 

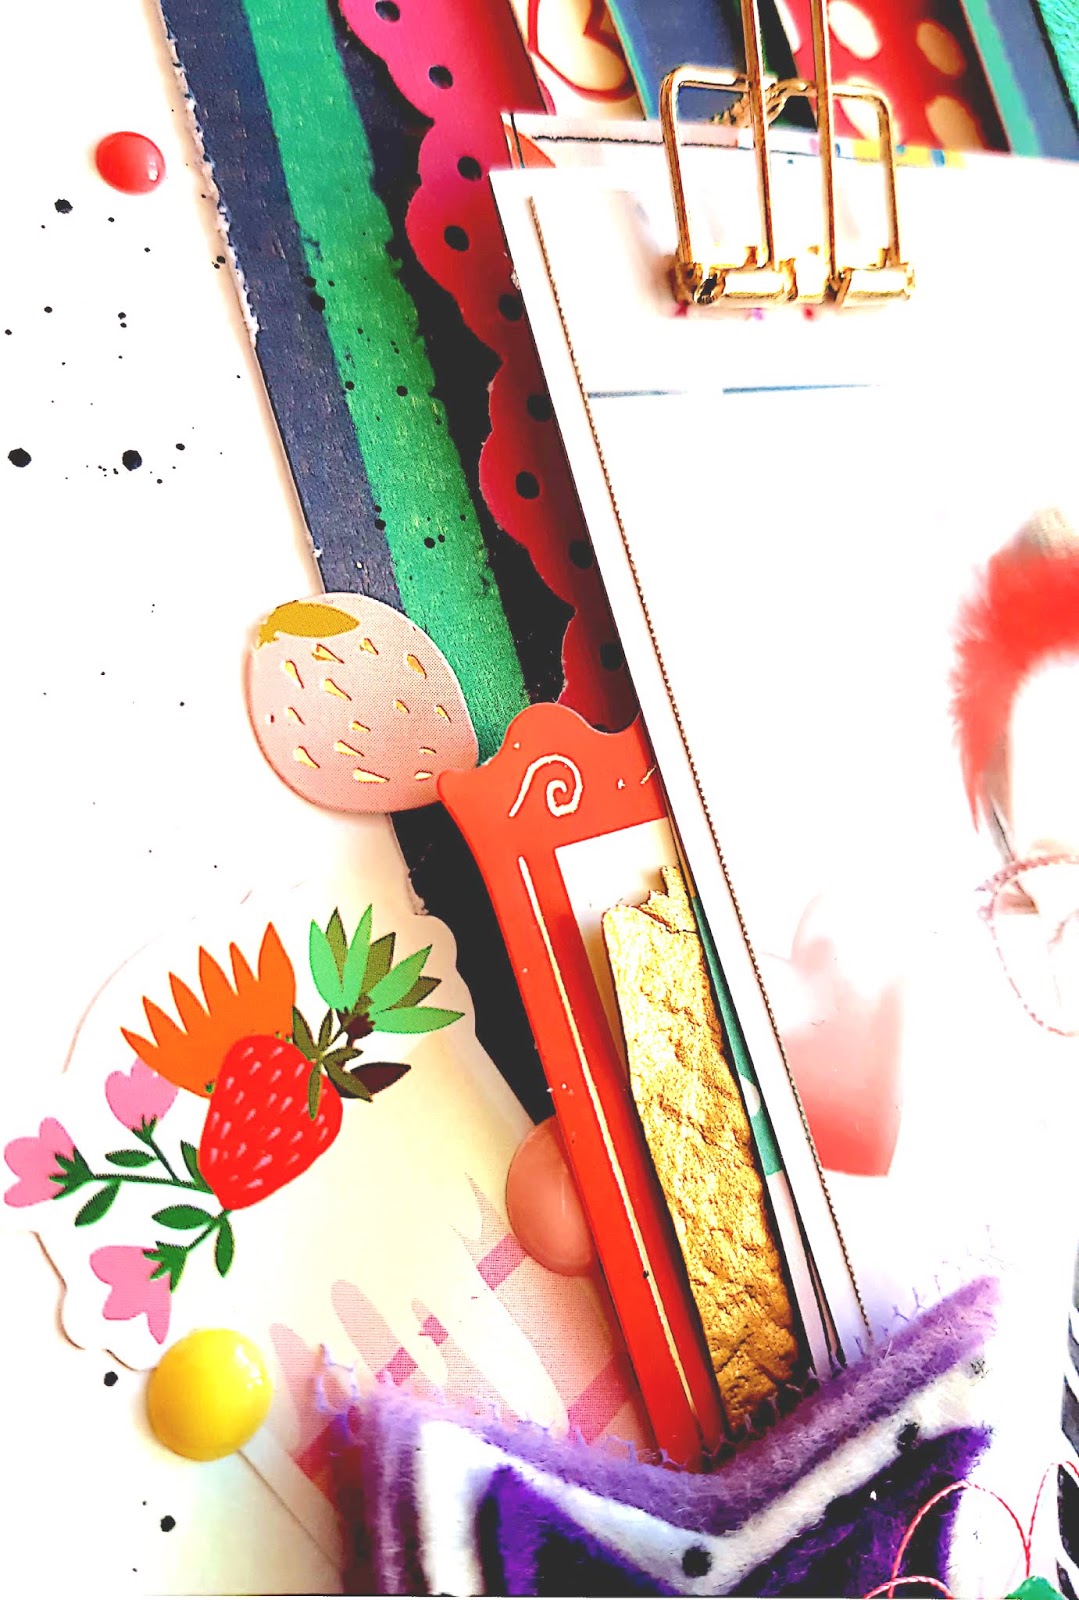
I cut individual pieces out of the Wander sheet and used these as ephemera on the layout. The remainder of the paper was used as solid layers on the layout, using some of the printed word side and then using the reverse side to layer under the words. On these larger pieces I sewed an edge to  help define the layers as the papers were quite busy.


Sewing a border around the photo helped tie this element in with the sewn borders on the other cardstock. I then adhered it to black cardstock before adding it to the layout. In this picture I was doing a lot of paper shuffling to make sure I was happy with placement of all the different cardstock items I was layering on the layout.


I added a few timber elements to the page including Cocoa Vanilla woodies , Studio Calico wood corners  & Flutterby's star tab.


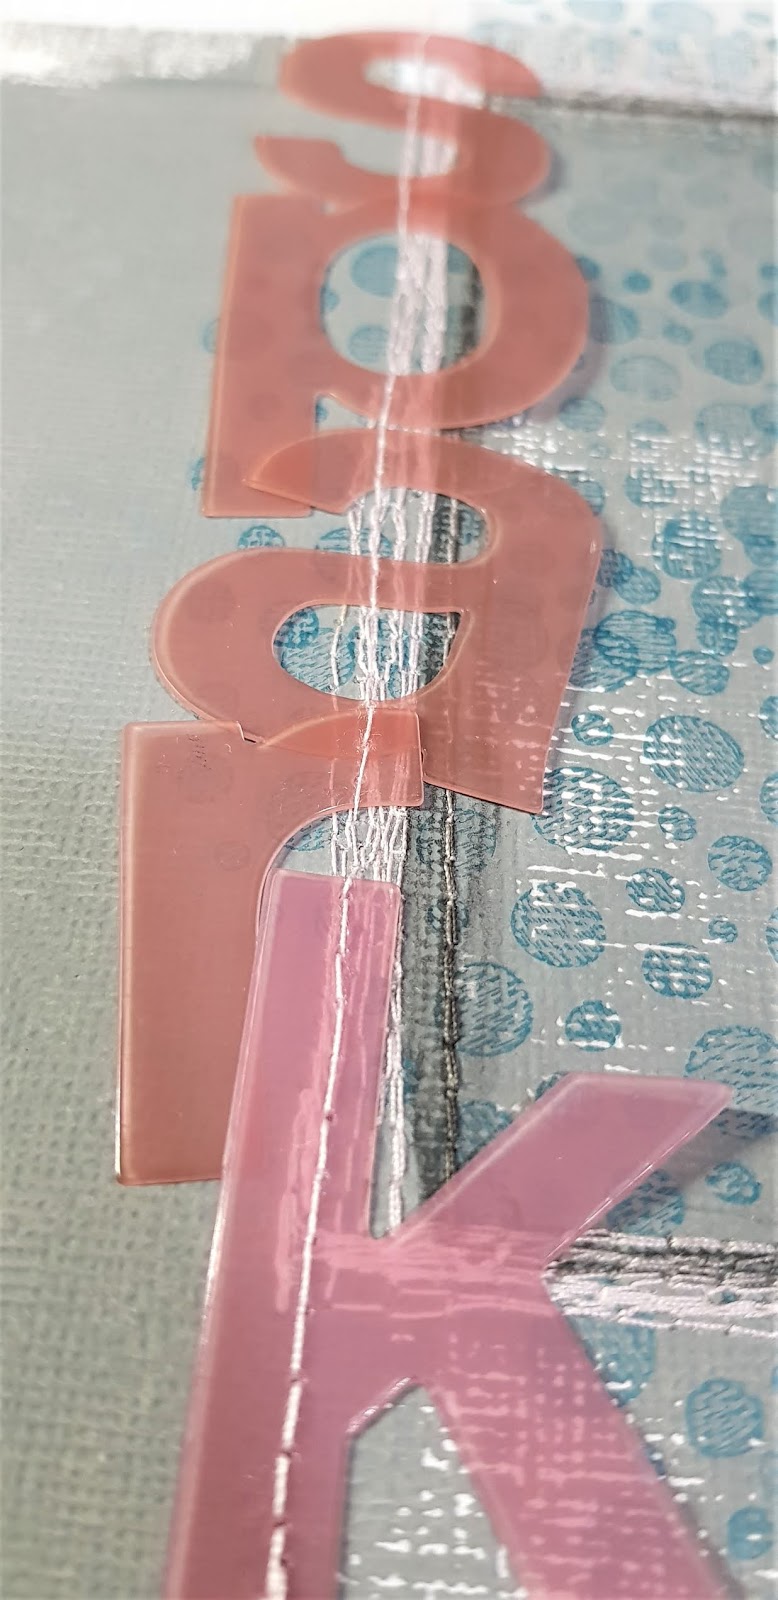
 Lastly I used two fonts to create the title. I end up with so many leftover letters that won't make a full title and I think there must be a special art to finding ones that meld together and work just so we can use up all those leftovers. I have used American Crafts Thickers  - Amy Tangerine Plus One and Wonder black. I also used a few of the foam stars scattered around the page.


The boy child is looking not so overjoyed in this pic but super cute in that jacket we bought for school camp.  He assured me it kept him warm too whilst camping. 


Have a great creative weekend.

tracey 

Friday 26 July 2019

Surround yourself with Tacos - with Emma

Hi there friends,
Can you believe it's the end of yet another month??? 
Crazy!
Today I'm sharing a page showcasing some fun colours and awesome products.


I wanted to play with some brighter colours because just lately I feel I have been using more muted colours.

I think I managed to capture brighter colours......


I decided to use minimal mixed media on the background (well less paint anyway). Instead I stamped heavily with various stamps including the Fly away with me Stamp by Studio Light . I used Jane Davenport Squid Ink in pink for the colour. I added strips of  Art by Marlene Washi tape to really bring out the colour. Then I applied a little modeling paste through a stencil to add a small amount of dimension.


The wings are part of that same "fly away with me" stamp that I stamped separately and then cut them out ready to use later.


The 2Crafty chipboard is painted with mostly Distress Oxides including Fossilized AmberPeacock Feathers and Cracked Pistachio. I also used a Liquitex Paint Marker in Light Violet. these markers are so cool!! In my layers behind my image are some ephemera from the Heidi Swapp Journal Studio collection and a couple of torn sheets from Heidi Swapp Wanderlust  paper pad.


And for some title sentences I used the Small Talk stickers.

Thanks for joining me today.
I hope this page brings a little inspiration to your day.
I'll catch you again soon.
Em xx


Wednesday 24 July 2019

'Ciao'

Today is my last post here at Scrapping Clearly.

So first, I would like to say a huge thank you to Kylie and the awesome talented girls in the Scrapping Clearly team! It has been fabulous and I have very much enjoyed being a part of this brilliant and artistic team. 

Also, importantly - a big thank you to you! - the creative community for your kind comments and fantastic support. I will look forward to continuing to follow this blog, too, as part of this wonderful community.

I have here a cheeky 'goodbye greeting' selfie. I thought that I would do this last one of me - and make it a bright and colourful page with the addition of pink - as pink is my favourite colour. 


For this simple and fun page I used the following products from the store - American Crafts 'Box of Crayons' Collection; American Crafts Thickers in 'Imprint'; My Minds Eye enamel dots - 'Good Vibes'; Maggie Holmes 'Chasing Dreams' Jewel Embellishments.

These embellishments were just the right things to be used on this fun page - and finally I have used a Charms Creations purple star with a Maggie Holmes bow placed on it..

Take a look at these close ups...


Another layout complete! ... using the wonderful products from the huge range in the Scrapping Clearly Store.

Again, thank you for all your wonderful support.

Lots of love

Amy

Image transfer

Hi everyone

I decided to try something new (for me) with this and did an image transfer.


I started by printing out my photo using a laser printer.  
 (I originally tried a black and white photo but that didn't work.   Not sure why, maybe user error!)   

I then coated both my cardstock and the front of my photo with matte medium using a silicon brush and placed the printout face down on my card stock.   I used an old credit card to squeeze out all the wrinkles trying not to get any medium on the top.   

When dry (well, almost) I spritzed the back of my printout with water and gently tried to rub off the paper.   All I can say is that I should not have been so impatient and waited until it was well & truly dry.   I lost a fair portion of my imagine as it wasn't completely dry.   Lesson learned.


I then dry brushed on some gesso and added some background stencilling.   I used a Donna Downey stencil but any would do.   I then glued down some chipboard pieces I had in my stash.


I added colour with an assortment of Dina Wakley paints and some Distress sprays.   I mixed a little Lime paint with some Faber Castle whipped spackle for dimension an scrapped that roughly through a stencil.
I added some words and highlighted them using a Stabilo aquarellable pencil.

I then finished of with some Viva Décor Inka Gold in platinum and copper which I watered down a little and painted on with  brush.

I'll definitely be trying this technique again.   Why not give it a go too?


Monday 22 July 2019

3D layout


Morning Peeps,

It is no secret I love lumpy bumpy style layouts.
So when Finnabair released her new moulds I was super keen to play.


I started off the background using some old book paper glued on with gel medium. When dry I spread a layer of 3D gel over the whole background then used the palette knife to give it little peaks. By lifting the flat of the knife up and down all over the surface. Let dry.
I took some liquid acrylic ink and dropped onto the background, sprayed with water and moved the colours around. Let dry.

Take your moulds and some paper clay and form your pieces. Let dry for a couple of days before use. I have a day when I just make up a lot of pieces and I store them in a container for later use. Just so I don't have to wait on the day I feel creative.

I used a crochet doily from an op shop and a frame I have had forever. Assorted flowers from my stash.

Final touch was to dry brush some metallic wax over the texture in the background to bring it out more. I used achival black ink for a heavy black boarder around the piece.

Thanks for looking
Tracey


Saturday 20 July 2019

What SPARKs your interest with the moodboard?

I had a lot of fun with this crazy picture of my daughter and I and the moodboard colours were just perfect. 

When you use a moodboard what sparks your interest to use it -  Is it the colours ,the patterns, the picture prompts or maybe a word? I like to try and tie it all together in my layouts. I love the colours firstly and then I try to tie in a visual as well when creating my Scrapbook layout. This week I have used the colours and the visual of the girl helped me lend this layout to one of my daughter and I. 

For this layout the base is white cardstock with a few dots of Dylusions Slate Grey paint that have been brayered around on the page.


Next I used up a few of the offcuts from last weekends layout to layer behind my photo - Cocoa Vanilla, Heidi Swapp, Pink Paislee. I have used a Pinkfresh tag - don't be scared to cut these up if you are only wanting part of it - I find I use the other parts layered on the layout or they come in handy for the next project. 


 Time to test it out for placement. Once I found where the photo composition was going I then used Dylusions background stamps to add a little more interest to the page. 


After marking out a border around the photo with an ALLS pencil it was time to hit the sewing machine and stitch around this to help add more depth. After completing that I used a wet paintbrush to smudge up the pencil. I added the title using Heidi Swapp ghost alpha. These were adhered using stitching.


 Before sticking down the photo I added a few more layers from Teresa Collins chipboard elements, Heidi Swapp washi tape, Heidi Swapp acetate label, Pinkfresh sticker words, Kaisercraft butterflies & a flair.


To finish off the layout a border was sewn with a dark grey cottom.


Thanks for popping in and having a look at my crazy life with my daughter who really is a fun little spark of energy with all her craziness... have an amazingly creative day.

Thursday 18 July 2019

Sunrise - With Karyn Schultz!

Hi Scrapping Clearly Lovelies!!

It's Karyn here, and today I have a scrapbook page to share with you made using various goodies including the Heidi Swapp Pineapple Crush collection available in the Scrapping Clearly Store
 

For my base I've used a sheet of white cardstock. I added some background colour using Prima Watercolor Confections and a painting with plastic technique underneath in the area my photo. I then added some stamping then stencilling with TCW silver modelling paste

I've matted my photo on papers from the HS Pineapple Crush 12x12 paper pad along with a alpha stencils from the HS Emerson Lane collection.
 

I also added some glass elements, metal embellishments, and chipboard.

Lastly I added some Tim Holtz small talk stickers, and some doodling with a Fude Ball pen.


Thanks so much for stopping by 

Crafty Hugs xx