Showing posts with label Prima Finnabair mould. Show all posts

Thursday, 5 October 2023

'Born to Bloom' By Emma Zappone BONUS Video

Hello everyone.

Today I'm sharing a layout that features the colour tones in this months mood/affirmation board.
Now, I usually back right away from purple, but let me say now, that after creating this page, I am loving the purple tones.
Oh...and I have it all in a process video for you to enjoy.


I have used so many awesome products found in the SC shop.
The colours are made mostly with Distress Oxides. An amazing Finnabair stencil and a little acrylic ink to splash around.


The background also showcases a variety of 49&market rub-ons, before I added colour. And after I added colour, I added some Ideaology rub-ons also. I have been using the rub-ons lately instead of stamping.


The awesome flowers and leaves are 49&Market also. I love how there is a colour for everything.
In amongst the flowers are some resin castings. 
You can see how I finished these and the page via the video.


I hope my page inspires you to play with the theme this month and try something new.

Catch you all again soon, Em xx


Thursday, 4 May 2023

'Beauty in Simplicity' by Emma Zappone with VIDEO

Hello Hello.
Em with you all today. Today's share is 9"x9" Layout. I have been so excited to play with this months board as well as this beautiful 'Velveteen Elk' foundations pack. So excited I made a process video too.
 

I used a variety of products, mainly 49&Market, but a variety that really complimented this foundation pack and colouring.


I created layers behind my image from the pack using the washi sheet just as it was, tearing it as it's thick enough. I also did this to the rice paper and cut a piece from the reinforcement ring sheet as well.
You can see this in more detail in the video.


I love these windows from Tim Holtz, and just had to use one in this project. The colours in this pack suit me perfectly, and inspire me a lot. 
I used 49&Market Rub-ons from a few different collections, choosing the ones that would fit this layout best. And there are resin castings in the mix, of course.


The image used in this project is one I found on Pinterest, I unfortunately couldn't find the original artist, but these images are just amazing!!


Check out my process video for more details here....


Thanks so much for joining me today.
I hope my creation has inspired you a little.

Till next time, stay Crafty.
Em xx


Thursday, 16 March 2023

'Stay Fearless' by Emma Zappone

 Welcome to another Thursday in March. The weeks are just flying!!
Today I share with you a layout, a 9"x9" layout.
I love playing with different sizes and have been preferring the smaller scale I must say.
I just knew I had to play with this image I found on Pinterest, it's an AI image and it's just so so striking. Plus it went so well with some of the papers in the 'Reverie' Foundations pack. So this layout is based loosely on this months board (colours) and featured pack.


I have used lots of different companies within this project. Starting with Kylie's 'Reverie' pack, I chose the black & white Rice paper and the pattern Rice paper. These I adhered to some firm cardstock to then create a firmer paper layer that I could tear.


Amongst the layers are papers from Stamperia's Amazonia collection and 3Quarter Designs. I added some 49&Market rub-ons to some white card and then fussy cut these out to become my embellishments behind the image.


Castings from the Finnabair Grungy Frames mould are painted with Prima Impasto acrylic in Dark Chocolate and Mint. Finished with some waxes to make them look a little like relics. Which went with this tribal kind of feel the page was taking on.


The background was created by smooshing Distress Oxides in 3 different colours and then with a stencil and a blending tool created these cool patterns to compliment the pattern on the face in the image. I used the new Uncharted Mariner ink for this bold colour. 


It's been so good playing with more papers and elements from my stash with some newer ones thrown in of course. I hope this page inspires you to use your papers in different ways, and to use your stash to compliment newer products also.

I will catch you all again soon, thanks for popping past.

Em xx


Sunday, 2 January 2022

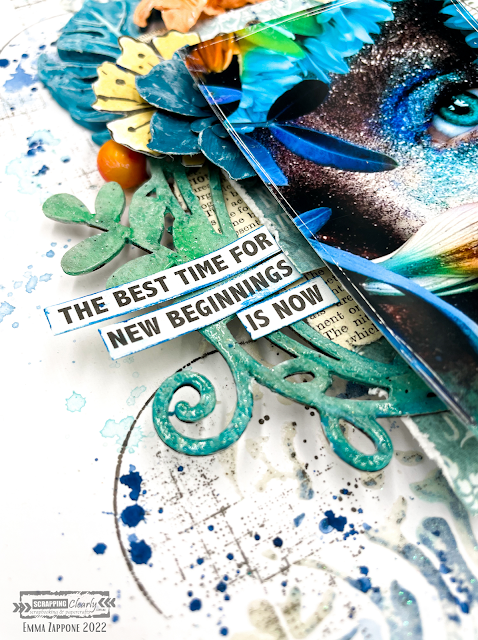
New Beginnings - with Emma Zappone

 Welcome to 2022!!
ScrappingClearly has got some awesome things planned for everyone this year.
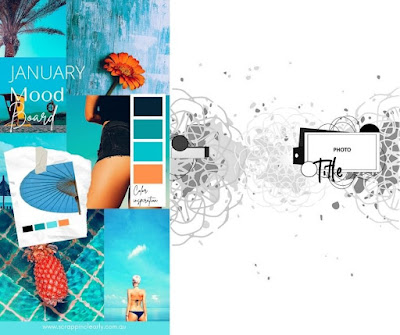
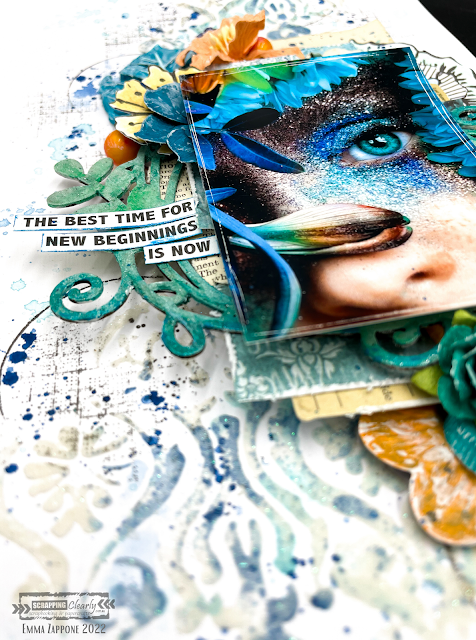
And today I'm sharing with you an A4 layout and a Video that has been created using inspiration from the absolutely awesome NEW mood/sketch for January. The colours scream summer and fun!
Here is what I was inspired to create......


Here is the mood/sketch...


Super cool right???
I decided to focus on the mood part of this board, and save the sketch for later in the month.

I used lots of products in my stash but also available in the SC shop. Firstly the stencil I used is a Finnabair stencil Oriental wall used with snowflake paste. Soft and glittery which was a great base to start with. Then I smooshed colour. I chose to use 2 colours for the background work. First is an Izink pigment in celestial and then a Distress crayon in Peacock Feathers.
These worked so well in with the paste.


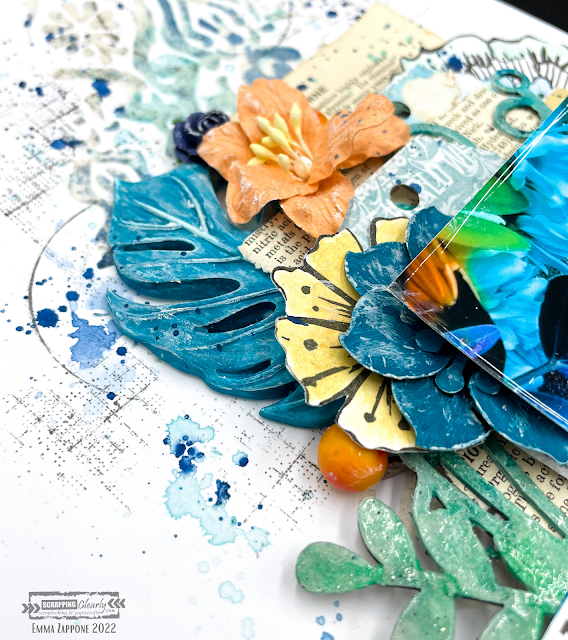
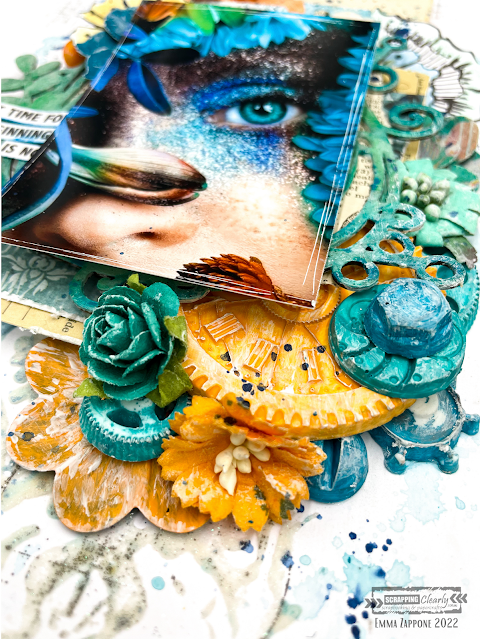
Ok, so I LOVE moulds and this page incorporates plenty. I used a variety of different ones, but love the big palm leaf and of course the machine parts one. These are painted with Dylusion paints in a mix of Squeezed orange & Polished Jade. The metal Finnabair mechanical flowers were primed with white gesso first and then painted with the coloured acrylic also. 


I added a little stamping onto the background to add more layers using the Tim Holtz Glitch1 set. It's grungy but goes with just about everything. I love the texture it brings.


The chipboard frame is one I have in my stash and I primed it with white gesso first and then with complimentary Distress crayons 'coloured' it in. Then sprayed with water and painted out the crayon, which created this cool blended watercolour effect. Then it was clear embossed.


In the video you will see me use a flower stamp by Art by Marlene and then coloured with more Distress crayons and then cut out to help build my layers. I absolutely love the dimension of this layout.
The papers that mat my image are what I have in my stash, and I love adding book paper for that slight reference to vintage style that I love.

I hope you are inspired by this project and the amazing board that is available for you to play with NOW!
I hope you enjoy watching this project coming together too...watch now with a cuppa....


I will see you all very soon.
Stay crafty friends, Emma. xx


Tuesday, 24 December 2019

Fridge magnets

Hi everyone
With less than a month before I have to move house I've started to think about packing.   I looked in the kitchen and saw 3 of those promotional fridge magnets that you get in the mail.   I'd just been whacking them on the fridge 'cause I find them useful but certainly not attractive.   So I decided the get creative.   (Really just a way of procrastinating about the packing!)


I started by giving the magnets a couple of coats of gesso, collaging on some paper, random stamping (Jane Davenport Poppy Girl, Lavinia Stamps Dragon Pods & Seed Heads & others),  and then some Light & Fluffy through a few stencils (Colour Blast Time magic, Dina Wakley Media wheels & others) .  


I made a few embellishments using a mould and some paper clay and covered some metallic bits from my stash with gesso,


 I used alcohol inks on two of the magnets(just squinted them on in places and let them do their thing) and pounced on some acrylic paint using a dry brush for the last one.


I then used my finger to rub on some metallic wax and some gel medium to stick on some mica flakes and beads. 


Hope you all have a fabulous Christmas.
Thanks for looking
cheers
Tracey