Showing posts with label Colour Paste. Show all posts

Thursday, 3 June 2021

Delightful - With Karyn Schultz!

 Hi Scrapping Clearly Lovelies!

It's Karyn here and today I have a scrapbook page that I created using lots of fun products available at Scrapping Clearly! 

 
 I'm playing along with the June moodboard challenge. We would love for you to join in with this challenge and be in the running to win a Scrapping Clearly store voucher. You have until June 30th and you need to upload your challenge here. 
 
 
For my background I started with heavy white cardstock and I added some colour to the page using a painting with plastic technique and Prima watercolour confections - Classics (Brown and white). I achieved different shades of brown by adding white. When this had dried I added splatters of each colour.
 
  
 I then added stencilling using a Colour Blast Colour Paste in Leather.
 

Here is my completed page. I've used papers from the Bee Arty - Forever My Always paper pack. I was so excited to see this paper collection added to the Scrapping Clearly store. Its so beautiful and one of my favourites - and designed by the talented Fiona Paltridge!
 
 
 I've fussy cut elements from the Forever My Always paper pack and used to embellish my page. I've also used some Bee Arty metal dies to create the leaves. Lastly I added paper flowers and chipboard words.


 Thanks so much for stopping by!
 
Crafty Hugs xx


Tuesday, 17 October 2017

Combining Paste and Sprays, and challenges

Good Morning Arty Peeps!

Hope y'all are well and happy creating.
This month creative play time has been at a premium for me, too much other stuff going on.
So I have combined the two Scrapping Clearly challenges into one layout.
From the mood board I took inspiration from the fire image at bottom right,
then designed my page based on the sketch.


I started by applying Colour Blast paste in Lipstick, Rose Petal, and Tangareen
through a Crafter's Workshop stencil, onto black cardstock.
I then sprayed it with Heidi Swapp Color Shine, Gold at the top, and Navy at the bottom, adding some splats of each colour reversed (Navy on top, Gold on the bottom).
With such impact in my background, all I needed was a title and a story, which I wrote in Dymo. 


You can see here, the fabulous effect of the sprays on the Colour Blast paste. You can also see that I used a piece of pre-misted (Dylusions) cardstock to mat my photos with a really thin border, just to make them pop a bit.

Here are the two challenges that inspired my page.
Play along and upload your projects into the Facebook folders by clicking on the link under each image. There is a $30 shop voucher for the winner of each challenge, gotta love that!


 Sketch                                      Mood board

Thanks for coming by,
'til next time,

Thursday, 13 July 2017

I'm Sharing, Are You?

 Hiya Arty Peeps.
Welcome to the Scrapping Clearly blog.

I'm here today to share some more arty play with the Distress Oxide inkpads from Tim Holtz. I know, again! But I just cannot get enough of them and I'm over-the-moon excited that there are 12 new colours coming out soon!

This time I wanted to see how they reacted on black cardstock and over
Colour Blast shimmer pastes. For this page I have used 'Bling' paste.


As you can see it leaves a lovely chalky finish which softens the sheen of the paste. The hues become very subtle, almost indistinguishable from each other on the black card. I really like the subtlety of the colours over the paste.


I layered my photo on patterned papers from this 6x6 pad (which is currently on sale in the store), and the backs of some scrunched and inked kraft tags. I typed my journalling on one of the tags with my amazing Typecast typewriter (these are sold out but you can still get more ribbons) and added a cute hashtag stamp,
love these so much!
My title is from this gorgeous sparkly Thickers pack, with dymo sub-titles mounted on the back of some
wood veneer words that I was never going to use.

And this is how it looks.


We would love to see what you are making with your Scrapping Clearly products. Come and share with us on our Facebook page. While you're there check out our monthly Sketch and Moodboard challenges and play along, you could score yourself some shop $$.
This cold weather is the perfect opportunity to get scrappy/arty/crafty.

Til next time,

Monday, 8 May 2017

Rainbow box with Amy Prior

Hi there Scrapping Clearly fans! Amy Prior back with you all today sharing this quick tutorial for how I decorated a plain box from Kmart for my daughter's bedroom. She is very excited to store her trinkets inside...


Step 1: Cover the entire box with Liquitex Gesso to prime the surface. The box originally was woodgrain with a grey lid so I wanted to ensure I had the entire surface primed and ready. 


Step 2: Scrape some Colour Blast - Colour Paste - Sunshine and Colour Blast - Colour Paste - Rose Petal randomly over the top of the lid and sides of the box. Allow to dry slightly.


Step 3: Scrape some Colour Blast - Colour Paste - Envy, Colour Blast - Colour Paste - Deep Water, and Colour Blast - Colour Paste - Tangareen Dream in random spots also then allow to dry slightly.


Step 4: Scrape some Colour Blast - Colour Paste - Just Blue and Colour Blast - Colour Paste - Lipstick to finish off the colour then allow to dry completely. Use a heat tool if needed or just sit aside to dry naturally overnight. Colour pastes dry very quickly but obviously the thicker the application, the longer it will require. Overnight is always a safe bet.


Step 5: Now that the colour paste is all dry completely, grab a Ranger Black Archival Ink Pad and literally rub the ink pad directly over the entire painted surface. This will blacken the fun texture that was created with each scrape of paint. Don't be afraid to press harder, if the first application of black does not contrast enough for your liking. 


Step 6: When the Archival ink is completely dry, rub some Dorlands Wax Medium over the entire painted surface. The Colour Pastes dry slightly tacky so this will help avoid anything sticking plus it will help with cleaning in the future as water, etc. will be instantly repelled by the wax.


This box is no longer dull but full of life and the perfect addition to my daughter's arty rainbow inspired bedroom.


Friday, 5 May 2017

Colour Paste and Stencils

Hey There Arty Peeps!
Peg here, stepping in for Lisa on Mixed Media Friday.

I've been revisiting my Colour Blast Pastes lately, using them up so they don't dry out on me (not just because I might want more *wink). Here is my latest page using them.


For my background I put Tangerine Dream and Sunshine through a Kaisercraft stencil, these stencils are nice and thick and work really well with pastes.


I also used Envy paste through a small Kaisercraft stencil on diagonal corners of my background. My title is made of some very old alpha stickers I coloured black with a paint marker. These stickers were so old they didn't quite want to stick so I machine stitched them to my page.


I stuck some green tissue paper with this awesome glue stick, then put my matted (on black card) photos on top. I also added some ruched tissue paper to the top right corner of the page. My quote and embellishment stickers are from this sheet. The Dusty Attic chippy branch was also coloured with my black paint marker and an alcohol marker to give it slightly more depth.


I added some colour to the heavy weight white card background by rubbing some Distress ink on with a sponge. As a finishing touch I splattered some black spots around the place with Dylusions ink spray.

This weekend I want to use up all my remaining Colour Blast pastes since I've noticed some of them are getting too sticky. Hopefully I'll have some more backgrounds to share soon.

Have a great weekend, stay arty,
'til next time,


Thursday, 27 April 2017

Sweet Cheeks - Skai Mitchell


Hey Scrappers, 

Im back today with a bright and fun layout featuring my daughter and some of the gorgeous papers from the Shimelle Starshine range. 


Start with a base of Marshmallow Heavy Weight Cardstock and spray some random burst of colour with Dylusions Spray in Bubblegum and Funky Fushia. 


Dry it all really well with your heat tool. 


Next, grad a sheet of American Crafts – Shimelle Collection – Starshine – 12 x 12 Double Sided Paper – Mercury and start fussy cutting a heap of flowers. 

Cut the 'Shine Brightly' circle from the American Crafts – Shimelle Collection – Starshine – 12 x 12 Double Sided Paper – Odyssey. Machine stitch around the edge of it, and your photo to give it some texture. 


Now, start to stick it all down using a combination of Xpress It Double Sided Foam Tape  and Express It Clear Gel Liquid Glue. 

In my embellishments I've used a few bits from the Vicki Boudin - Watercolor Sticker Book and Mixology Gold Accents. Add to that the title from the Amy Tangerine Collection – Better Together – Thickers and you have one complete page. 

Thanks for looking at my layout this week, Ill be back next week with a new months mood board and sketch challenge!

xoxox


Sunday, 23 April 2017

Family Fun Today with Amy Prior

Hi there Scrapping Clearly fans! Amy Prior back with you all again today, this time sharing a quick scrapbook page that I have created using the gorgeous Simple Stories Life in Color Collection along with some other favourite products available from the Scrapping Clearly store!

To create the background for this layout, I have added some Colour Blast - Colour Paste - Sunshine through a stencil over a piece of Simple Stories - Life in Color Collection - Various Patterned Papers. Just add the paste randomly and avoid the middle section where the photo layers will go so you don't waste product necessarily.


When the paste has dried completely, sprinkle some Colour Blast - Shimmer Spray - Fire Engine randomly around the edges before sticking on some ripped pieces of Simple Stories - Life in Color Collection - Various Patterned Papers, and finish off with some Teresa Collins - Something Wonderful Collection - Washi Tape.


Spray some Colour Blast - Colour Spray - Love over a Heidi Swapp - Color Magic - Banners and set aside to dry. Wipe off any excess with a baby wipe when it is dry to show the resist better. 


Layer some Simple Stories - Life in Color Collection - Various Patterned Papers in various sized rectangles around the phtograph. I have distressed around my papers to tie in with the ripped paper on the background. 


Add the dried Heidi Swapp - Color Magic - Banners to the layers of paper and then add the title using American Crafts - Amy Tangerine - Better Together - You & Me Black Thickers and some letters from Simple Stories - Life in Color Collection - Expressions Cardstock Stickers. I have outlined the American Crafts - Amy Tangerine - Better Together - You & Me Black Thickers with white to help it pop as my photograph is quite dark in a lot of areas. 


The complete product list for this layout includes...

Well that is it from me today, thanks so much for stopping by and until next time, happy scrapping!
Amy Prior

Sunday, 19 March 2017

Beautiful Sketch Challenge sample by Amy Prior

Hi there Scrapping Clearly fans! Amy Prior back again with you today, this time sharing my take on the Sketch Challenge for March 2017 which was created by the fabulous Peg Hewitt! Here is the sketch and you can checkout the challenge details here.


Here is my layout example for this sketch...


I have a full step-by-step tutorial for you on how I created this layout...


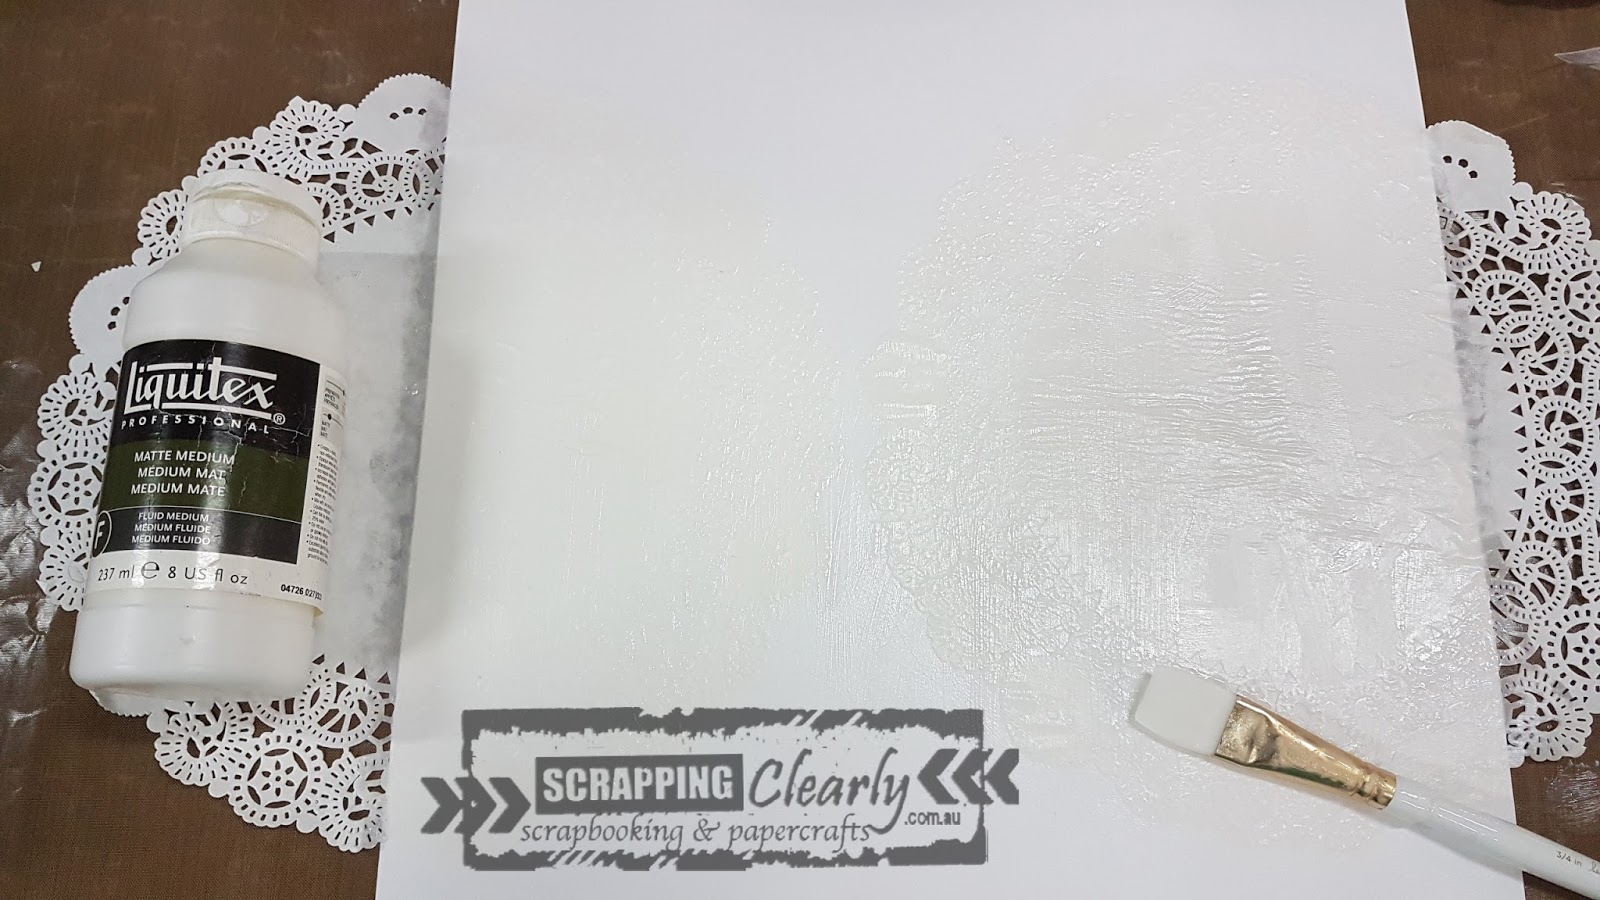
Step 1: Using a Heidi Swapp - Minc Collection - Brushes, adhere some paper doilies onto a piece of American Crafts 12x12 Double Thick White Cardstock with Liquitex - Matte Medium. Paint the matte medium over the top also to seal the paper doily.


Step 2: When the Liquitex - Matte Medium is completely dry, sprinkle some Colour Blast - Colour Shimmer Dust - Navy over the background in the shape that you want to see the colour.


Step 3: Spray some water over the top of the Colour Blast - Colour Shimmer Dust - Navy until you get the desired effect of colour. You can sprinkle more Shimmer Dust if the intensity of colour is not enough or you can dab some excess colour with paper towel etc. if the colour it too much.


Step 5: Sprinkle some Colour Blast - Colour Shimmer Dust - Lollipop over the top of the gessoed wood veneer title.


Step 6: Spray a little bit of water over the top of of the Colour Blast - Colour Shimmer Dust - Lollipop to activate but not too much so you get this fun mottled effect.


Step 7: When the Colour Blast - Colour Shimmer Dust - Lollipop is dry, cover with Ranger Inkssentials - Glossy Accents and allow to dry.


Step 8: Using a Uni Posca PC - 3M Poster Marker doodle around the edges of the wood veneer title to help it pop off the page then set it aside to dry.


Step 9: Cut various pieces of Cocoa Vanilla Studio - Wild at Heart - Patterned Papers and then ink the edges using a Ranger - Mini Ink Blending Tool and some Ranger Black Archival Ink Pad.


Step 10: Using a Prima - Finnabair - Art Basics - 2 inch Mixed Media Silicone Brush, scrape some Colour Blast - Colour Paste - Lipstick through The Crafter's Workshop - 12x12 template - Cherry Blossoms. To get the effect i have here, use different parts of the stencil on either side rather than using the stencil as normal straight in the middle of the page. This gives the effect that the cherry blossom branches are coming in from the edges of the page rather than just sitting in the centre.


Step 11: When the Colour Paste is dry completely, doodle around the edges of the flowers with a Fude Ball Pen 1.5 Black and then put some Simple Stories - Life in Color Collection - Enamel Dots in the centres. I have also added some My Minds Eye - On Trend 2 Collection - Enamel Shapes around the background randomly which I also doodled around with a Fude Ball Pen 1.5 Black.


Step 12: Layer the pieces of  Cocoa Vanilla Studio - Wild at Heart - Patterned Papers underneath your photographs then adhere to the background paper using a good quality adhesive. Double-sided tape does not adhere very well to the Colour Blast pastes when dry.


Here is the total product list for this project:
Well that's it from me today, thanks so much for stopping by and until next time, happy scrapping!

Amy Prior xx