Showing posts with label Heidi Swapp Stickers. Show all posts

Saturday, 8 August 2020

Buckle Up Buttercup

Welcome to another fantastic weekend of creativity. I hope you are enjoying creating with the August moodboard. A couple of weekends ago I created a layout using a car like the one in moodboard and have found another photo similar to create with. I take a lot of similar photos at different angles when the kids were little - they each have a different story. In this one my little boy was so proud that he got to drive the car at Dreamworld. If we could only keep them this young and cute.


For this layout I chose some 12x12 Vicki Boutin paper from the Let'sWander range - Beach Vibe & Chasing Stars. I used the Chasing stars paper as the base and used a strip of the Beach Vibe as a layer.

I have added a little of the Ranger Distress Ink - speckled egg to the background. I did this by adding it to plastic & spraying a little water before tipping it and dabbing it on the cardstock in a few places.


After the ink had dried I then stamped in a few places the Stampers Anonymous stamp - Grunged  . I used Liquitex Modelling paste with a Dina Wakley stencil - Wheels. Once all of this was dry I marked out with a pencil where my photo and layering cardstock would go and then took them away and used my sewing machine to add some black borders.


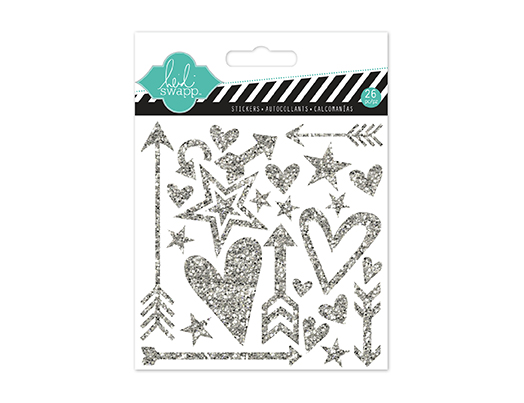
As I added all the layers I found some grey loose cardstock on my desk to add under the photo also. I built up the photo using foam tape. I have then stamped a few small dots using Ranger Ink and a Viva Las Vegas stamp. The title was created in the Silhouette and coloured using an Artline black marker and raised on the layout using foam tape. I have used some yellow stickers and stars from the Heidi Swapp Stationary set and used a good amount of the Studio Calico timber embellishments that came in the pack. To add to the boy theme I added some chipboard cogs coloured with Staz On - midnight. I finished off the layout by adding a flair & some older rub-ons I had in my stash and Vicki Boutin heart stickers - because they are super cute. 


I hope you are having fun creating with this months Moodboard and I am enjoying the entries trickle in and fill up the Share & Inspire Facebook page album. We are a creative bunch.


Until next time - stay safe, create & have fun

tracey xx


Tuesday, 17 December 2019

Take 2

Hi everyone
I'm getting ready to move house soon and have slowly started packing.   I found this old layout, one of the first I did about 16 years ago.   I remember feeling very excited because I had fussy cut the photo! The LO has obviously seen better days and I can't remember what else was originally on it - probably just a title.   I cringe when I look at it now but hey, everyone starts somewhere!

I decided to redo this LO and challenged myself to use not only the photo but also the ribbon. 


I started by cutting it into lengths and gluing it down with some gel medium.   I used more gel medium through a stencil for some texture and then brushed on some gesso (wiping some off with a baby wipe as I went along) to tone it all down.


I then added some Radiat Gel in Lime green through another stencil and then spritzed my stencil with water and brushed on the diluted colour just so as not to waste it.
Then it was a matter of adding some embellishments.


This is what I finished up with


Some of the products I've used
Prima Flowers and
Teresa Collins Urban Market alphas.


Thanks for looking.   Happy crafting
cheers
Tracey

Saturday, 5 May 2018

Lovely Layers by Leonie Neal-Dawson

Hello Hello Leonie with you today with my first post for the month of May.
I have a simple but quite lovely page to share with you today with lots of lovely layers.  Cardstock, patterned paper, acetate, more patterned paper, doilies, washi tape, stickers layer them on top of each other to create a Lush Layout. 
I love the effect of layering, little details that poke out from the edges to add depth and interest to your page.


I began with a base of white cardstock and placed the 'Lovely Paper' from the Chasing Dreams Crate Paper range.  On top of this I used the lovely Glitter on Acetate overlay from Maggie Holmes.  A doily and more Patterned Paper layers followed from Paper Arts and Crate Paper Maggie Holmes Bloom collection.


I 

I used Heidi Swapp Memory Planner Label foil stickers to write my Journalling on.
I also embellished my page with paper clips from Fancy Pants Designs, puffy Stickers From Heidi Swapp.  The 'Awesome' title is also from Heidi Swapp wood veneer.


I also included some Washi tape from the Maggie Holmes Chasing Dreams collection.
I guess that finished off the page with all the lovely layers.
Thanks for stopping by the Scrapping Clearly blog today.
I hope you've been inspired a little by my page.
Happy crafting,
cheers from Leonie Neal-Dawson.

SaveSaveSaveSave

Monday, 9 April 2018

Rainbow Love Layout by Leonie Neal-Dawson


Hello'
Leonie with you today on the Scrapping Clearly blog
sharing my take on the April combined challenge.
Have you seen it yet? 
You can add your own take on this challenge in our Facebook group.
There are so many prompts you could choose from, I see Autumn tones, camping/holiday themes,
rainbows, foliage and more.  


But it was that rainbow hot air balloon from the mood board that really drew me in.
I chose this background paper by Ella and Viv from their Graffiti collection.
It's such an awesome piece of paper that just makes me happy looking at it.  
There are others designed in a similar style in the Graffiti collection including some
really grungy ones perfect for male pages. 
I've got three photos on my page but I've followed the sketch fairly closely. 


Although this paper is all kinds of fabulous just by itself I wanted to add some of my own marks and decided to do this with a Dina Wakley Stencil and Liquitex Gesso. I thought the addition of white to the background, once repeated in my embellishments and Journalling, would help tie everything together. 
Here's what my background looked like once I'd finished making marks and altering it. 


I used Dina Wakley Blackberry paint to colour the Heidi Swapp wood veneer title.
I'm not a huge purple fan but this is sooo lush and was perfect to compliment these photos.
I added some more white marks to the title with a gel pen. 


The alphas are by Fancy Pants Designs and add some more white to my page. I figured there was quite enough colour on my page with the paper itself so, apart from the coloured sequins,
I tried to limit all other additions to my page to either white or black.


I fussy-cut several of these journal spots from a Hambly Screen Print Transparency and added some Tim Holtz Small Talk stickers to them. I really like these little stickers to add phrases and quotes to my pages. 


The last little section of my page is my journalling with a white gel pen, I recreated the jounalling spot from the sketch using Maggie Holmes washi tape, Staples, twine, Heidi Swapp stickers and another fussy-cut flourish from the Hambly Screen Print.  


I'm really happy with how this one turned out and the April mood board and sketch  certainly helped me put it all together easily. I hope you can play along with us this month,

cheers, and happy crafting to you.

Leonie Neal-Dawson

Tuesday, 20 March 2018

Stunning 'Paper Arts' Papers with Leonie


Hello and welcome to the Scrapping Clearly blog,
Leonie here with you.
My scrapbook page today is inspired by our March sketch/moodboard combo.  
With a $30 shop voucher up for grabs you can join in with us and link your entry in our Facebook Inspiration Group HERE.
No automatic alt text available.

The Scrapping Clearly Store has a beautiful range of 'Paper Arts' papers in stock. These are fabulously textured and printed papers perfect to use for scrapbook background pages.
Take a look at just a few of the designs below, they are so gorgeous just by themselves.


Adventure 
by Leonie Neal-Dawson


I wanted to add some of my own texture and mixed media elements to these lovely papers so I started out with The Crafters Workshop Light & Fluffy Modeling Paste through a brick stencil inspired by the brick pattern in the sketch.  I then used a second piece of Paper Arts Bubbles 3 paper and adhered torn pieces with Gel Medium. 
Next, I added some colour with Dylusions Spray in Vibrant Turquoise and London Blue.


More layers were added to my page with some stamping using Kaisercraft clear stamps, watered down gesso splats, more of the ripped Paper Arts Bubbles paper and some gauze.
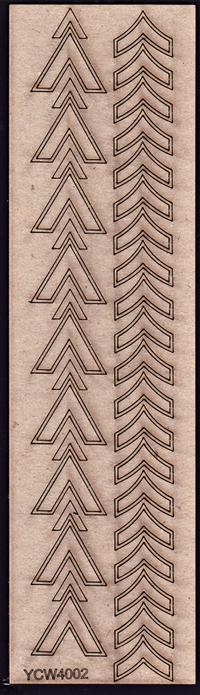
I liked the chevrons on the sketch so I used some chipboard from Your Creative Wings to add some chevrons to my page. 


Cracked Pistachio and Walnut Stain Distress Oxide Inks were used to colour my title Wood Veneer by Heidi Swapp.


These gorgeous gold geotags are by Studio Calico.


Thanks for stopping by today,
I hope you've been inspired to get crafty and join in with our March challenge.

Cheers,
Leonie Neal-Dawson