Why hello it's Saturday.....
today I will be sharing my next take on the ATC prompts for 2024.
I will also be sharing how to make a Storage Box for your ATCs (oh and read on.. there maybe a giveaway at the end).
prompt number 5. Mythical Creatures: feature a mythical creature from folklore
First step: Google Mythical Creatures for inspo.
and then disregard that and go off on your own tangent...
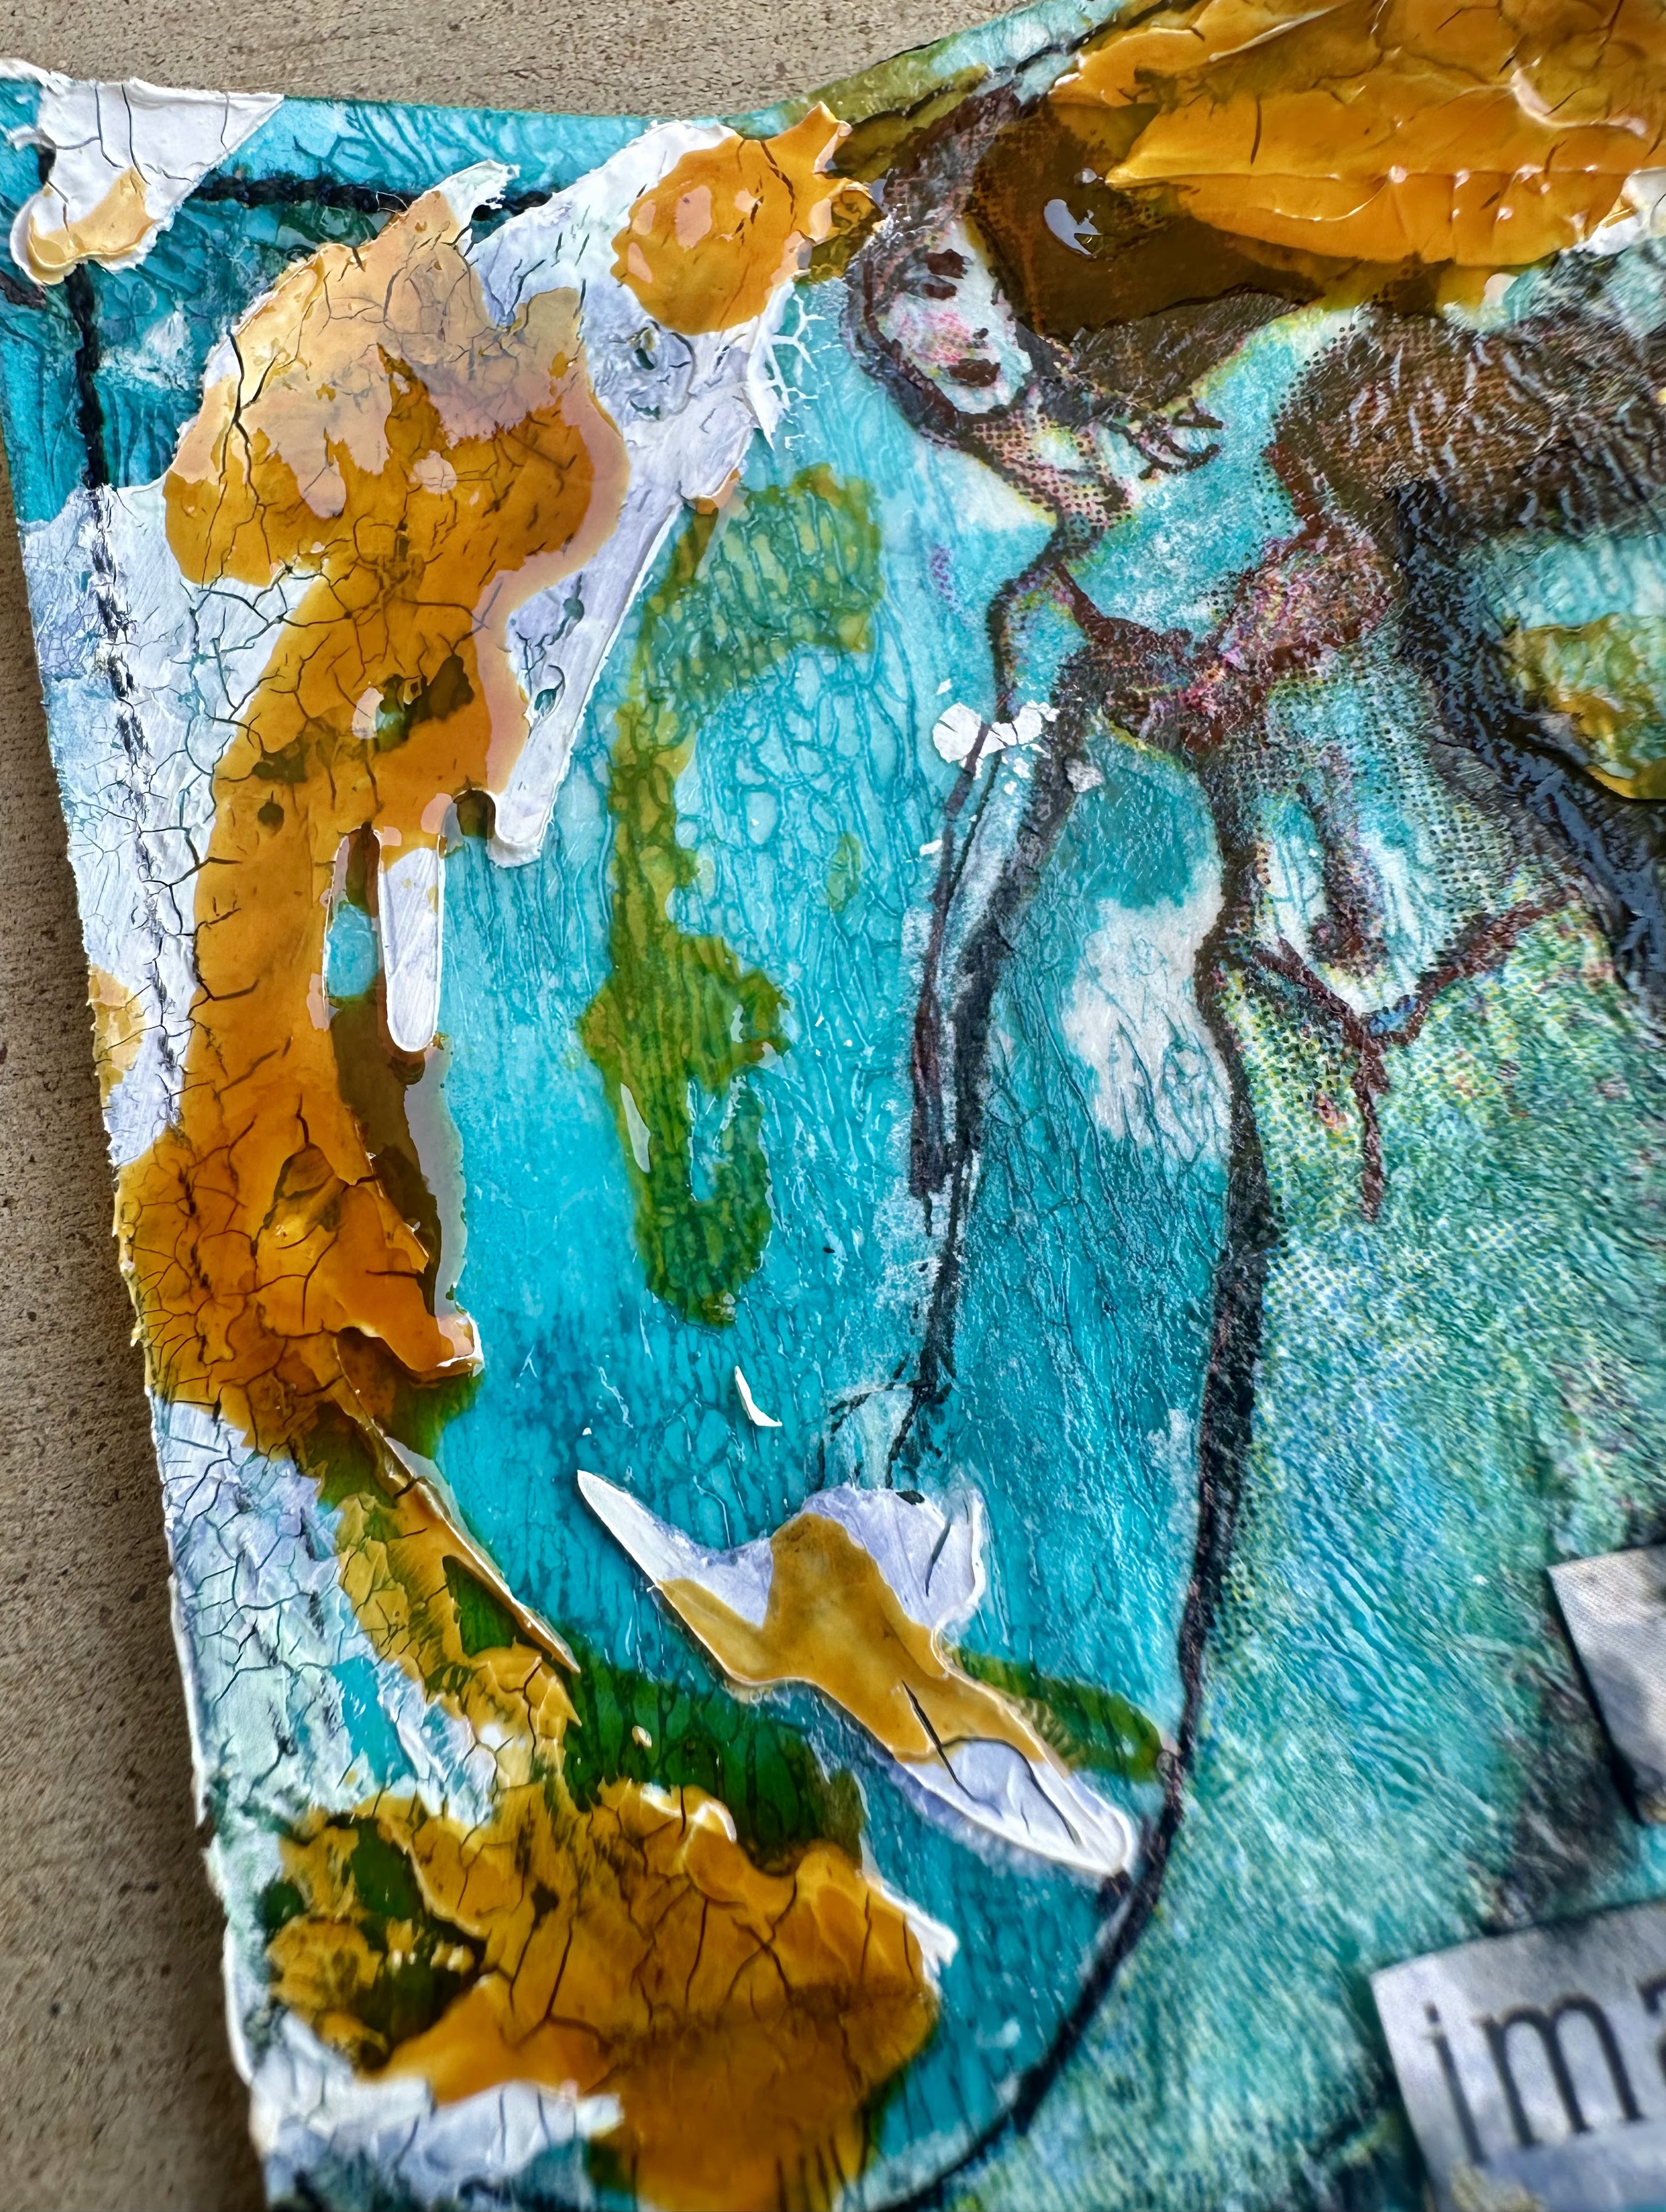
I went - Mermaid curtesy of an old Jane Davenport Tissue Image (supplies list at the end)
But to Start, I created a background using some clear crackle and some Turquoise ink and let it do it's stuff. Added some Oxide Inks. Then I used some gel medium to adhere the tissue image. Next up I used a stencil to add some white Crackle paste. But that wasn't working, so pulled out some Shellac (haven't used that for a while). and then finished off with some stitching, black edging, and of course a phrase.
and here it is:
Just Imagine

and then it was added to my ATC album.
I think this also proves that the Prompts are just that.
a prompt to start the ball rolling.
Now, for the ATC Box (giveaway)
In my first blog post for the year I showed a box that I made to hold all the cut ATC cards so they were ready to go. Some of you wanted to see how to make it. So here it is.
I started with 2 pieces of pattern paper and I drew a Template on each one.
(let me know if you want these done on white card so you can see it better)
Then I cut out down the pattern paper, turned it over to the side I wanted to use and added some colour and fun.
Starting off with some stencils and paint.
then some Oxide inks and Stamping
some Crackle Paste (you can use white gesso, but I just love the extra texture)
finally, before cutting and assembling.
I added some Oil Pastels through a stencil and heated it, so it becomes nice and glossy.
Don't forget to try them out as you go to make sure the top part slides in and out nicely.
BUT, don't stress at this point. Yes, if you put the top part in the box it will slide down past the semi-circle cut out. However, once you add the trading cards it all fits nicely and the ATCs stick out a little (see image below).
Then you have to add some black paint to all the edges.
Well, you don't have to but look how good it looks.
The next step is to decide on which side of the outer box you want as the front and then embellish some more.
For this one, I used one of the cutout left over bits from the top slider to create a little card as the focal point (not quite ATC size). Don't throw the leftovers out because they can be used as part of your ATC series.
I found an image that had been stamped on Tissue Paper - I have no idea what brand the stamp is, but I've had it floating around for years. I think Tracey Thorne might have given it to me.
I attached the tissue to the background with Gel medium, swiped on some more black paint to the edges and some stitching.
Then decided where it should go on the box. but realised it needed something more so I used some washi to all sides of the box, more black on the edges where needed. And can you guess what the final ingredient to finish is the box was....
Yep, Words..
I added a title to the front and a saying to the back. (close ups to follow)
and... a saying to the top of the inner box just to tie it all together.
GIVEAWAY...
So... who wants this ATC box??
yep, I'm giving it away.
to enter, Leave a comment on the Facebook post (that contains the link to this blog post) and a random person will be drawn and the box will be sent to you.
Supplies:
Mythical Creatures
until next Saturday.
Live with Respect.
Leanne xo


Unreal post
ReplyDelete