Well, my Scrappy, crafty, arty peeps, the time has come for me to sign off as a Design Team member here at Scrappingclearly. It's been a fantastic journey, a whole 18 months has flown by. I've been inspired by Kylie and all the other DT members who have come and gone, and had so much fun and joy, watching all our lovely Community share their work in the challenges here!
I hope I have inspired you all a little too!!
Today, I don't have a new post for you, instead, I'm going to share a few of my favourite projects, from my time here on the DT. There are so many!!!
You will still see me around, and I will not be a stranger on the Community page.
Hi lovely people!! Today I have my take on this month's Sketch!! (Which is here if you haven't already seen it!)
I loved the simplicity of this sketch, although, because of the size of my photos, I had to change the photo placement slightly, but that's ok. A sketch is designed to get our creative juices flowing! If you want to change it around slightly, you can!
The cute little star stamps are from Heidi Swapp, these are great for your dates, and the tiny stars, added just a little more to my white space and helped highlight my embellishment clusters.
Hi lovelies!! Today I have a layout share for you! Have you ever purchased pretty things and just couldn't bring yourself to use them??? Oh yes, you know what I mean. Well, I am definately guilty of this, many times over!! But it's time to change my ways!
I almost forgot all about these gorgeous goodies I purchased from Scrappingclearly during Kylie's last sale!!! How could I???? My gosh, I totally love Cocoa Vanilla products, but seem to always be admiring other people's work using them!!! Not anymore....
I used this month's sketch to spark my inspiration and pulled out the stash of goodies I had!
I love how all the Cocoa Vanilla ranges coordinate with each other and for this layout, I have used 3 different collections.
The flair is also from Cocoa Vanilla, from the Love Always collection!
The Watercolour print on the papers mimicked the Brushstrokes on the sketch, and for the lines, the patterned paper worked brilliantly.
Then it was just a matter of using the die cuts from the ephemera pack to fill in all the other details!! It came together so very quickly.
To make my title stand out, I drew around the edges, with an Alcohol marker.
Hope you like my layout and I have inspire you to play along with this month's sketch! There's still time to upload your challenge to the Scrappingclearly Community Facebook page!!!
Hi again!! Well, for my previous post here on the blog, I made some die cut embellishments, inspired by the moodboard, using the gorgeous die cut shapes from the Dear Lizzy, HAPPY PLACE collection.
This time, I'm here to share a layout I made using a few of those embellishments and coordinating papers.
Here's a pic of the embellishments to jog your memory!
And here's the layout!!
I used some small doilies, & patterned paper to anchor my clusters on the page. (The papers are also from the HAPPY PLACE collection.) So, for the cluster at the bottom left of the layout, the only things I added, were a cut doily & patterned paper strip.
I nearly always use the rule of thirds on my layout, the visual triangle as some of you may know it. So I cut my doilies and used 3 of these pieces. The die cut cluster on the right of my page, went on top of the doily and slightly overlapped my photo and backing papers. I only added 1 patterned paper strip to the bottom of the cluster.
The small cluster on the top was made with patterned paper and some hand made embellishments. (A small pair of sunnies, (fussy cut,) and some punched paper dots with Glossy accents added on top.) The word sticker is from the Heidi Swapp, September Skies, word strips.
I have added some journaling to the back of the tag which sits behind the photo!
I hope that I've inspired you to play along with our moodboard, and helped you discover an easy way of making a layout come together quickly. All you need is some patterned paper and matching die cuts, and a few other bits and pieces you are sure to have in your crafty stash.
Hi again! Today I'm sharing a small, mixed media canvas, using lots of goodies from the Scrappingclearly store!!!
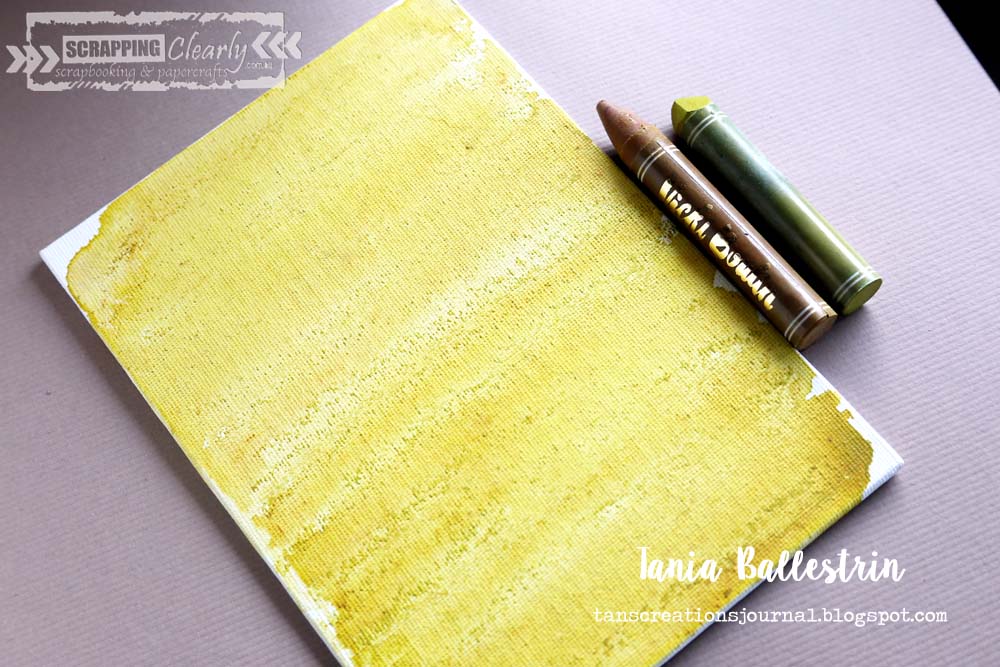
I started with a blank canvas, gave it a layer of Gesso and added my background layer of colour with the Vicki Boutin Art Crayons, I am so loving at the moment!! By simply colouring directly to the canvas, I alternated with two different colours, then went over the top of them with a generous amount of water and a brush. The colour was rich , just as I wanted.
When this was dry, I added some black crayon to a stamp and spritzed with water, and did some random stamping. the image doesn't come out crisp when you use this technique, however, as it's mixed media, I didn't mind.
I added a few more layers of very faint stamping before stencilling with a TCW stencil and some more colour from a few of the crayons, then went over the top with some BLING, Colourblast paste and a fab Dina Wakley stencil. The stamp set I used in this project is the Finnabair Dream On set.
Mixed Media is really all about layers, and I felt that I was only just beginning to get the look I was after. I have some Liquitex Glass Beads and blended them with some of the Pebble Rock from Michelle Grant. (Just painted the Glass Beads on really thick and then sprinkled the pebble rock on top.) Once that was dry, I gave a coat of white Gesso over the top, and then painted with some Lindys Color Shots, (which are a powder you mix with water or any wet mediums to colour.)
By now I was looking for some more texture and height for my canvas, so I found a piece of black elastic, (recycled from clothing tags), and a piece of corrugated cardboard as anchors for my embellishments. I coloured the cardboard with the Art Crayon, before attatching to the canvas on top of the elastic.
I embellished with some pretty, Prima and Cocoa Vanilla flowers flowers! Stamped butterflies and title from the Finnabair pack and some Heidi Swapp Lace, which I coloured with the Art Crayons and water.. Above you can see I doubled up on the stamped butterfly images for extra depth! I finished it off by adding some Range enamel accents in black!
Below you can see the shine from the Bling Colourpaste!!!! It's awesome.
I really wasn't sure where this little canvas was going at the beginning of this creative sitting, but I'm pretty happy with the way it turned out, hope you enjoyed my process and make sure you have a look at the challenges this month. I will be back next time with my take on this month's mood board.
Hi all, I'm back with you again this week with a little mixed media scrapbook page. I've been in a painty, mixed media mood this week and have had a few arty projects to catch up on. For this post, I'm playing along with our sketch this month, which I love:
I decided to play a little more with my Vicki Boutin mixed media products from the Scrappingclearly store! I have the Art Crayons and Acrylic paints. I found a great new video by Vicki herself, (in two parts), showing many ways of using the Art Crayons, this helped me with some inspiration for my background! Here are the videos here:
So I decided to go with the acrylic block method, and scribbled some colour on there and spritzed with water. I used 3 colours. I added a bit more water and spread with a brush once it was on my background page. I love the subtle look of the colour.
Then I swiped some paint on to the centre of my page using an old credit card. The colour was a bit too stark, so I went over the top with some of the white acrylic paint.
I then added some texture paste through a TCW stencil and some squirts directly from the black paint bottle!!!
I added another touch of colour using the spray wand from some Dylusions, Melted Chocolate! Take note: if you are using paint in the way I have done here with the squirt method, it takes quite a long time to dry. So use the heat gun or leave overnight. Of course, i am not patient, so have a few finger marks in mine, but hey it's mixed media after all!
I added another layer, with some stamping and I have this cute little paw print stencil in my stash I just had to use for this page.
My papers and embellishments are from my very first DT kit from Scrappingclearly. Teresa Collins Life Emporium. The papers and matching embellishments went perfect with my background and photo. Embellishments used were:
Hope I've inspired you to break out your mixed media supplies and have some fun. I love the Art Crayons, and have so many more possible variations to try with them!!!