Showing posts with label heavy body paint. Show all posts

Tuesday, 23 October 2018

All Time Fav by Leonie


Hello, have you entered our October moodboard challenge yet?
See our Facebook Inspiration group to upload your entry.


Leonie here and I have a page today to share that was based on a moodboard over at Scrap The Girls but I never got around to uploading.  But I was so happy with how it turned out that I decided to share it with all our Scrapping Clearly family instead.


The background was quite easily put together.  I used Dina Wakley Heavy Body Acrylics in Ruby, Fuchsia and Blushing to create random squares and rectangles on heavy weight Marshmallow cardstock.  
I then used a stabilo pencil to draw a border around each of the rectangles and used a wet paintbrush to smudge out the black line.
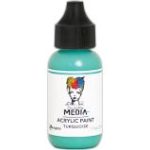
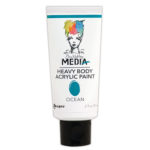
Once it was dry I painted the circular shapes in Turquoise and Ocean. Adding some highlights with White Acrylic and repeated the stabilo pencil outline.


Three strips of the gorgeous Dina Wakley Washi Tape down the length of the page added a border and feed into the white space I created on the Left of the page.
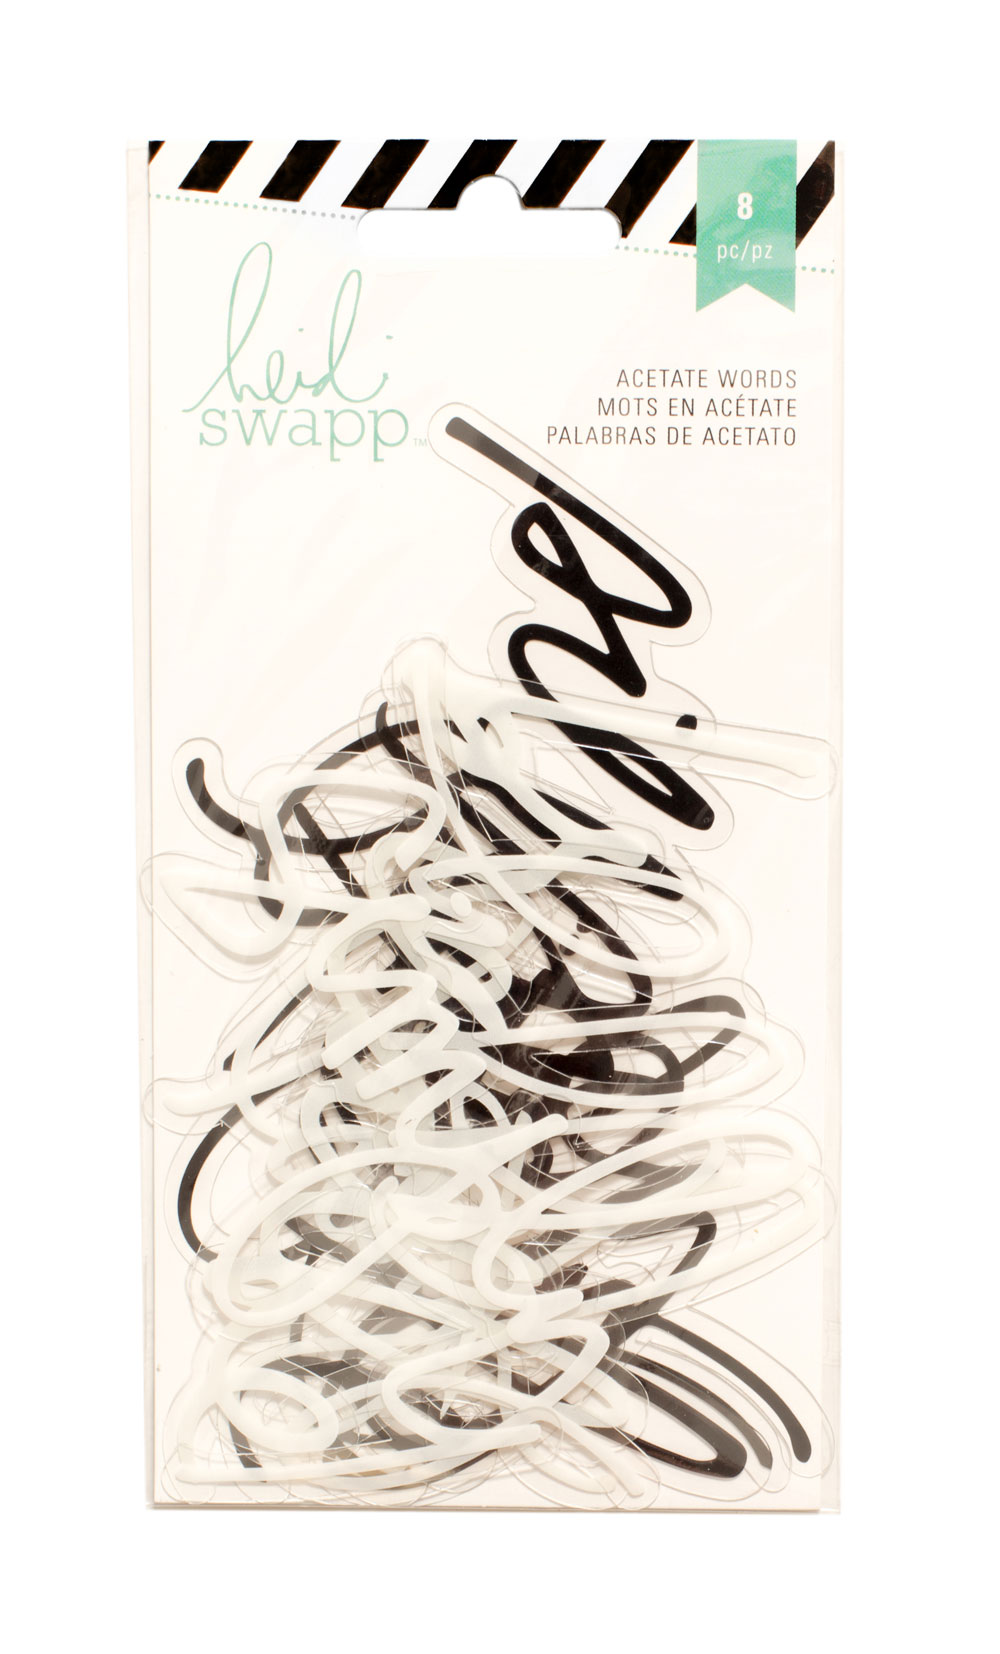
I embellished my page with a Heidi Swapp Glitter title.


I also added some Tim Holtz Ideology rubons to the background just to break up the bright reds slightly.
Some gauze to ground my photo, a small cluster of flowers and Tim Holtz Small Talk Stickers 
and my page was complete.


Thanks for stopping by today, don't forget our gorgeous green toned moodboard for October.
Happy Crafting,
 cheers from Leonie Neal-Dawson.

Tuesday, 12 June 2018

June Challenge Inspiration from Leonie Neal-Dawson


Hello Scrapping Clearly followers, Leonie with you today.
Today I'm sharing my take on the June combined challenge.
Visit our Facebook group for details on how to enter, there is a shop voucher to be won.
Take a look at those cute painty fingers and rainbow colours (big hive five to that)!


I started following the sketch by rotating it anticlockwise and thats where I kind of veered off on my own creative tangent!  I did however stick with the luscious rainbow of colour with some added black and the photo's were all about some down time and relaxing with friends so I've drawn on those images from the mood board as well.


I used Dina Wakley Heavy Body Acrylic Paint to create my rainbow.  A small dob of paint and I used an old credit card to draw the paint across the page. 


The large flowers were stamped with the Floral Stamp from the Prima Bloom Collection.
I painted black Dina Wakley paint directly on to the image and then stamped on the page. 
I love the intense image that stamping with paint gives. It doesn't always turn out perfect but it certainly makes a bold statement. 
There is also some light stamping and texture paste on the background. 


I kept my embellishment to a minimum - some glittery chipboard, a Charms Creation Heart and those lovely Heidi Swapp acetate words.  To finish off I added a doodled boarded with a Fude Ball pen and some black splats


Thanks for stopping by, we'd love you to join us in our June challenge.
Visit our Facebook Share and Inspire page for the details.
Cheers from Leonie Neal-Dawson.

Tuesday, 6 February 2018

Crazy Bunch..Scrapbooking Background Techniques

Hello, Leonie with you today on the Scrapping Clearly blog. 

I'm using the Fancy Pants Designs Golden Days collection.
You can see some of my previous projects using this range HERE and HERE.  Today I will also show you how I used 
Dina Wakley Heavy Body Acrylic Paint to create the background on my page.

I wasn't sure where I was headed with this page so I began by playing around with a couple of different techniques on several pieces of Marshmallow card-stock and then, when I had a better idea of what I wanted on the background, I ended up combining a couple of different techniques to create this background.

The first layer I added was with some watered down Dina Wakley Acyrlic Paints.  I squeezed a small amount of paint onto a craft mat and sprayed with water until I had a thin fluid consistency. Then I used the ever faithful 'plastic bag stamping' technique to stamp the fluid colour onto my cardstock. I know I probably use this method too much, but it always works so well to create lovely water colour splats and splashes, so I figure when you're onto a good thing why mess with it?


I repeated this process with three different colours in the Dina Acyrlic Paint range until I was happy with how the page was looking. I chose colours that I knew would match the Golden Days papers. I especially like the metallic sheen the 'Penny' colour gave to the page. 


I knew I wanted to add a contrasting colour for the next layer so I decided to draw some circles with the fine tip applicator of the 1oz bottles of paint.
There are some pictures below showing this on a 'practice page', I wasn't quite brave enough to add it straight to my background without trying it out a few times first!


Then it was time to pull out all the lovely Fancy Pants papers and layer them behind my collection of photo's (yes as you can see we went a little crazy taking selfies at this family birthday event).
 I'm really enjoying the large Printed Alphas  in this collection. I've created 3 titled pages with them so far and haven't got to that stage where I'm running out of any letters.  


The Fancy Pants ephemera pack has a large selection of die cuts, both paper and clear acrylic; tags and words.  I also added a flair button from the Fancy Pants collection.


That's it from me today. I hope you've been inspired in some small way.
Happy Crafting,
Leonie Neal-Dawson.

Friday, 14 October 2016

Dreaming about Liquitex Spray Paints.


Howdy Bloggers , Lisa here with a Friday mixed media up date .
Ohhhh I finally have some time to create this week... 
and to get my flow going I want to recreate a piece similar to the gorgeous" Charisma"
 Dreamcatcher I created a few months back .
So the story is, I have some frames with broken glass , 
that were damaged during the framing process,when preparing for my exhibition.
While perusing Instagram I came across this artist who painted out onto the frames and it looked so cool ,I thought I would incorporate that into my warm up piece for my weekend of at home, undisturbed ,creative bliss.
This is basically how I did it.
 I started with Gesso onto the board to create a barrier ,then added Dylusions ,Dina and Liquitex acrylics paints in a rainbow configuration. Drying time , then the fun starts .  
Did you know that Scrapping Clearly have an incredible supply of 
I have been waiting for the right time to drag them onto the art table and today was the day-
(it helped that I cleared off 2 of my back veranda working benches:)
 oh Stencils and Spray Paint ,
 how you were made for each other .
so quick , 
so effective for adding quick accents and interest points to background  pieces .
I busted out a plethora of my favorite dreamy stencils and went to work layering this baby together.
Using Colour Blast coloured paste in Royalty ,Envy and Just Blue for the Mandala style stencil , gives this piece shimmer and shine .
check out my mini Instagram video here.
 More Layering and some flicks of house and and this piece was almost complete ....almost
 it needed a few birds.. :):):):)
Thanks for dropping by the blog, see you next week :)
 Oh and this Dreamcatcher is For Sale, shoot me a message if your interested .
Lisa  xxxx